
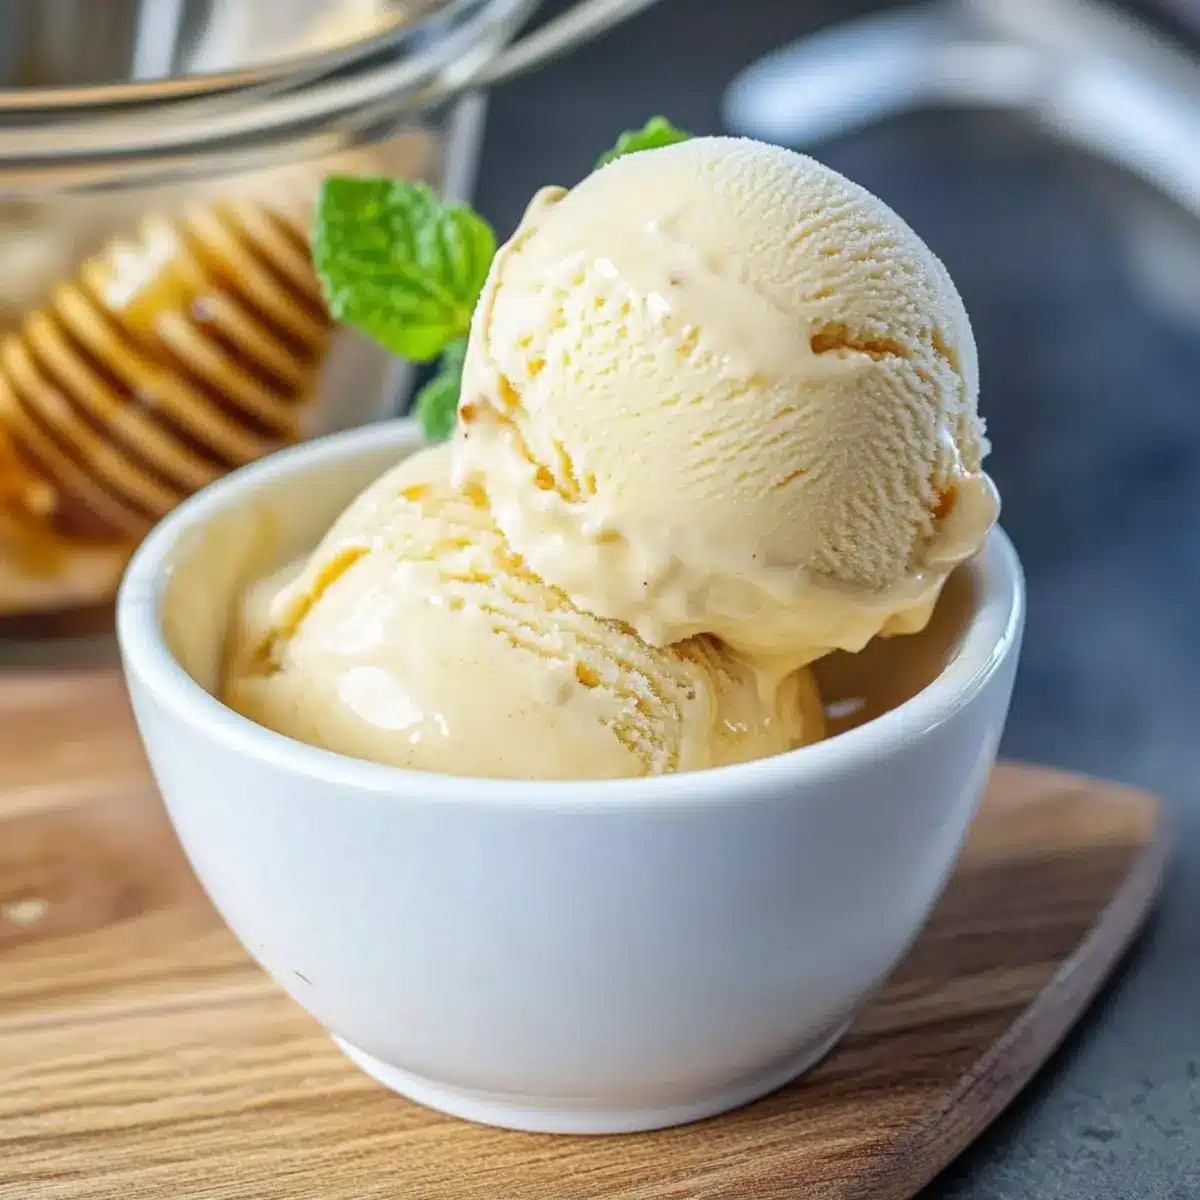
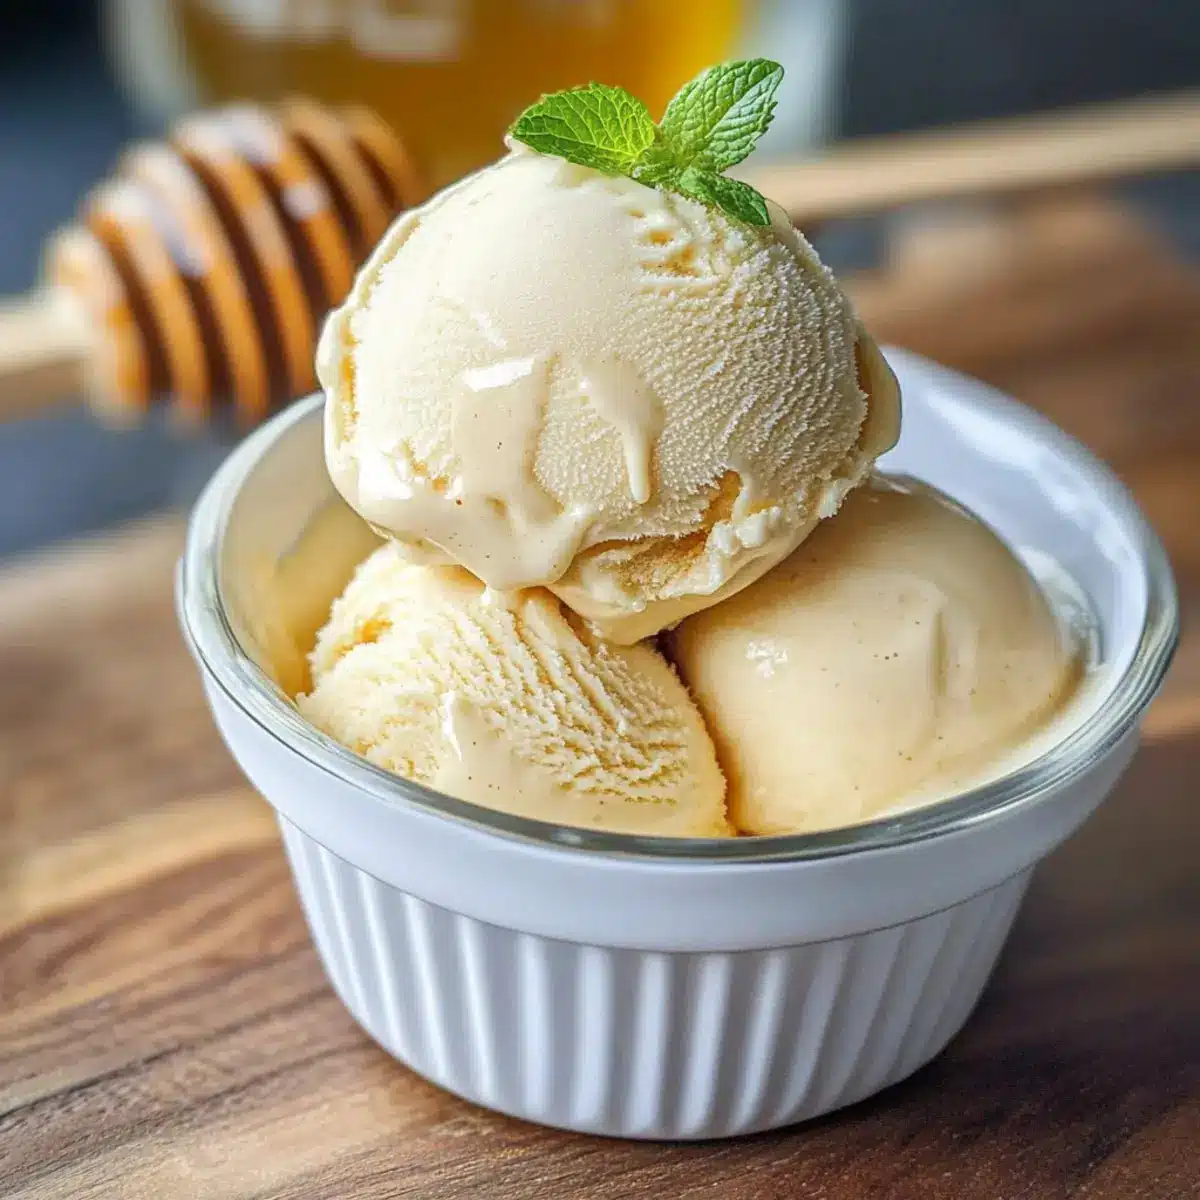
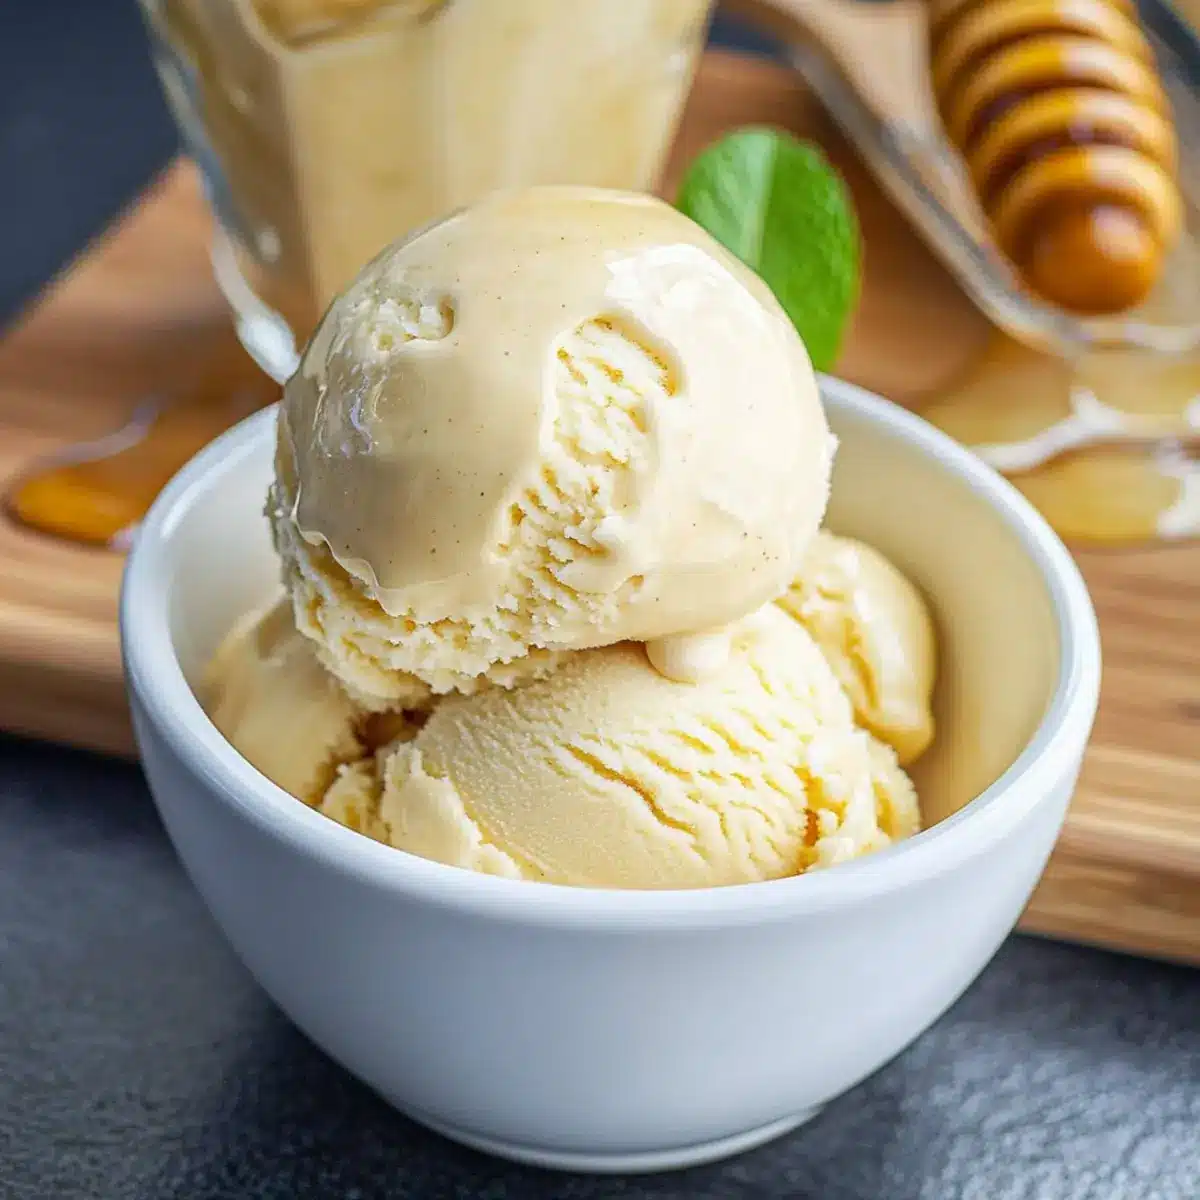
There’s something magical about watching honey transform in the heat, its delicate floral notes deepening into a rich, caramel marvel. This is exactly what happens in my kitchen when I whip up Burnt Honey Ice Cream—a delightful blend of easy indulgence and luxurious flavor. With just a handful of simple ingredients, this homemade dessert becomes a standout treat that impresses every time. Not only does this ice cream beckon with a creamy texture that’s oh-so-satisfying, but it also offers a uniquely elevated twist on traditional flavors that’s perfect for gatherings or cozy nights in. Imagine serving this velvety delight alongside a warm pie or savoring it alone, making every bite a moment to savor. Ready to elevate your dessert game?
Why is Burnt Honey Ice Cream a must-try?
Irresistible Flavor: This ice cream combines the unique floral notes of orange blossom honey with a deep, caramel twist, creating a flavor profile that dances on your palate.
Easy to Make: With just a few straightforward steps and ingredients, you can craft this gourmet treat without being an expert chef.
Perfect for Any Occasion: Whether it’s a cozy family dinner or an impressive dessert for guests, this ice cream is sure to steal the show.
Versatile Pairings: Serve it alongside warm Golden Greek Honey pie or a classic like Bavarian Cream and Berries for a delightful contrast in temperatures and flavors.
Homemade Goodness: Skip the store-bought options—this recipe captures the essence of true homemade decadence. Enjoy the rich creaminess paired with that delightful caramelized honey in every spoonful!
Burnt Honey Ice Cream Ingredients
For the Base
• Large Egg Yolks – Provide richness and emulsification, helping to create a smooth and creamy texture. No direct substitute; can reduce quantity for a lighter version.
• Granulated Sugar (1/4 cup / 50 grams) – Sweetens the ice cream and enhances the caramel flavor. Can substitute with honey or agave for a different sweetness profile.
• Orange Blossom Honey (1/2 cup / 170 grams) – Adds a unique, floral sweetness after caramelization; essential for the signature taste. A lighter honey can be used, but flavor will vary.
• Heavy Cream (2 cups / 528 grams) – Contributes to the creamy texture. Substitute with coconut cream for a dairy-free option.
• Whole Milk (1 cup / 250 grams) – Balances the richness of the cream. Low-fat milk can be used, but will affect texture.
• Very Cold Crème Fraîche (1 cup / 110 grams) – Adds tartness and creaminess; aids in the smooth finish. Sour cream or yogurt can be used as an alternative.
• Kosher Salt (1 teaspoon / 3 grams) – Enhances flavors in the ice cream. Sea salt can also be used as a substitute.
For Serving
• Warm Desserts – Pair with warm apple pie or Moroccan Beghrir for an exceptional dessert experience. The warmth beautifully contrasts the creamy chill of the Burnt Honey Ice Cream.
Step‑by‑Step Instructions for Burnt Honey Ice Cream
Step 1: Prepare the Ice Bath
Start by filling a large mixing bowl with ice water to create an ice bath. Nestle a medium bowl inside it, then place a fine-mesh strainer over the top. This setup will help cool the warm mixture of Burnt Honey Ice Cream later, ensuring a smooth texture.
Step 2: Whisk Egg Yolks and Sugar
In another medium bowl, vigorously whisk together the large egg yolks and granulated sugar until well-combined and slightly pale, about 1-2 minutes. This mixture will contribute creaminess to your ice cream, so make sure it’s fluffy and blended perfectly before moving on to the next step.
Step 3: Caramelize the Honey
In a saucepan over medium heat, pour in the orange blossom honey. Cook it for about 5 minutes, stirring occasionally. Watch as the honey darkens and becomes aromatic, resembling burnt marshmallows. This caramelization is key to achieving the rich flavor of your Burnt Honey Ice Cream.
Step 4: Warm the Cream and Milk
In a separate saucepan, combine the heavy cream and whole milk. Heat gently over medium-low, stirring occasionally until it’s warm but not boiling, about 3-5 minutes. This will help to temper the caramelized honey when added to create a luscious ice cream base.
Step 5: Combine Honey and Cream Mixture
Once your cream and milk are warm, gradually whisk in the caramelized honey mixture, approximately one-third at a time. Stir continuously to keep the mixture smooth and prevent bubbling. The sweetness of the honey will blend beautifully with the creamy base, bringing the flavor of Burnt Honey Ice Cream to life.
Step 6: Thicken the Mixture
Return the combined mixture to low heat, whisking continuously for about 2 minutes. You’re looking for a consistency that coats the back of a spoon—this indicates it’s thick enough to create a rich ice cream. Be attentive to avoid curdling, as this can affect the final texture.
Step 7: Strain and Cool
Carefully strain the hot mixture through the fine-mesh strainer into the bowl over the ice bath. Whisk in the very cold crème fraîche and kosher salt until completely smooth. This helps to balance flavors while cooling the mixture down to room temperature, enhancing the Burnt Honey Ice Cream’s creamy texture.
Step 8: Refrigerate the Base
Cover the bowl and place the mixture in the refrigerator. Allow it to chill for at least 2 hours or overnight for the best flavor. This waiting period enables the delicious caramel notes to meld beautifully, creating a uniquely rich ice cream experience.
Step 9: Churn the Ice Cream
Once chilled, pour the mixture into your ice cream maker. Churn according to the manufacturer’s instructions, typically around 20-25 minutes, until thick and creamy. The process infuses air and creates that desirable texture found in Burnt Honey Ice Cream.
Step 10: Freeze for Firmness
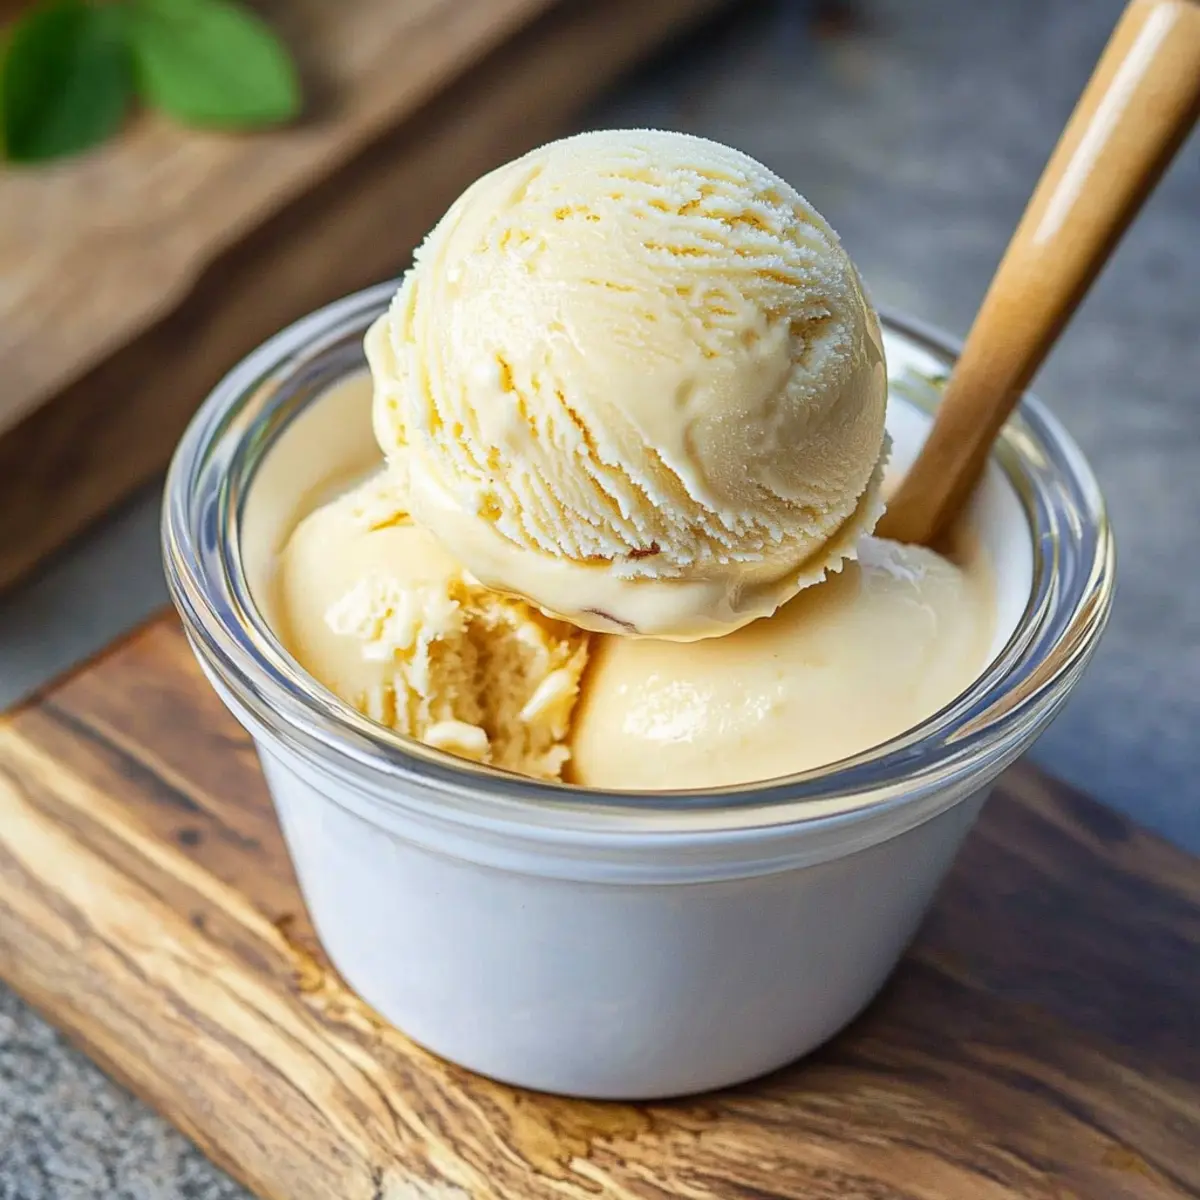
For a firmer texture, transfer the churned ice cream into an airtight container. Freeze for a few hours to allow it to set up nicely. This final step ensures you have a scoopable and decadent Burnt Honey Ice Cream, ready to be enjoyed on warm desserts or by itself!
What to Serve with Burnt Honey Ice Cream?
Indulge in a delightful array of pairings that will elevate your homemade dessert to an unforgettable experience.
-
Warm Apple Pie: A classic pairing, the buttery crust and spiced apples perfectly complement the rich, creamy texture of the ice cream.
-
Moroccan Beghrir: The soft, delicate pancakes add a delightful texture contrast, soaking up the ice cream’s flavors beautifully.
-
Berry Compote: Fresh berries drizzled over the ice cream brighten the palate and add a splash of vibrant color to your dessert.
-
Crushed Nuts: Toasted almonds or walnuts provide a satisfying crunch, enhancing each spoonful with nutty warmth that balances the sweetness.
-
Chocolate Sauce: A drizzle of dark chocolate sauce adds a layer of decadence, deepening the flavor profile with a hint of bitterness.
-
Coffee: A smooth cup of freshly brewed coffee creates an exquisite coffee-and-cream combination, perfect for those cozy evenings.
-
Chocolate Chip Cookies: Classic homemade cookies provide a nostalgic touch, while their chewiness contrasts beautifully with the silky ice cream.
-
Sea Salt Caramel: Swirls of sea salt caramel elevate the dessert, playing off the caramel notes in the ice cream for a blissful experience.
-
Lavender Lemonade: This refreshing drink offers a lovely floral note that ties in nicely with the orange blossom honey flavor of your ice cream.
Burnt Honey Ice Cream Variations
Feel free to unleash your creativity and personalize this delightful dessert to match your taste preferences!
-
Dairy-Free: Swap heavy cream and milk for coconut cream and almond milk for a rich, dairy-free experience. You’ll enjoy a tropical twist that’s still velvety smooth.
-
Flavored Honey: Experiment with different types of honey, like lavender or eucalyptus, to add unique floral notes to your ice cream. Each option opens up a new sensory journey!
-
Nutty Crunch: Add crushed almonds or toasted pecans into the mixture during the churning process for a satisfying crunch that perfectly contrasts the creamy texture.
-
Chocolate Swirl: Drizzle in warm chocolate sauce right before freezing for a decadent brownie-inspired treat that will have chocolate lovers coming back for more.
-
Spicy Kick: Stir in a hint of cayenne or chili powder for a surprising heat that beautifully complements the sweetness of the burnt honey. This adds an exciting twist that awakens the palate.
-
Herbal Layering: Infuse the cream mixture with fresh herbs like basil or mint for a completely unexpected, refreshing flavor profile. Just steep the herbs in the warm cream before mixing.
-
Coffee Lovin’: Mix in some espresso or coffee grounds for a rich, mocha-style ice cream that pairs well with warm desserts like a slice of pie. A perfect pick-me-up!
-
Fruit Fusion: Fold in pureed fruit, such as raspberry or mango, during the last few minutes of churning for a refreshing fruity contrast to the creamy base. You’ll enjoy bursts of flavor in every bite!
Feel free to explore these ideas, and don’t forget to serve your homemade Burnt Honey Ice Cream alongside sumptuous options like Golden Greek Honey pie or a warm slice of Bavarian Cream and Berries!
How to Store and Freeze Burnt Honey Ice Cream
Fridge: Store your Burnt Honey Ice Cream in the fridge for up to 3 days in an airtight container. However, keep in mind that it’s best enjoyed freshly frozen!
Freezer: For longer storage, freeze the ice cream in an airtight container for up to 2 weeks. Ensure it’s well-sealed to avoid freezer burn and maintain that luscious texture.
Reheating: To serve, let the Burnt Honey Ice Cream soften at room temperature for about 5 minutes before scooping. This will give you that perfect creamy consistency!
Expert Tips for Burnt Honey Ice Cream
-
Honey Vigilance: Monitor the honey closely as it caramelizes; it can quickly go from perfect to burnt. Beginners may want to aim for a light caramelization at first.
-
Continuous Stirring: Always stir the cream mixture consistently while heating to prevent curdling. If it does curdle, blend until smooth for a creamy Burnt Honey Ice Cream.
-
Chill Time: Refrigerate the ice cream base overnight if possible; this enhances the flavors and creates a richer, creamier texture.
-
Texture Check: Once you’ve strained the mixture, check for a consistency that coats the back of a spoon. This ensures your Burnt Honey Ice Cream will be delightful and smooth.
-
Customize Sweetness: Feel free to adjust the sweetness by substituting sugar with honey or agave, but note that this may impact the final flavor profile.
Make Ahead Options
Burnt Honey Ice Cream is a fantastic candidate for meal prep, allowing busy home cooks to get ahead on dessert plans. You can prepare the ice cream base up to 2 days in advance by refrigerating the mixture after it cools. Simply follow the recipe through Step 7, and then store the mix in an airtight container in the fridge to maintain its rich flavor. When you’re ready to churn the ice cream, ensure you give the chilled mixture a good stir before pouring it into your ice cream maker. This make-ahead strategy not only saves time but enhances the flavor, making your Burnt Honey Ice Cream just as delectable as when made fresh!
Burnt Honey Ice Cream Recipe FAQs
What type of honey should I use for the best flavor?
Absolutely! Orange blossom honey is recommended for its unique floral sweetness, especially once caramelized. While you may substitute with lighter honey, the flavor profile will differ, affecting the overall experience. If you have access to specialty honeys, feel free to experiment for an intriguing twist!
How should I store Burnt Honey Ice Cream?
To keep your Burnt Honey Ice Cream fresh, store it in an airtight container in the freezer for up to 2 weeks. Make sure it’s well-sealed to prevent freezer burn. When it’s time to serve, allow it to soften at room temperature for about 5 minutes for that perfect creamy consistency.
Can I freeze Burnt Honey Ice Cream? How?
Very! To freeze your Burnt Honey Ice Cream, pour the churned mixture into an airtight container after churning. Press a layer of plastic wrap directly onto the surface before sealing with the lid to minimize air exposure. For best results, consume within 2 weeks to enjoy the creaminess at its peak!
What if my cream mixture curdles while cooking?
No worries at all! If your cream mixture curdles while heating, simply blend the mixture until smooth with an immersion blender or regular blender. This will restore the creamy texture you’re aiming for, ensuring your Burnt Honey Ice Cream remains luscious and enjoyable.
Is this ice cream safe for people with dairy allergies?
If you’re looking to make a dairy-free version, I recommend substituting the heavy cream with coconut cream and the milk with your preferred non-dairy milk. Just be aware that the texture and flavor profile may vary slightly, but you’ll still have a delightful frozen treat to enjoy!
How long will the ice cream base last in the refrigerator?
You can keep the ice cream base in the refrigerator for up to 2 days. This pre-prep not only saves you time on the day you plan to churn, but allows the flavors to meld, enhancing the overall taste of your Burnt Honey Ice Cream!
Indulge in Burnt Honey Ice Cream: A Creamy Delight
Ingredients
Equipment
Method
- Prepare the Ice Bath: Fill a large mixing bowl with ice water and nestle a medium bowl inside it with a fine-mesh strainer over the top.
- Whisk Egg Yolks and Sugar: In another bowl, whisk together the egg yolks and granulated sugar until well-combined and slightly pale.
- Caramelize the Honey: In a saucepan over medium heat, cook the orange blossom honey for about 5 minutes, stirring occasionally.
- Warm the Cream and Milk: In a separate saucepan, combine the heavy cream and whole milk, heating gently until warm.
- Combine Honey and Cream Mixture: Gradually whisk in the caramelized honey into the warm cream and milk mixture.
- Thicken the Mixture: Return the mixture to low heat, whisking continuously for about 2 minutes until it thickens.
- Strain and Cool: Strain the hot mixture into the bowl over the ice bath and whisk in the crème fraîche and salt.
- Refrigerate the Base: Cover and chill in the refrigerator for at least 2 hours or overnight.
- Churn the Ice Cream: Pour the chilled mixture into an ice cream maker and churn according to instructions.
- Freeze for Firmness: Transfer churned ice cream into an airtight container and freeze for a few hours.
Leave a Reply