
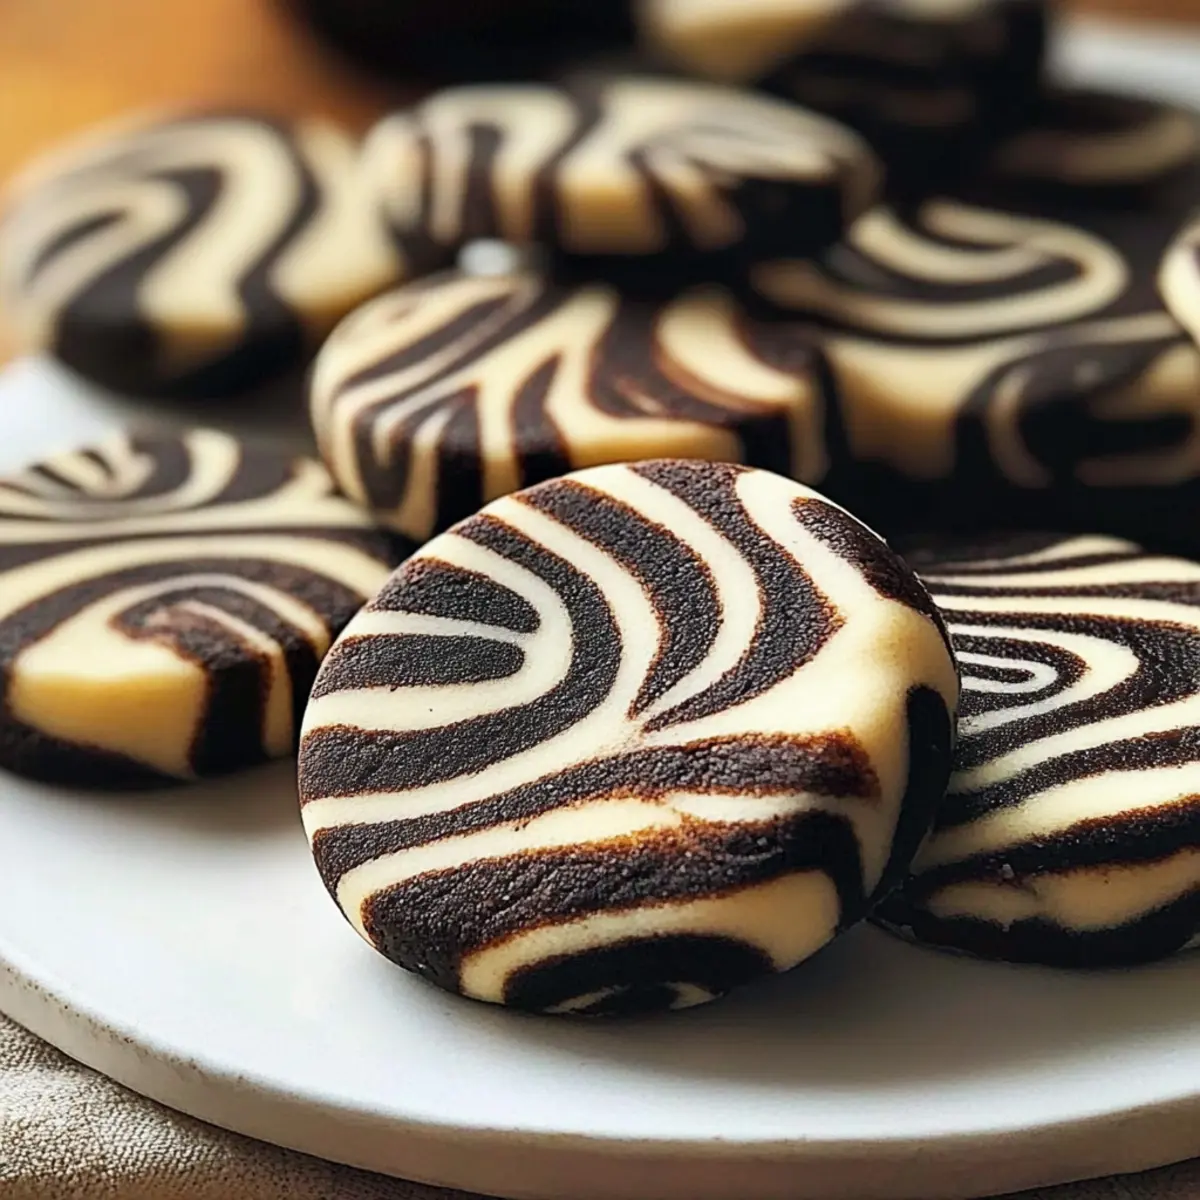
As I whisked together the rich cocoa powder and creamy vanilla, I couldn’t help but marvel at the vibrant swirls forming in the bowl. These Zebra Cookies are not just a feast for the eyes; their delightful chocolate and vanilla blend creates a treat that’s as enchanting in taste as it is in appearance. This Zebra Cookies recipe is perfect for those who crave a quick yet impressive dessert that’s sure to impress friends and family. With their soft and chewy texture, they’re the ideal way to transform your everyday baking into something sensational. Plus, these cookies are freezer-friendly, making them an excellent choice for when the craving strikes! Have you ever been tempted to try your hand at this visually stunning treat? Let’s dive into the world of Zebra Cookies!
Why Try This Zebra Cookies Recipe?
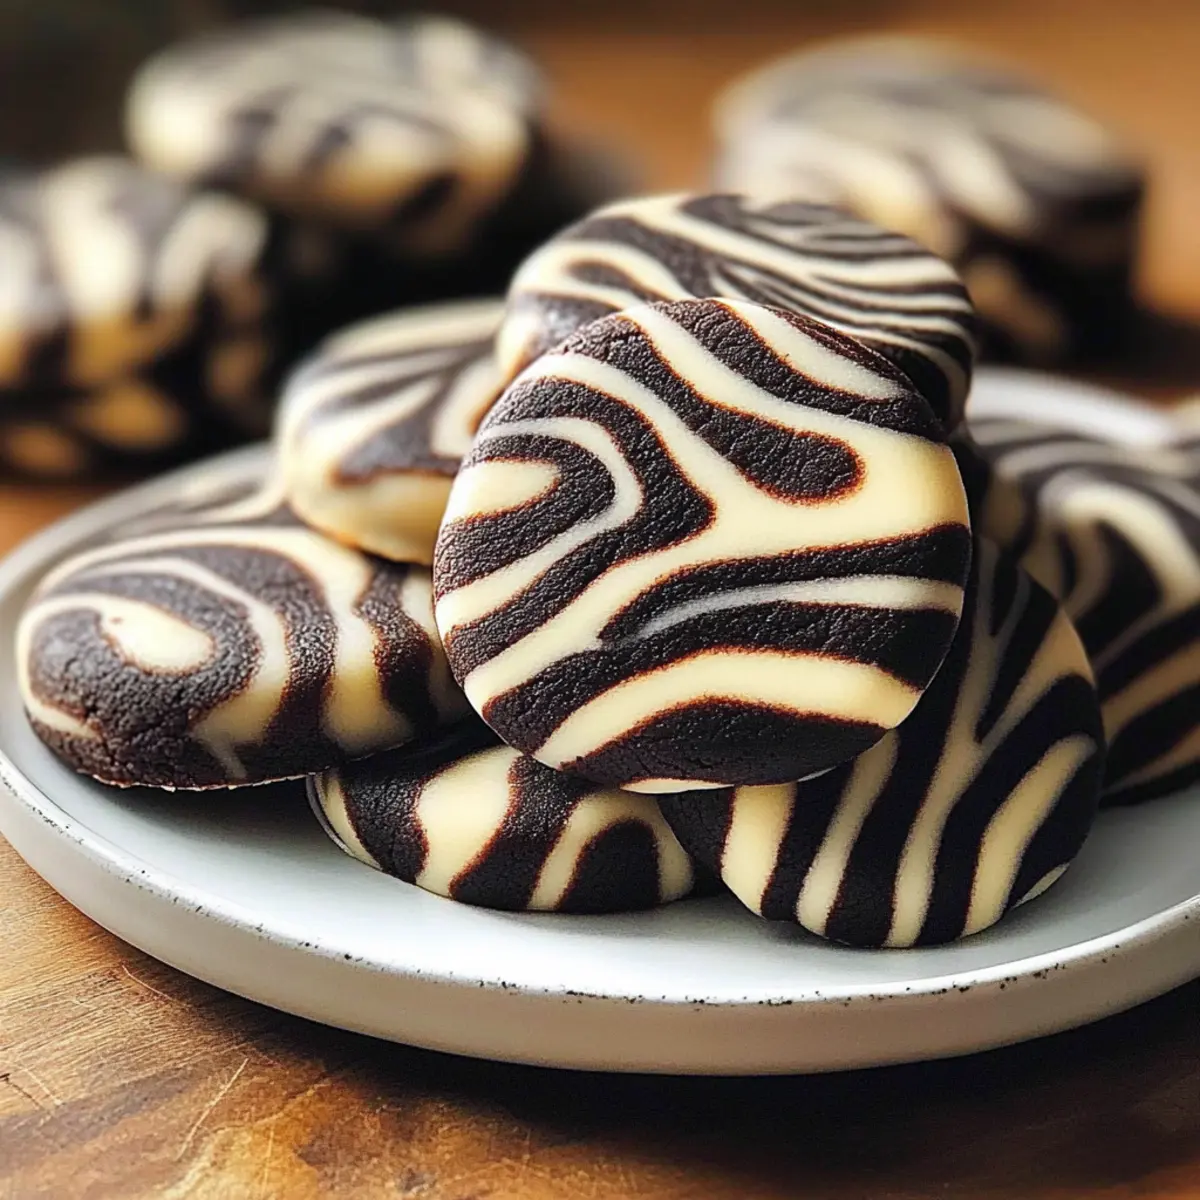
Visually Stunning: The vibrant swirls of chocolate and vanilla create a centerpiece that will have your guests raving.
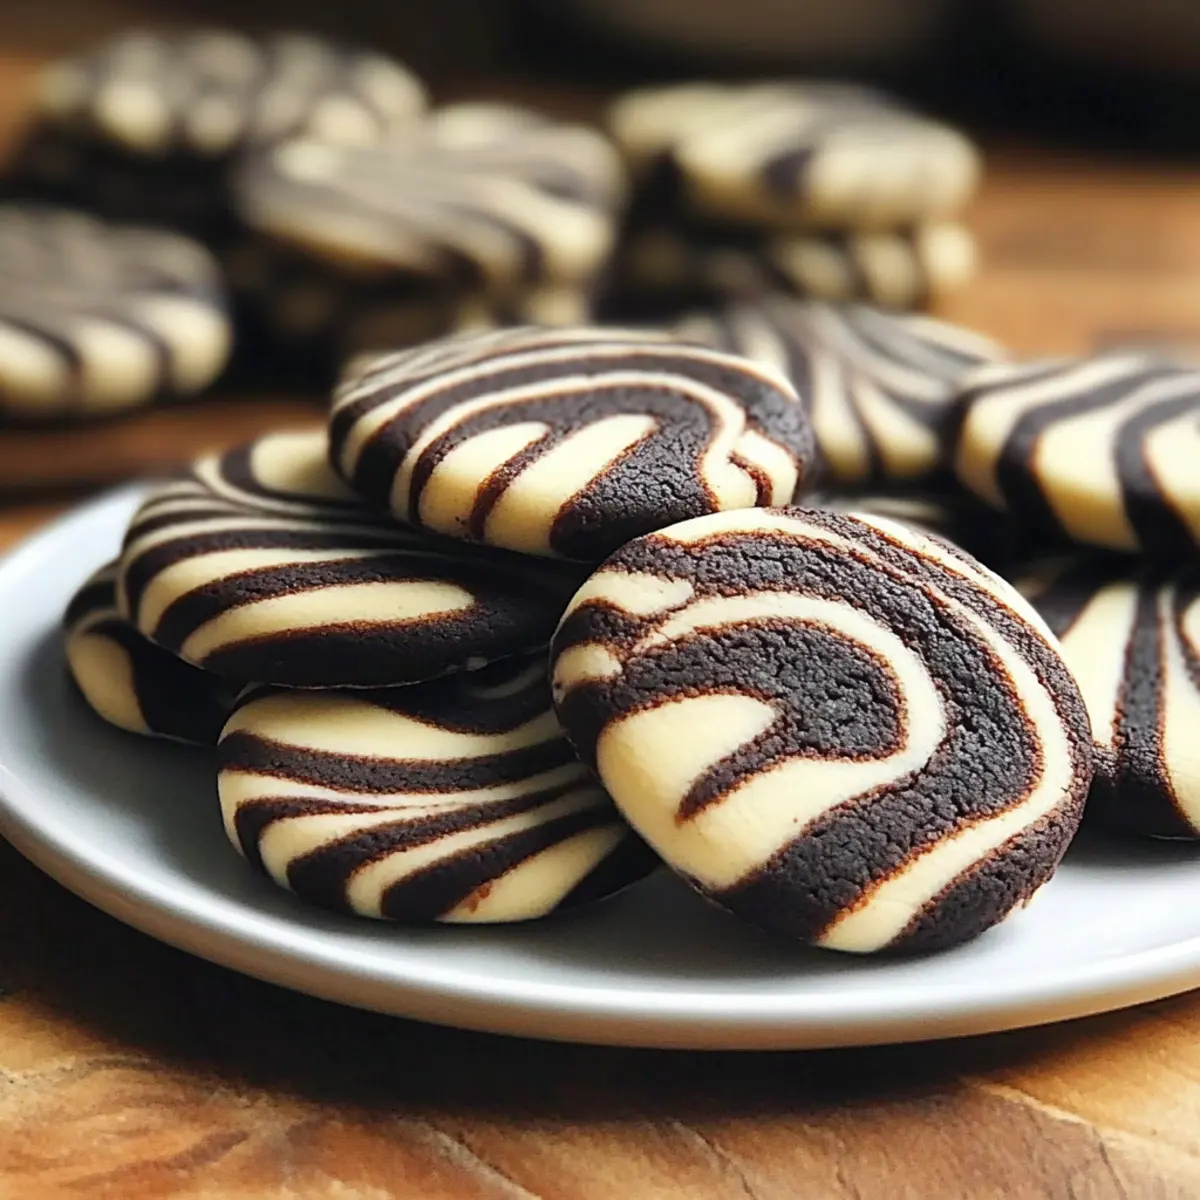
Delightful Flavor Combination: Rich chocolate paired with smooth vanilla offers a well-balanced, indulgent taste.
Soft, Chewy Texture: Each bite melts in your mouth, providing a satisfying experience with every nibble.
Quick and Easy: With straightforward steps, you can whip up these treats in no time. There’s nothing better to sweeten your day! If you’re looking for more sweet inspirations, check out my Maple Cinnamon Cookies for another delicious option.
Versatile Enjoyment: Whether for a festive occasion or a cozy night in, these cookies fit every scenario splendidly.
Zebra Cookies Recipe Ingredients
• Here’s what you’ll need to make these delicious treats!
For the Dough
- Butter – Adds richness and moisture for perfect chewiness.
- Sugar – Sweetens the dough and creates a delightful fluffy texture when creamed with butter.
- Cocoa Powder – Essential for the chocolate flavor; use unsweetened for best results in your Zebra Cookies recipe.
- Flour – Forms the backbone of the cookie, providing structure and firmness.
- Eggs – Bind the ingredients together and provide moisture; room temperature eggs help with smooth mixing.
- Vanilla Extract – Elevates the overall flavor with its sweet, aromatic touch.
Feel free to gather these ingredients and prepare for a sweet adventure!
Step‑by‑Step Instructions for Zebra Cookies Recipe
Step 1: Prepare Cookie Dough
Start by preheating your oven to 350°F (175°C). In a large mixing bowl, cream together 1 cup of softened butter and 1 cup of sugar using an electric mixer until the mixture is light and fluffy—about 3 to 5 minutes. This process incorporates air, resulting in tender cookies. Add 2 room temperature eggs and 1 teaspoon of vanilla extract, mixing until just combined.
Step 2: Combine Dry Ingredients
In a separate bowl, whisk together 2 cups of all-purpose flour and 1/3 cup of unsweetened cocoa powder. Once mixed, gradually add the dry ingredients to your wet mixture, blending carefully with a spatula until just combined. Aim for a smooth dough without over-mixing, as this will keep your Zebra Cookies tender and chewy.
Step 3: Divide the Dough
Carefully split the dough into two equal portions. Leave one half as it is for the vanilla base, then take the other half and mix in an additional 1/3 cup of cocoa powder until fully blended. You should have one vanilla dough and one chocolate-hued dough, both soft and ready for layering.
Step 4: Layering Technique
Line a baking sheet with parchment paper. Using two tablespoons, drop alternating dollops of the vanilla and chocolate dough onto the parchment, creating a checkered pattern. Aim for about 12 dollops per batch, leaving space between each to allow for spreading during baking, ensuring your delicious Zebra Cookies maintain their beautiful swirls.
Step 5: Swirling the Dough
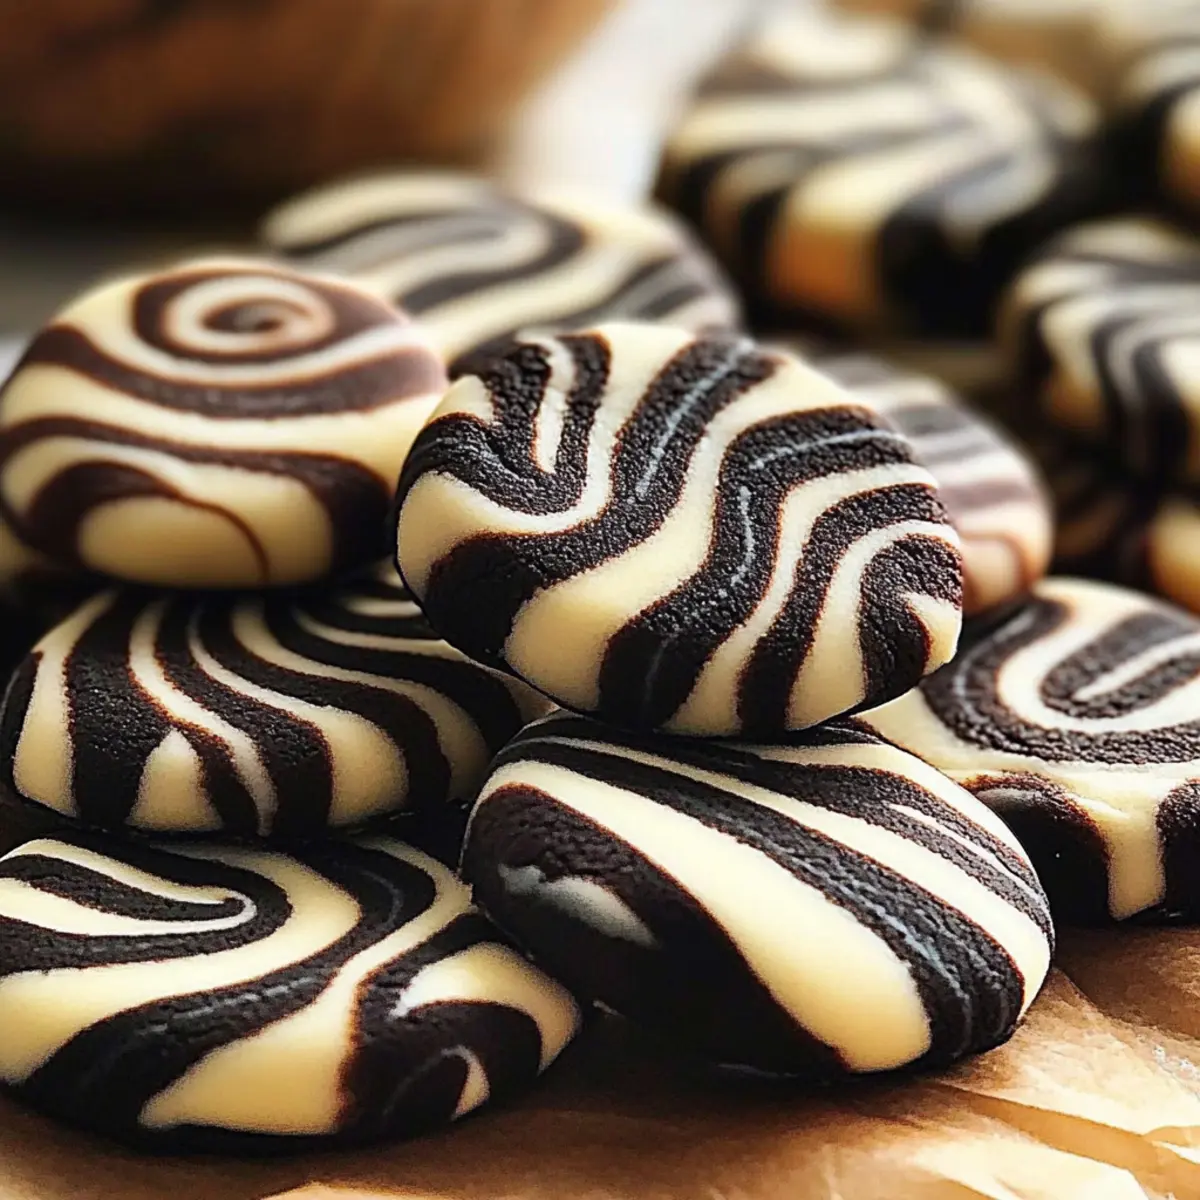
With a toothpick or skewer, gently swirl the dollops together without mixing completely. This motion will create the striking zebra pattern—focused on light touches allows for distinct layers to remain visible. You want a beautiful marbling effect that promises a delightful visual appeal in the finished cookies.
Step 6: Bake the Cookies
Carefully transfer the baking sheet to your preheated oven, and bake the cookies for 10 to 12 minutes. Look for edges that are slightly golden while the center remains soft. This visual cue indicates they are done; they’ll continue to firm up as they cool.
Step 7: Cool and Serve
Once baked to perfection, remove the cookies from the oven and let them cool on the baking sheet for 5 minutes. Then, transfer them to a wire rack to cool completely. As they cool, the flavors will meld beautifully, creating the irresistible taste of Zebra Cookies to savor and share with friends and family.
What to Serve with Zebra Cookies Recipe
Treat your taste buds to a delightful experience that pairs beautifully with these enchanting cookies.
-
Fresh Berries: Their tartness provides a refreshing contrast to the sweet layers in each cookie, brightening your dessert table.
-
Rich Chocolate Drizzle: Drizzling melted chocolate over the Zebra Cookies enhances their chocolate flavor, making each bite even more indulgent.
-
Vanilla Ice Cream: Creamy, cold vanilla ice cream complements the soft, chewy texture of the cookies and adds a delightful twist with temperature contrast.
-
Coffee: A steaming cup of coffee cuts through the sweetness, creating a perfect balance and elevating the cookie experience to new heights.
-
Milk: The classic pairing of cookies and milk never disappoints, offering a nostalgic touch that’s perfect for both kids and adults alike.
-
Chocolate Milkshake: A thick and velvety chocolate milkshake enhances the cookie feast, wrapping you in a comforting embrace with each sip and bite.
Imagine savoring these combinations while your friends enjoy the visual appeal of the swirls—the moment is sure to become a cherished memory!
How to Store and Freeze Zebra Cookies
Airtight Container: Store your Zebra Cookies in an airtight container at room temperature for up to 5 days. To keep them soft, add a slice of bread to the container.
Freezer: For longer storage, freeze the cookies placed in a single layer on a baking sheet until solid. Then transfer them to a freezer-safe bag, where they can last for up to 3 months without losing their flavorful charm.
Thawing: When you’re ready to enjoy, simply remove the desired number of cookies from the freezer and let them thaw at room temperature for about 30 minutes before serving.
Reheating: If you prefer warm cookies, pop the thawed Zebra Cookies in a preheated oven at 350°F (175°C) for 5-7 minutes. This will revive their delightful texture!
Expert Tips for Zebra Cookies Recipe
• Room Temperature Butter: Ensure that butter is softened to room temperature for optimal creaming. This guarantees a light and fluffy cookie texture.
• Avoid Over-Mixing: Once you add flour, mix gently until just combined. Over-mixing can lead to tough cookies instead of the desired chewy consistency.
• Dough Consistency: If the dough seems too soft, chill it for about 30 minutes before scooping. This helps maintain the shape and swirls during baking.
• Swirling Technique: Use a light hand when swirling to preserve the distinct pattern. Too much mixing will blend flavors instead of showcasing the zebra design.
• Baking Time: Keep an eye on your cookies as they bake. They’re ready when the edges turn golden while the centers look slightly underdone for the perfect chewy bite.
Zebra Cookies Recipe Variations
Feel free to unleash your creativity and personalize these delightful cookies with these tempting twists!
-
Flavor Twist: Add a splash of almond extract in place of vanilla for a nutty aroma that brightens the flavor profile beautifully.
You might find that subtle almond notes elevate the classic zebra swirls into a gourmet experience. -
Chocolate Chip Boost: Mix in chocolate chips to the dough for bursts of molten chocolate with each bite.
These cookies will feel even more decadent, making every nibble pure bliss! -
Cocoa Powder Variation: Replace some all-purpose flour with gluten-free flour for a gluten-free version that doesn’t skimp on flavor or texture.
Your gluten-sensitive friends will adore these options, enjoying the same delightful swirls. -
Spicy Kick: Incorporate a touch of cinnamon or a pinch of cayenne pepper into the chocolate dough for a warm, spicy finish.
This unexpected twist could surprise your taste buds and leave everyone wanting more! -
Nutty Addition: Chop up some walnuts or pecans and sprinkle them into the dough for an added crunchy texture and nutty flavor.
This addition gives a hearty spin to your zebra cookies that complements the swirls beautifully. -
Colorful Sprinkles: Mix in fun colored sprinkles to the vanilla dough for a festive look, especially perfect for celebrations or holidays.
The extra pop of color will make your cookies even more inviting and fun to eat!
If you’re intrigued by more variations, why not explore my Chicken Stroganoff Recipe for a comforting dinner idea? The versatility in cooking can lead to wonderful surprises!
- Minty Freshness: For a refreshing burst, add a few drops of peppermint extract to the vanilla dough.
The cool, minty flavor will transform your zebra cookies into a delightful holiday treat.
With these variations, your Zebra Cookies can become a canvas for flavor and creativity, perfect for satisfying all palates!
Make Ahead Options
These delightful Zebra Cookies are perfect for meal prep enthusiasts seeking time-saving solutions! You can prepare the dough up to 24 hours in advance before baking. Simply follow the recipe to the point of combining the dry and wet ingredients, then divide the dough and wrap each portion tightly in plastic wrap, refrigerating until you’re ready to bake. For even longer storage, you can freeze the cookie dough for up to 3 months; in this case, ensure to seal it well in an airtight container to prevent freezer burn. When you’re ready to enjoy these visually stunning treats, simply let the frozen dough thaw in the fridge overnight, then continue with the swirling and baking steps. Your Zebra Cookies will turn out just as delicious and beautiful, ready to impress family and friends!
Zebra Cookies Recipe FAQs
What type of cocoa powder should I use?
For the best results in your Zebra Cookies recipe, always opt for unsweetened cocoa powder. This ensures the perfect balance of flavors—rich chocolate without any added sweetness that might interfere with the delicate vanilla notes.
How should I store my Zebra Cookies?
Store your Zebra Cookies in an airtight container at room temperature for up to 5 days. To maintain their soft and chewy texture, I recommend placing a slice of bread in the container; this will help keep them fresh and moist!
Can I freeze Zebra Cookies?
Absolutely! To freeze your cookies, first place them in a single layer on a baking sheet and freeze until solid. Once frozen, transfer them to a freezer-safe bag or container. They can last for up to 3 months without losing their delightful charm.
How do I thaw frozen Zebra Cookies?
To thaw frozen Zebra Cookies, simply remove the number of cookies you want and let them sit at room temperature for about 30 minutes. If you prefer warm cookies, place them in a preheated oven at 350°F (175°C) for 5-7 minutes to revive their delightful texture!
What if my cookie dough is too soft?
If your dough seems too soft to handle, no worries! Just chill it in the refrigerator for about 30 minutes before scooping. This will help firm it up, ensuring that your Zebra Cookies maintain their lovely shape and swirls during baking.
Are Zebra Cookies suitable for people with allergies?
While Zebra Cookies are a delicious treat, they contain common allergens such as eggs, butter, and flour. If you’re baking for someone with allergies, consider using egg substitutes and gluten-free flour for a safe adaptation. Just keep in mind that this might alter the final texture slightly.
Zebra Cookies Recipe: Irresistibly Swirled Chocolate Delight
Ingredients
Equipment
Method
- Preheat your oven to 350°F (175°C). Cream together the softened butter and sugar until light and fluffy, about 3 to 5 minutes.
- Add the room temperature eggs and vanilla extract to the mixture, and mix until just combined.
- In a separate bowl, whisk together the flour and cocoa powder. Gradually add to the wet mixture, blending carefully.
- Divide the dough, leaving one half plain and mixing the other half with an additional 1/3 cup of cocoa powder.
- On a lined baking sheet, drop alternating dollops of the vanilla and chocolate dough.
- Using a toothpick, gently swirl the dollops together to create a zebra pattern.
- Bake the cookies for 10 to 12 minutes until the edges are slightly golden and the center remains soft.
- Let the cookies cool on the baking sheet for 5 minutes before transferring to a wire rack.
Leave a Reply