
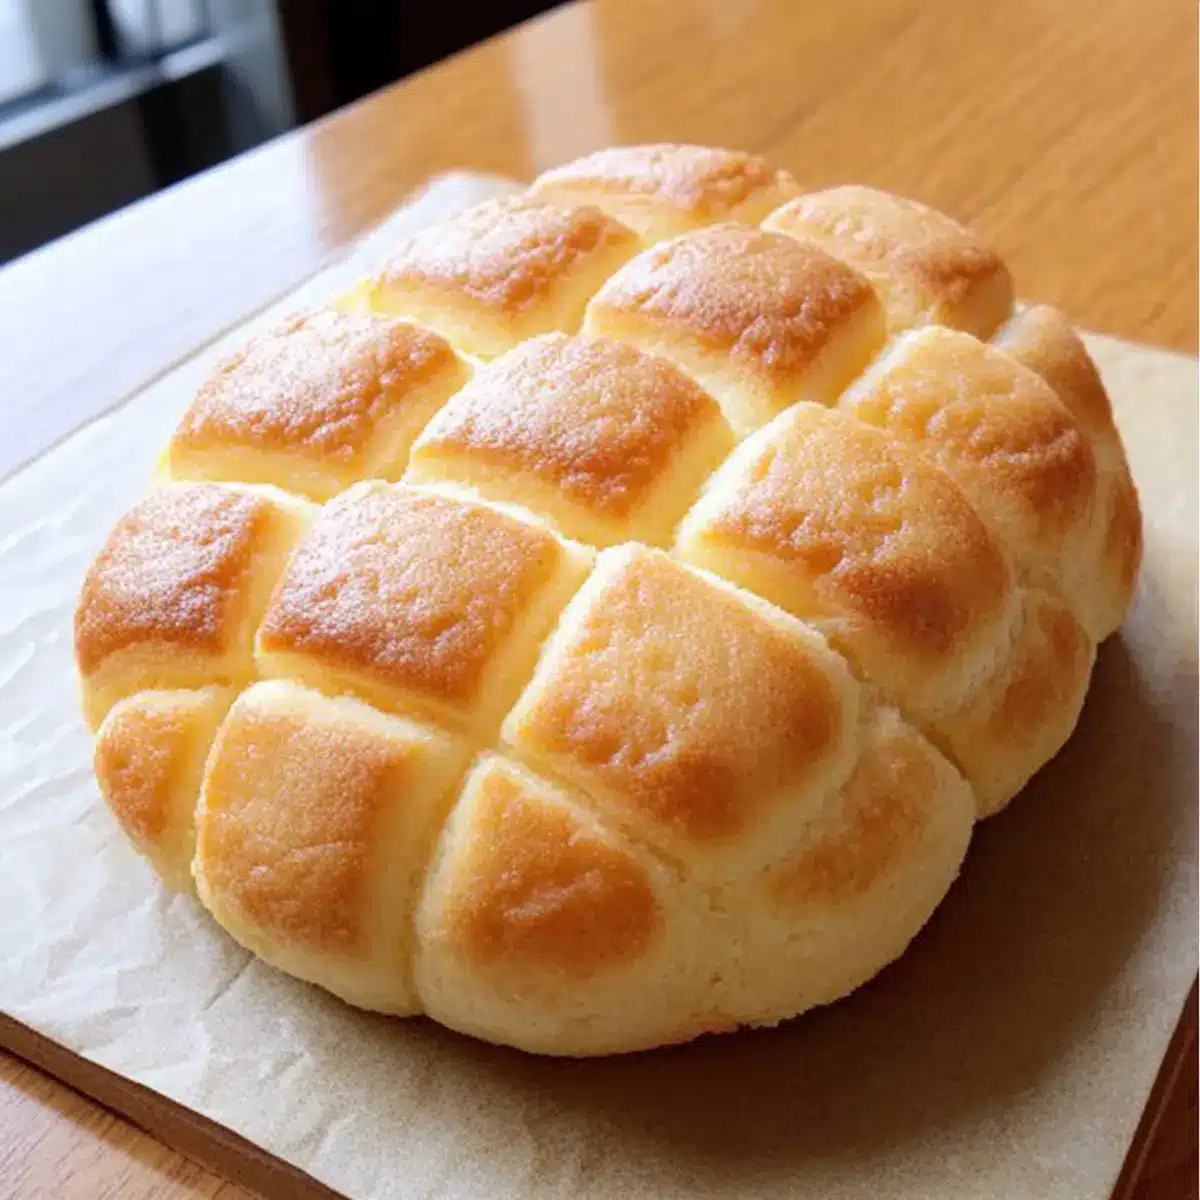
After a day filled with deadlines and fast food, there’s something profoundly comforting about bringing a little piece of Japan into your kitchen—like whipping up a batch of Melon Pan. This delightful sweet bread, crowned with a crisp cookie topping, transforms ordinary moments into something special. Not only is it incredibly soft and satisfying, but the best part is how quick and straightforward the recipe is, making it perfect for bakers of any skill level. Whether you’re enjoying it with a steaming cup of tea or sharing it as an afternoon snack, this Japanese treat promises to be a crowd-pleaser at your table. Curious about how to create this fluffy, golden wonder? Let’s dive into the recipe!
Why is Melon Pan So Special?
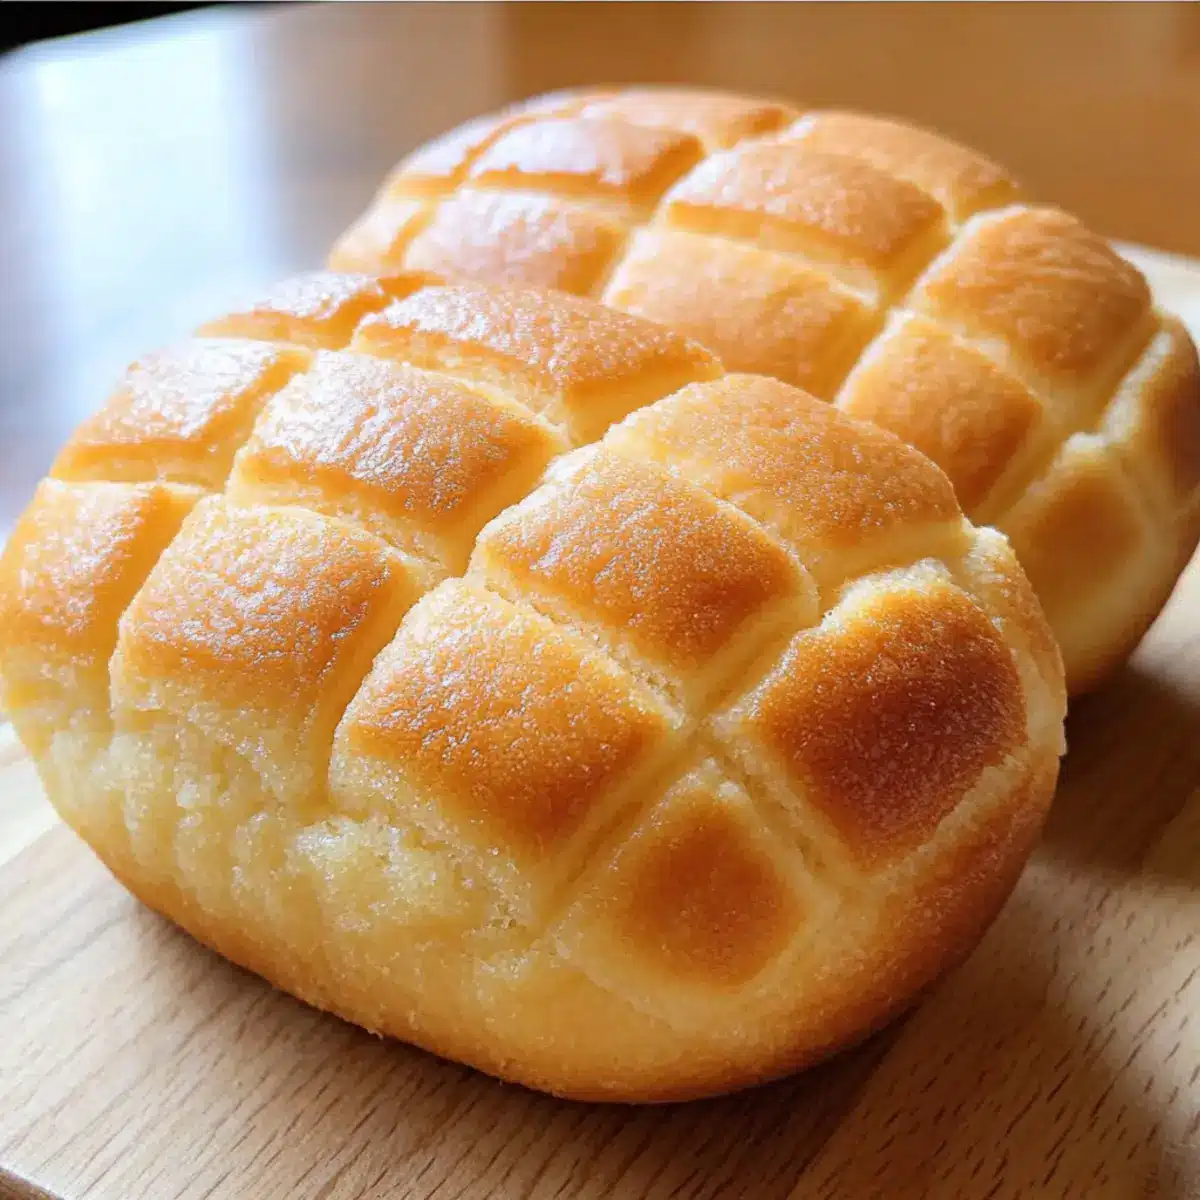
Unique Texture: The contrast of a crispy cookie crust and a fluffy bread center makes each bite a delightful surprise.
Culinary Adventure: Experience Japanese culture through your kitchen by creating this iconic sweet bread.
Versatile Treat: Perfect for breakfast, snacks, or as a dessert; Melon Pan fits any occasion!
Quick and Easy: With simple ingredients and straightforward steps, you’ll have fresh Melon Pan in no time.
Crowd Favorite: Its soft, sweet flavor will impress family and friends, making it ideal for gatherings.
For a refreshing drink to pair with your Melon Pan, consider brewing a cup of Lemon Pancakes Brighten, perfect for a delightful breakfast or brunch!
Melon Pan Ingredients
For the Bread Dough
• Bread Flour – Provides structure and a chewy texture; substitute with all-purpose flour for a similar outcome.
• Sugar – Sweetens the dough and enhances browning; brown sugar can be used for a deeper flavor.
• Instant Yeast – Ensures the bread rises efficiently without the need for proofing; active dry yeast can be substituted, just dissolve it in warm water before use.
• Milk – Adds moisture and richness; non-dairy milk can be used for a dairy-free version.
• Butter – Contributes to the rich taste and tenderness of the bread; coconut oil or vegan butter can be used as replacements.
• Eggs – Provides moisture, richness, and acts as a binding agent; flax eggs can be a substitute for a vegan version.
• Vanilla Extract – Enhances overall flavor; almond extract can be used for a different flavor profile.
For the Cookie Topping
• Cake Flour – Used for the cookie top, ensuring a tender crumb; all-purpose flour can work in a pinch, though the texture will differ slightly.
• Baking Powder – Helps give the cookie layer a slight rise.
• Decorative Sugar – Adds crunch and appearance; can be omitted or substituted for alternative sprinkles.
Create your own fantastic Melon Pan today and enjoy the soft, delectable experience that will make your kitchen feel like a Japanese bakery!
Step‑by‑Step Instructions for Melon Pan
Step 1: Prepare Dough
In a large mixing bowl, combine 4 cups of bread flour, ½ cup of sugar, 2 tablespoons of instant yeast, and 1 cup of warm milk. Use a sturdy wooden spoon or dough hook attachment on your stand mixer to mix until a rough dough forms. Knead the dough for about 10 minutes by hand or 5 minutes in the mixer until it is smooth and elastic.
Step 2: Add Butter and Eggs
With the dough ready, incorporate ¼ cup of softened butter and 2 beaten eggs into the mixture. Continue kneading for another 5-7 minutes until the dough is elastic and slightly tacky to the touch. You’ll know it’s ready when it’s smooth and springs back slightly after pressing.
Step 3: First Rise
Transfer the kneaded dough into a greased bowl, turning it once to coat all sides. Cover the bowl with a clean kitchen towel or plastic wrap, and place it in a warm area of your kitchen. Allow the dough to rise for about 1 hour or until it has doubled in size; it should feel light and airy.
Step 4: Prepare Cookie Topping
While the dough is rising, mix 1 cup of cake flour, ½ cup of sugar, and 1 teaspoon of baking powder in a medium bowl. Cut in 2 tablespoons of softened butter until the mixture resembles coarse crumbs. Add 1 beaten egg and 1 teaspoon of vanilla extract, mixing until a smooth dough forms, ready for the next step.
Step 5: Shape Dough
Once the dough has risen, gently punch it down to release the air and transfer it to a floured surface. Divide the dough into 10 equal pieces, and roll each piece into a smooth ball. The balls should feel soft and slightly sticky, setting the stage for the perfect Melon Pan.
Step 6: Top with Cookie Dough
Take a portion of the cookie topping dough and flatten it into a disk. Wrap it around each bread ball, ensuring it’s fully covered. Gently pinch the seams to seal, then place each ball seam-side down on a lined baking sheet. They should look round and plump, ready to rise again.
Step 7: Second Rise
Cover the prepared dough balls with a clean kitchen towel and let them rise for an additional 30 minutes in a warm spot. You’ll notice they’ll puff up slightly, becoming soft and fluffy, preparing for the final bake.
Step 8: Bake
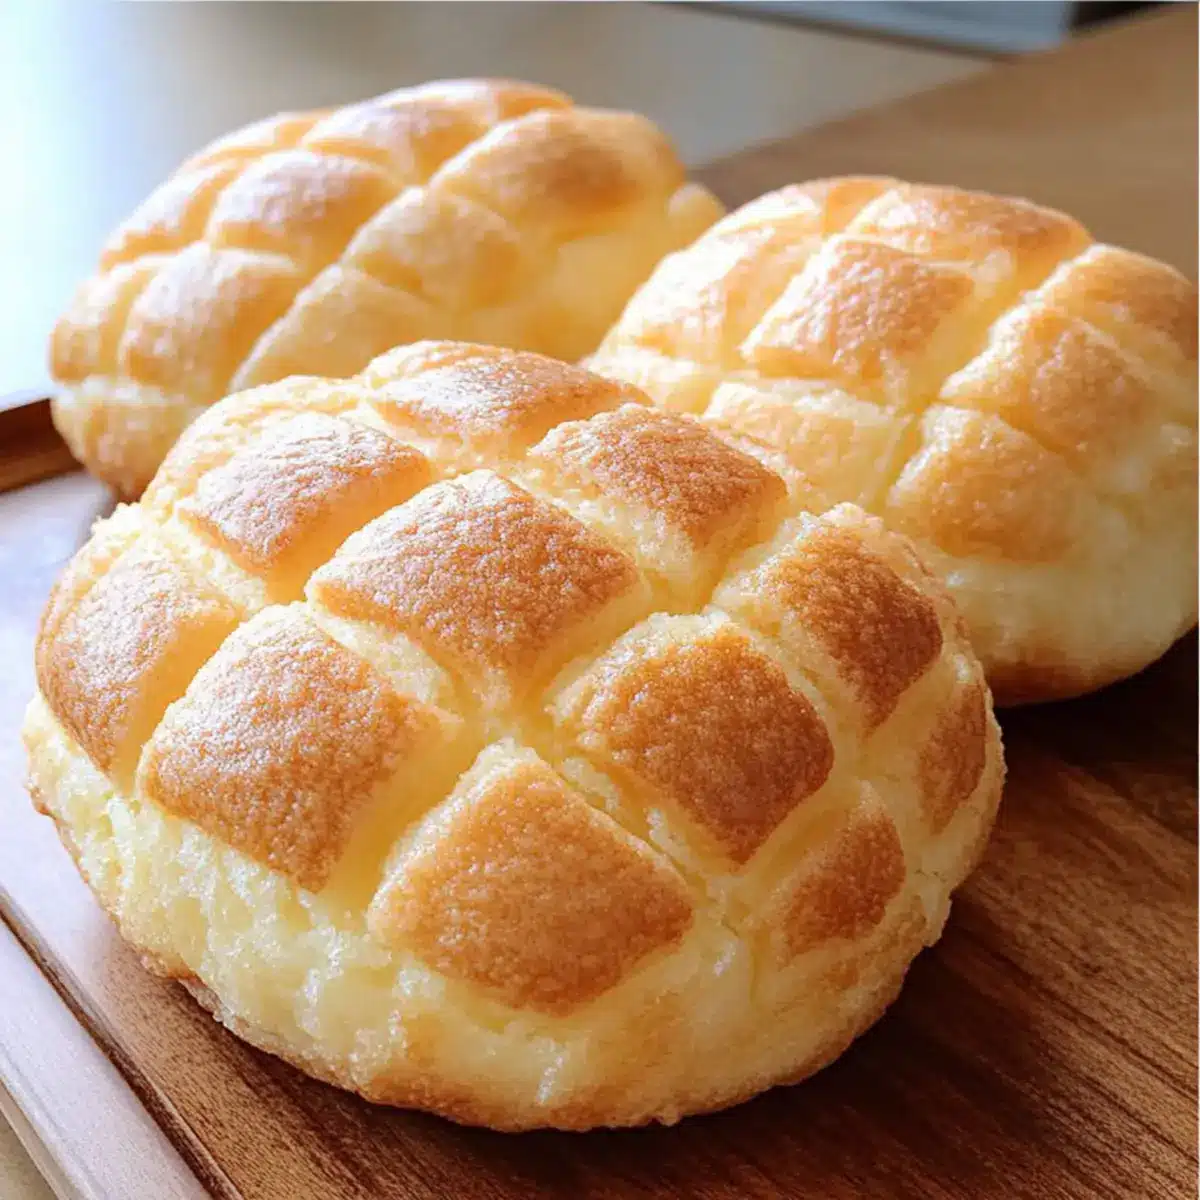
Preheat your oven to 350°F (175°C). Once the dough balls have risen, place them in the oven and bake for 15-20 minutes until they turn golden brown and the cookie topping has cracked slightly, resembling the lovely melon pattern.
Step 9: Cool
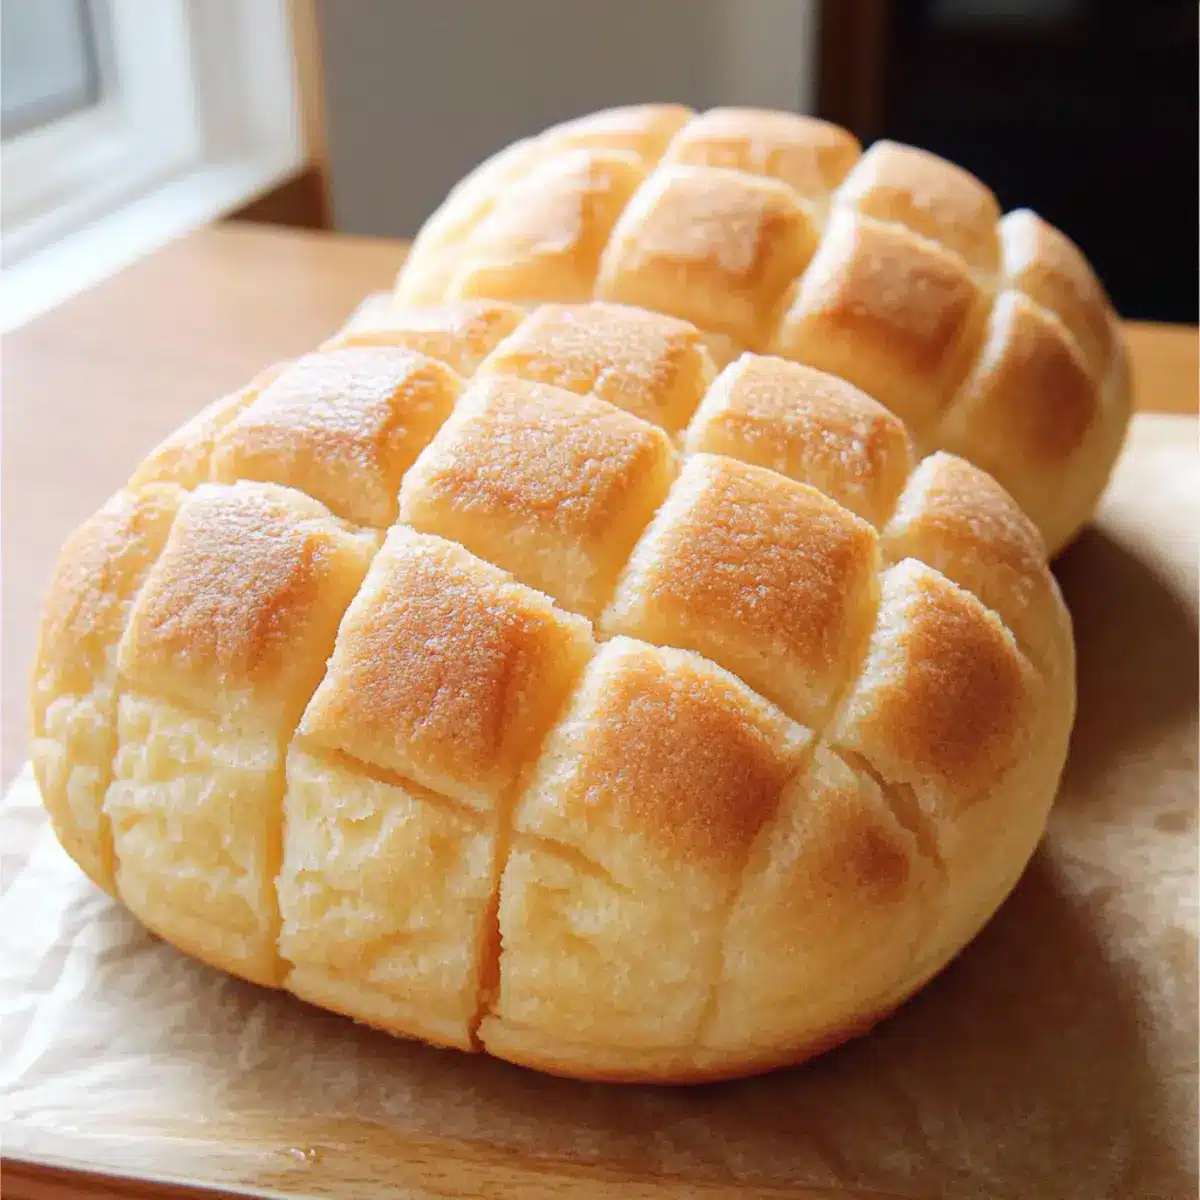
Remove the Melon Pan from the oven and let them cool on a wire rack for about 10-15 minutes. As they cool, enjoy the delightful aroma filling your kitchen. Once they are slightly warm, they are ready to be enjoyed, either plain or with your favorite beverage.
What to Serve with Melon Pan
Savoring Melon Pan can be a delightful experience, but enhancing it with the right pairings can elevate your meal to new heights.
-
Creamy Matcha Latte: The earthy notes of matcha offer a wonderful contrast to the sweetness of Melon Pan, creating a harmonious blend of flavors.
-
Fruity Yoghurt Parfait: Layered with fresh fruits and granola, this dish adds a refreshing crunch that complements the soft bread’s indulgence.
-
Egg Salad Sandwiches: The creaminess of egg salad provides a savory counterpoint, making it the perfect brunch companion alongside your Melon Pan.
-
Roasted Green Tea: The subtly nutty and slightly bitter profile of roasted green tea balances the sweetness, adding a comforting element to your snack time.
-
Silky Miso Soup: A light, savory miso soup can serve as the perfect starter, providing a warming contrast to the sweet bread.
-
Light Sorbet: A scoop of refreshing sorbet, perhaps yuzu or lemon, can cleanse your palate and provide a burst of fruity flavor, enhancing the overall experience.
How to Store and Freeze Melon Pan
- Room Temperature: Store Melon Pan in an airtight container at room temperature for up to 3 days. This helps maintain its soft texture and keeps it fresh.
- Freezer: For longer storage, freeze Melon Pan by wrapping individual pieces tightly in plastic wrap and placing them in a freezer-safe bag. They can last up to 3 months.
- Thawing: To enjoy your frozen Melon Pan, simply thaw it overnight in the refrigerator or at room temperature for a couple of hours before serving.
- Reheating: For a warm treat, reheat in the oven at 350°F (175°C) for about 5–7 minutes, restoring its delightful softness!
Make Ahead Options
These Melon Pan are perfect for busy home cooks looking to save time during the week! You can prepare the bread dough up to 24 hours in advance; simply follow steps 1-3, then refrigerate the dough covered in plastic wrap after the first rise. This helps maintain the dough’s texture while developing flavor. Additionally, you can make the cookie topping (steps 4-5) and refrigerate it separately. When you’re ready to bake, bring both components to room temperature, shape the Melon Pan as directed, and allow for the second rise (step 7) before baking. This way, you’ll have delightful, fresh Melon Pan with minimal fuss, right when you need them!
Expert Tips for Melon Pan
- Room Temperature Ingredients: Ensure all ingredients are at room temperature; this helps the dough mix more evenly and rise properly.
- Mind the Kneading: Avoid over-kneading the dough; it should be smooth but retain a slightly sticky texture for the best Melon Pan.
- Perfect Cookie Topping: For a crispy crust, brush the cookie layer with an egg wash before baking, enhancing that golden finish.
- Experiment with Fillings: Don’t hesitate to play with fillings; adding sweet red bean paste or chocolate can give your Melon Pan a delightful twist.
- Monitor Baking Time: Keep an eye on your Melon Pan in the oven; every oven is different, and you’ll want to achieve that perfect golden-brown color.
- Storage Tips: Store leftover Melon Pan in an airtight container at room temperature for up to 3 days, or freeze for later enjoyment!
Variations & Substitutions for Melon Pan
Customize your Melon Pan for a personal twist that’ll delight your taste buds and surprise your loved ones!
- Dairy-Free: Swap milk with almond, soy, or oat milk to make a rich, creamy version that everyone can enjoy.
- Vegan Delight: Use flax eggs and coconut oil instead of eggs and butter for a totally plant-based treat. Feel free to experiment with your favorite plant-based ingredients to keep the spirit of Melon Pan alive!
- Sweet and Savory: Add matcha powder to the cookie topping for a vibrant green tea flavor that elevates this traditional recipe.
- Chocolate Lovers: Fold in mini chocolate chips into the bread dough for an extra sweet surprise that will have your family asking for seconds.
- Crunchy Toppings: Swap out the decorative sugar with crushed nuts or sprinkles to achieve different textures and flavors on top of your bread.
- Fruity Fun: Incorporate citrus zest into the dough for a fresh, zesty flavor that brightens the overall taste—lemon or orange zest works beautifully!
- Heat It Up: Mix in a pinch of cayenne or chili flakes with the dry ingredients to introduce a subtle heat that pairs wonderfully with the sweetness.
- Regional Influence: Elevate the flavors of your Melon Pan further by trying a sweet red bean paste filling—an homage to classic Japanese traditions.
And if you’re in the mood for more sweet treats, don’t miss out on indulging in Coconut Cream Pancakes for breakfast or savoring a slice of Apple Frangipane Tart for dessert! Whatever way you choose to make this recipe your own, your Melon Pan will be a delightful journey for the senses.
Melon Pan Recipe FAQs
What type of bread flour should I use for Melon Pan?
You should use bread flour for Melon Pan as it provides the necessary structure and chewy texture that makes this sweet bread so delightful. However, if you find yourself without bread flour, all-purpose flour can be used as a substitute; just keep in mind that the texture may be slightly different.
How do I store Melon Pan to keep it fresh?
To maintain its freshness, store your Melon Pan in an airtight container at room temperature for up to 3 days. This helps keep its soft texture intact. If you want to extend its shelf life, you can freeze it for up to 3 months. Just wrap each piece in plastic wrap before placing them in a freezer-safe bag.
Can I freeze Melon Pan, and if so, how?
Absolutely! To freeze your Melon Pan, wrap each piece individually in plastic wrap, ensuring they’re tightly sealed to prevent freezer burn. Then place the wrapped breads in a freezer-safe bag or container. When you’re ready to enjoy them, you can thaw them overnight in the refrigerator or leave them at room temperature for a few hours.
What common issues can I encounter while making Melon Pan?
One common issue is dough that doesn’t rise properly. This could be due to the yeast being expired or not activating. Ensure your yeast is fresh and activated correctly by mixing it with warm milk before putting it into the dough. Additionally, if the dough seems too sticky while kneading, no worries! Just sprinkle a little more flour as needed—be careful not to overdo it, as too much flour can lead to a denser texture.
Is Melon Pan suitable for people with dietary restrictions?
Yes, Melon Pan can be made to accommodate various dietary needs. If you’re looking for a dairy-free option, simply replace the milk and butter with non-dairy alternatives such as almond milk and coconut oil. For vegans, you can substitute eggs with flax eggs (1 tablespoon of flaxseed meal mixed with 2.5 tablespoons of water per egg). Always double-check the labels of your ingredients to avoid allergens!
Irresistibly Soft Melon Pan: A Slice of Japanese Bliss
Ingredients
Equipment
Method
- In a large mixing bowl, combine 4 cups of bread flour, ½ cup of sugar, 2 tablespoons of instant yeast, and 1 cup of warm milk. Use a sturdy wooden spoon or dough hook attachment on your stand mixer to mix until a rough dough forms. Knead the dough for about 10 minutes by hand or 5 minutes in the mixer until it is smooth and elastic.
- Incorporate ¼ cup of softened butter and 2 beaten eggs into the mixture. Continue kneading for another 5-7 minutes until the dough is elastic and slightly tacky to the touch.
- Transfer the kneaded dough into a greased bowl, cover, and allow to rise for about 1 hour or until doubled.
- Mix 1 cup of cake flour, ½ cup of sugar, and 1 teaspoon of baking powder. Cut in 2 tablespoons of softened butter until coarse. Add 1 beaten egg and 1 teaspoon of vanilla, mixing until smooth.
- Punch down the risen dough, divide it into 10 equal pieces, and roll each into a smooth ball.
- Flatten the cookie topping dough and wrap it around each bread ball, sealing the seams.
- Cover the dough balls and let them rise for an additional 30 minutes.
- Preheat the oven to 350°F (175°C). Bake the dough balls for 15-20 minutes until golden brown.
- Cool the Melon Pan on a wire rack for about 10-15 minutes before serving.
Leave a Reply