
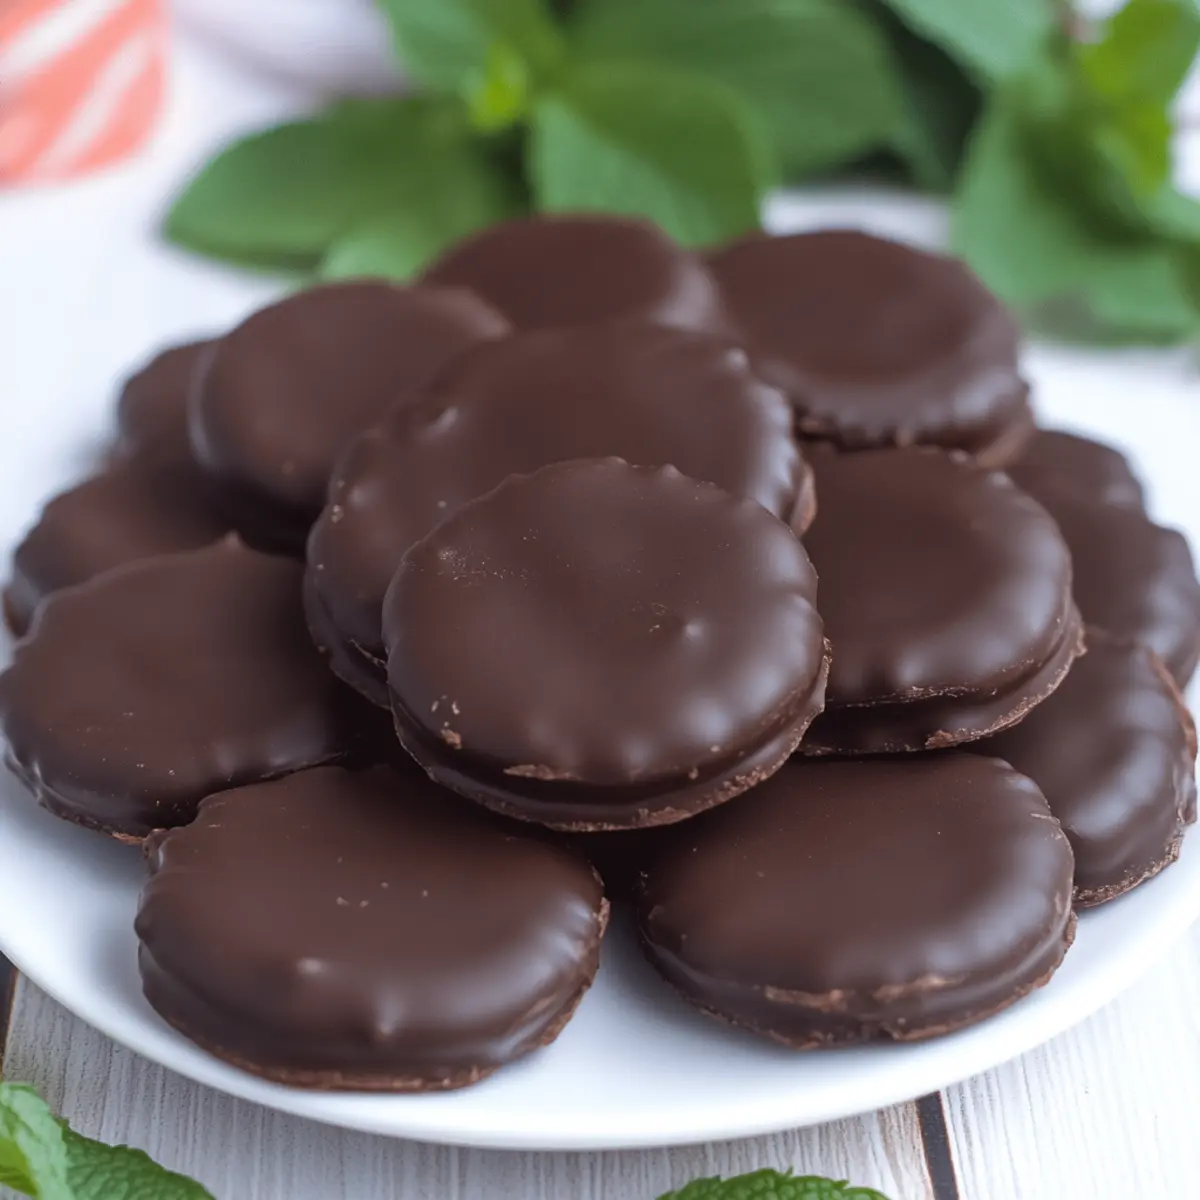
In a burst of nostalgia, I found myself reminiscing about the joy of opening a box of Thin Mints as a kid, excited to share them with friends. Now, I can recreate that delightful experience right in my own kitchen with these Homemade Thin Mints! This copycat recipe not only brings back memories but also empowers you to craft a healthier version of these beloved chocolate mint cookies. With just a handful of pantry staples, you’ll whip up a batch that’s perfectly crispy and generously coated in smooth chocolate. They’re ideal for festive gatherings, cookie exchanges, or whenever the craving strikes! Are you ready to take a delicious trip down memory lane? Let’s get baking!
Why Make Homemade Thin Mints?
Crispy, Delicious Cookies: You’ll love the delightful crunch of these cookies, just like the originals, minus the guilt!
Fresh Mint Flavor: The use of real peppermint extract delivers that authentic minty zing.
Simple Ingredients: With just a few pantry staples, you’ll have fresh cookies baked in no time.
Customize Your Coating: Feel free to experiment with different types of chocolate or even add crushed peppermint candies for extra flair.
Perfect for Any Occasion: Whether it’s a cozy tea time or a festive cookie exchange, these are sure to impress. Treat yourself to the joy of baking and indulge your friends with these delightful Homemade Thin Mints! For more sweet inspirations, check out our Homemade Jam Donut or Cannoli Cookies Homemade.
Homemade Thin Mints Ingredients
For the Cookie Dough
• Butter – Provides richness and moisture; can use margarine as a substitute.
• Sugar – Essential for sweetness and achieving a light, airy texture when creamed with butter.
• Egg – Acts as a binder, contributing moisture and richness to the dough.
• Vanilla Bean Paste – Adds depth of flavor; vanilla extract can be a great substitution.
• Peppermint Extract – Delivers that signature mint flavor essential for Homemade Thin Mints; substitute with pure mint extract if desired.
• All-Purpose Flour – Provides structure and holds the cookies together.
• Cocoa Powder – Adds a rich chocolate flavor and deep color to the cookies.
• Baking Powder – Helps the cookies rise and stay light in texture.
• Salt – Enhances the overall flavor of the cookies to bring all ingredients together.
For the Chocolate Coating
• Semi-Sweet Chocolate Chips – Coating that provides a sweet, rich layer over the cookies.
• Vegetable Oil – Added to the melted chocolate for a smooth, glossy finish; can substitute with coconut oil or canola oil.
Step‑by‑Step Instructions for Homemade Thin Mints
Step 1: Preheat the Oven
Start by preheating your oven to 350°F (175°C). This ensures that your Homemade Thin Mints will bake evenly and achieve that delightful crispness. While the oven is warming up, you can gather your baking sheets and line them with parchment paper for easy cookie transfer later.
Step 2: Cream the Butter and Sugar
In a large mixing bowl, combine softened butter and sugar. Using a hand mixer or a stand mixer, beat the mixture on medium speed until creamy and light in color, about 2-3 minutes. This step is crucial for creating a fluffy texture that your Homemade Thin Mints will benefit from, so make sure they are well incorporated before moving on.
Step 3: Add the Wet Ingredients
Next, add one egg, vanilla bean paste, and peppermint extract to the butter-sugar mixture. Mix on low speed until everything is smoothly combined. The aromatic blend of vanilla and mint will start to take shape, giving your dough a warm and inviting scent that will remind you of those classic cookies.
Step 4: Combine the Dry Ingredients
In a separate bowl, sift together the all-purpose flour, cocoa powder, baking powder, and salt. Gradually sprinkle this dry mixture into the wet ingredients, mixing on low speed until just incorporated. Be careful not to over-mix, as this can lead to dense cookies. The dough should be moist and slightly sticky.
Step 5: Chill the Dough
Divide the cookie dough in half and place each portion on a large sheet of parchment paper. Roll the dough to about ¼-inch thickness between the sheets. This will make it easier to cut out your cookie shapes later. Wrap the rolled dough in plastic wrap and refrigerate for at least 2 hours or until firm; this is key for preventing the Homemade Thin Mints from spreading in the oven.
Step 6: Cut Out the Cookies
Once the dough is chilled, remove it from the fridge and let it sit for a few minutes at room temperature for easier cutting. Using a 2-inch cookie cutter, cut out rounds and place them on the prepared baking sheet, keeping them close together without overlapping. This step brings excitement as you start seeing your Homemade Thin Mints take shape!
Step 7: Bake the Cookies
Bake the cookies in your preheated oven for 8 minutes. They should appear set but still soft when you remove them; they will firm up as they cool. Allow the cookies to sit on the baking sheet for 5 minutes before carefully transferring them to a wire rack to cool completely.
Step 8: Prepare the Chocolate Coating
While your cookies are cooling, melt the semi-sweet chocolate chips in a microwave-safe bowl. Heat in 30-second intervals, stirring in between, until smooth and glossy. Once melted, stir in vegetable oil and a dash of peppermint extract to create a silky coating that’s rich in flavor and perfect for dipping.
Step 9: Dip the Cookies
After the cookies have completely cooled, it’s time to coat them! Dip each cookie into the melted chocolate, using a fork for easy handling. Allow any excess chocolate to drip off before placing them back on the parchment paper. The chocolate should form a beautiful, glossy layer over your Homemade Thin Mints as they set.
Step 10: Let the Cookies Set
Allow the dipped cookies to set at room temperature until the chocolate has hardened completely, which may take about 30-60 minutes. Alternatively, you can place them in the refrigerator for quicker setting. Once firm, your Homemade Thin Mints are ready to be enjoyed or shared with friends and family!
Expert Tips for Homemade Thin Mints
-
Creaming Technique: Ensure you beat the butter and sugar until fully light and fluffy, as this creates the ideal texture for your Homemade Thin Mints.
-
Chill the Dough: Don’t skip the chilling step! Properly refrigerating the dough prevents excessive spreading, ensuring your cookies maintain their shape during baking.
-
Cooling Time: Allow the cookies to cool completely before dipping in chocolate; this prevents them from crumbling and ensures a clean finish on your Homemade Thin Mints.
-
Dipping Strategy: Use a fork to dip your cookies in the melted chocolate. This reduces chocolate loss and minimizes the risk of the cookies breaking.
-
Storage Solutions: Store your Homemade Thin Mints in an airtight container at room temperature to keep them crispy and fresh for up to a week.
Make Ahead Options
These Homemade Thin Mints are perfect for busy home cooks who want to save time during the week! You can prepare the cookie dough up to 24 hours in advance; simply wrap it tightly in plastic wrap and refrigerate. The chocolate coating can also be melted and stored in an airtight container for up to 3 days, ensuring you have everything ready when the cookie cravings strike. When you’re ready to bake, just roll out the chilled dough, cut your cookie shapes, bake them, and dip in the prepared chocolate. This way, you can enjoy fresh cookies with minimal effort—just as delicious and with all the nostalgic flavors of the originals!
Storage Tips for Homemade Thin Mints
Room Temperature: Store your Homemade Thin Mints in an airtight container at room temperature for up to one week to maintain their crispy texture.
Fridge: If you prefer a colder treat, you can refrigerate them in an airtight container for up to two weeks, but this may slightly alter their crunchiness.
Freezer: Keep your Homemade Thin Mints in the freezer for up to 6 months for long-lasting freshness. Ensure they are well-wrapped to prevent freezer burn.
Dough Storage: If you’re not baking all the dough at once, it can be stored in the freezer for up to 3 months. Just thaw in the fridge before rolling and baking.
What to Serve with Homemade Thin Mints?
These delightful minty treats deserve a tasty companion to round out your perfect snack or dessert experience.
-
Fresh Brewed Coffee: The robust flavor of coffee brings out the rich chocolate notes in the cookies, creating a lovely balance. Sipping a warm cup while enjoying Homemade Thin Mints transports you to a cozy café.
-
Mint-Infused Tea: A refreshing cup of mint tea enhances the cookies’ minty flavor while adding an extra layer of warmth and comfort. This pairing is perfect for a post-meal treat or an afternoon snack.
-
Vanilla Ice Cream: The creaminess of vanilla ice cream combined with the crunchy mint cookies creates a heavenly dessert ensemble. This duo offers a delightful contrast of textures that will have everyone asking for seconds!
-
Chocolate Milkshake: A rich and frosty chocolate milkshake complements the cookies’ chocolate coating, making every bite a deliciously indulgent experience. Drizzle some chocolate syrup on top for an extra sweet touch!
-
Fruit Salad: A bright and refreshing fruit salad adds a burst of flavor to your dessert. The natural sweetness and acidity of the fruit balance well with the rich flavors of the Homemade Thin Mints.
-
Cheesecake Bites: Mini cheesecake bites add a luscious creaminess to your snack spread. Their rich and tangy flavor contrasts wonderfully with the minty crunch of the cookies, creating a delightful harmony in every bite.
-
Red Wine: A glass of sweet red wine introduces a sophisticated touch to your cookie experience. Its fruity notes elevate the chocolate flavor of the Homemade Thin Mints, offering a perfect pairing for a special occasion.
-
Chocolate Fondue: For the ultimate indulgence, serve your Homemade Thin Mints with a side of chocolate fondue. Dip each cookie in the warm, melted chocolate for a decadent treat that everyone will love!
-
Coconut Macaroons: This chewy coconut treat adds a tropical flair while its sweetness balances the minty freshness of the cookies. These cookies create a joyful harmony of flavors and textures, perfect for any gathering!
Homemade Thin Mints Variations
Embrace the joy of customizing your Homemade Thin Mints with these delicious twists and turns that elevate the experience!
- Dark Chocolate: Swap out semi-sweet chocolate chips for rich dark chocolate for a deeper, more sophisticated flavor.
- Minty Crunch: Top the chocolate coating with crushed peppermint candies for a festive touch and added texture.
- Gluten-Free: Substitute all-purpose flour with a gluten-free blend for tasty cookies that everyone can enjoy.
- Nutty Surprise: Add finely chopped nuts, like walnuts or almonds, to the dough for a delightful crunch and nutty flavor.
- Coconut Twist: Use shredded unsweetened coconut in the dough for a tropical flavor that pairs beautifully with chocolate and mint.
- Spicy Heat: Infuse a dash of cayenne pepper into the dough for a warming kick that contrasts with the sweetness.
- Oreo Variation: Incorporate crushed Oreo cookies into the dough for a fun twist that adds an extra layer of chocolatey goodness.
- Milk Chocolate: For a sweeter option, try coating the cookies in milk chocolate—perfect for those who love that creamy sweetness.
For more delicious ideas, try our Banana Chamomile Tea for a refreshing sip alongside your cookies!
Homemade Thin Mints Recipe FAQs
What type of mint extract should I use?
For the best flavor in your Homemade Thin Mints, I recommend using pure peppermint extract, which provides that classic minty kick. If you can’t find peppermint extract, pure mint extract also works nicely, giving you the refreshing taste you’re looking for.
How should I store my Homemade Thin Mints?
Store your Homemade Thin Mints in an airtight container at room temperature for up to one week to keep them crispy. If you want to extend their freshness, you can refrigerate them for up to two weeks, but this might slightly lessen their crunchiness. For long-term storage, these treats can be frozen for up to 6 months—just remember to wrap them well to prevent freezer burn.
Can I freeze the cookie dough?
Absolutely! If you’re not ready to bake all the cookie dough at once, you can freeze it for up to 3 months. After rolling out the dough, wrap it tightly in plastic wrap and then place it in a freezer-friendly bag. When you’re ready to bake, simply thaw the dough in the refrigerator overnight, then roll and cut as directed.
What do I do if my cookie dough is too sticky?
If you find that your cookie dough is too sticky to handle, sprinkle a little more flour onto your work surface and your hands while rolling it out. Another option is to chill the dough for an additional 30 minutes; this will make it firmer and easier to cut into shapes.
Are there any dietary considerations for Homemade Thin Mints?
Yes! If you have dietary restrictions, be sure to check the labels of your baking ingredients. For a dairy-free option, use plant-based butter and ensure your chocolate chips are dairy-free as well. Those with gluten sensitivities can substitute all-purpose flour with a gluten-free blend, watching to ensure the mix contains xanthan gum for proper structure.
Homemade Thin Mints That Are Better Than the Originals
Ingredients
Equipment
Method
- Preheat your oven to 350°F (175°C) and line baking sheets with parchment paper.
- Combine softened butter and sugar in a mixing bowl. Beat until creamy and light.
- Add egg, vanilla bean paste, and peppermint extract. Mix until well combined.
- Sift together all-purpose flour, cocoa powder, baking powder, and salt in another bowl.
- Gradually mix dry ingredients into the wet ingredients until just incorporated.
- Divide the dough in half, roll each half between parchment paper to ¼-inch thickness, wrap, and refrigerate for at least 2 hours.
- Cut out cookies with a 2-inch cookie cutter and place on prepared baking sheets.
- Bake for 8 minutes. Allow to cool on the baking sheet for 5 minutes before transferring to wire racks.
- Melt chocolate chips in a microwave-safe bowl and mix in vegetable oil until smooth.
- Dip cooled cookies in chocolate, allowing excess to drip off before placing on parchment.
- Let cookies set at room temperature until chocolate hardens, about 30-60 minutes.
Leave a Reply