
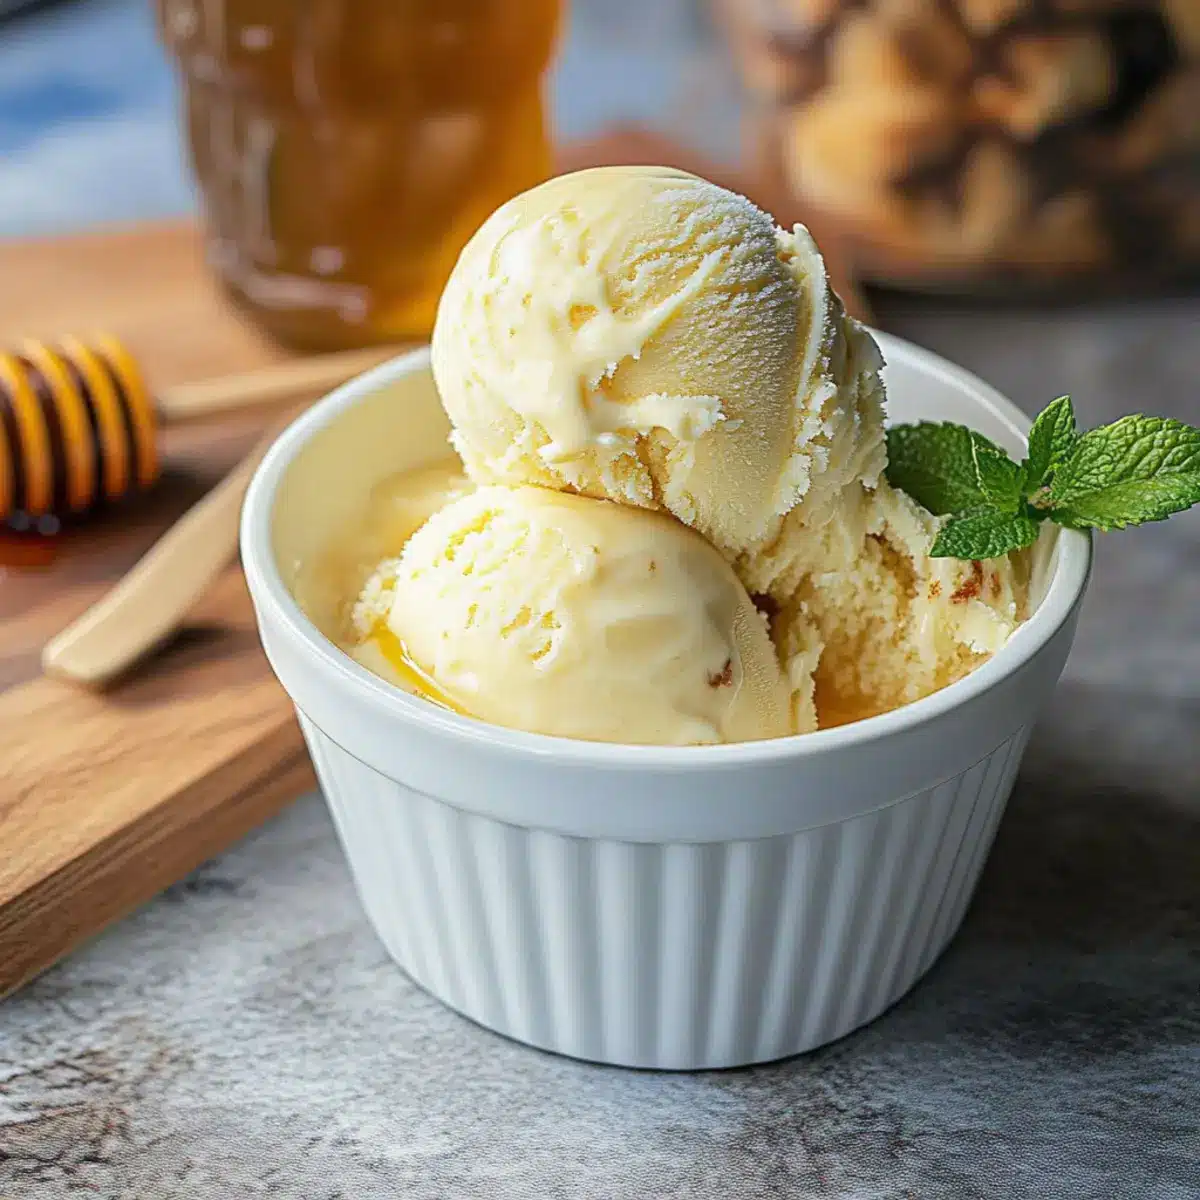
The aroma of caramelized honey wafted through my kitchen like a warm embrace, instantly transported me to sunlit afternoons spent exploring Moroccan markets. That’s how my passion for making Burnt Honey Ice Cream began—a frozen dessert that marries the deep notes of toasted orange blossom honey with a silky, creamy custard. This recipe not only elevates your ice cream game but also impresses family and friends with minimal effort. The best part? It brings a unique twist to those warm evenings, transforming any simple gathering into a delightful treat. Are you ready to add a little sophistication to your dessert table? Let’s dive in!
Why Try Burnt Honey Ice Cream?
Indulgent Experience: This ice cream offers a luxurious flavor profile that goes beyond traditional treats. Unique Twist: The caramelized orange blossom honey provides a depth that surprises and delights. Easy to Make: With straightforward steps, you can impress your guests without taking hours in the kitchen. Crowd-Pleasing: Perfect for gatherings, this creamy dessert pairs beautifully with pastries like Beghrir or warm apple pie. Versatile flavors can be adapted by adding spices like cinnamon, making it a recipe you’ll return to again and again.
Burnt Honey Ice Cream Ingredients
• Here’s everything you’ll need to create this dreamy dessert!
For the Custard Base
- 9 large egg yolks – Provides richness and creamy texture. Use fewer yolks for a lighter version, but this impacts the final creaminess.
- 1/4 cup (50 grams) granulated sugar – Adds sweetness and helps create the custard base. Can replace with brown sugar for a deeper flavor.
- 1/2 cup (170 grams) orange blossom honey – Key ingredient for the burnt flavor profile. Substitute with wildflower honey for different floral notes.
- 2 cups (528 grams) heavy cream – Contributes to the ice cream’s richness and creamy mouthfeel. Reduced-fat cream can be used, but texture may vary.
- 1 cup (250 grams) whole milk – Balances the richness of the cream. Skim or low-fat milk can be used for a lighter version.
- 1 cup (110 grams) very cold crème fraîche – Adds tang and creaminess. Sour cream can be a substitute but provide a slightly different flavor.
- 1 teaspoon (3 grams) kosher salt – Enhances flavor. Sea salt is a good alternative.
Step‑by‑Step Instructions for Burnt Honey Ice Cream
Step 1: Prepare the Ice Bath
Start by preparing an ice bath to cool your custard quickly. Fill a large bowl with ice and cold water, then nest a medium bowl inside it, placing a fine-mesh strainer over the top. This setup will ensure your Burnt Honey Ice Cream custard stays silky and smooth as it cools down, preventing overcooking.
Step 2: Whisk Together Egg Yolks and Sugar
In a medium bowl, add the 9 large egg yolks and 1/4 cup of granulated sugar. Using a whisk, vigorously mix the ingredients until the mixture turns pale and slightly thickened. This process takes about 2 minutes and is crucial for the creamy texture of your Burnt Honey Ice Cream, making it rich and satisfying.
Step 3: Caramelize the Honey
In a medium saucepan, warm 1/2 cup of orange blossom honey over medium heat. Stir gently and cook for approximately 5 minutes until the honey darkens and emits a delightful toasted marshmallow aroma. Be careful as it can burn quickly; you want it to be perfectly caramelized to infuse your ice cream with deep flavor.
Step 4: Combine Cream and Milk
While the honey caramelizes, pour 2 cups of heavy cream and 1 cup of whole milk into another saucepan. Heat the cream mixture over medium heat, stirring occasionally until it’s warm but not boiling, about 3-4 minutes. Once warm, gradually whisk this into the caramelized honey, adding about 1/2 cup at a time to ensure an even blend.
Step 5: Mix the Egg and Honey Mixtures
Once the cream and honey mixture is fully combined, remove the saucepan from the heat. Slowly pour this hot mixture into the egg yolk mixture, whisking constantly to temper the eggs. This step ensures your Burnt Honey Ice Cream mixture remains smooth and doesn’t curdle, which can ruin the texture.
Step 6: Thicken the Custard
Return the combined mixture to the saucepan, cooking over medium-low heat while whisking continuously. After about 2 minutes, or when the mixture thickens enough to coat the back of a spoon, remove it from the heat. This gentle cooking brings the flavors together beautifully, creating a custard that’s the star of your Burnt Honey Ice Cream.
Step 7: Strain and Add Crème Fraîche
Pour the custard through the fine-mesh strainer into the bowl resting in the ice bath. This step pulls out any bits and ensures a silky texture. Now, whisk in the 1 cup of very cold crème fraîche and 1 teaspoon of kosher salt, blending thoroughly until the mixture is smooth and creamy, perfect for your Burnt Honey Ice Cream.
Step 8: Cool and Refrigerate
Allow your mixture to cool to room temperature in the ice bath, which should take about 15-20 minutes. Once cooled, cover the bowl with plastic wrap and refrigerate for at least 2 hours or overnight. Chilling is essential; it develops the flavors and enhances the smooth texture of the Burnt Honey Ice Cream.
Step 9: Churn the Ice Cream
Once chilled, pour the custard into your ice cream maker. Follow the manufacturer’s instructions to churn the mixture, usually for about 20-25 minutes, until it reaches a soft-serve consistency. This process incorporates air, creating that delightful creaminess and ensuring your Burnt Honey Ice Cream is light and fluffy.
Step 10: Freeze for Firmness
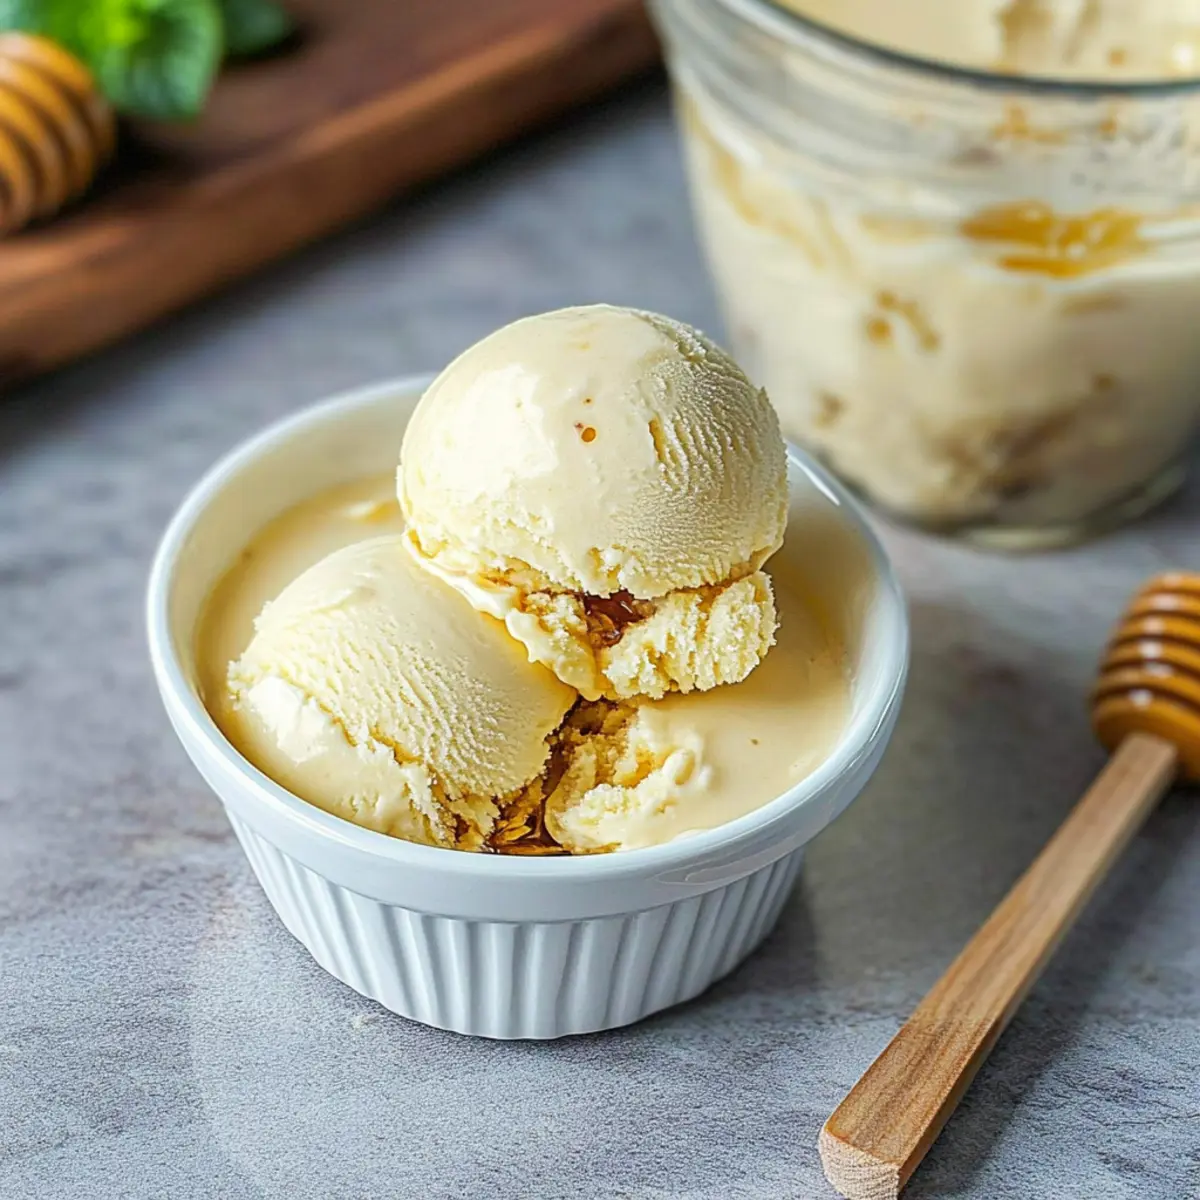
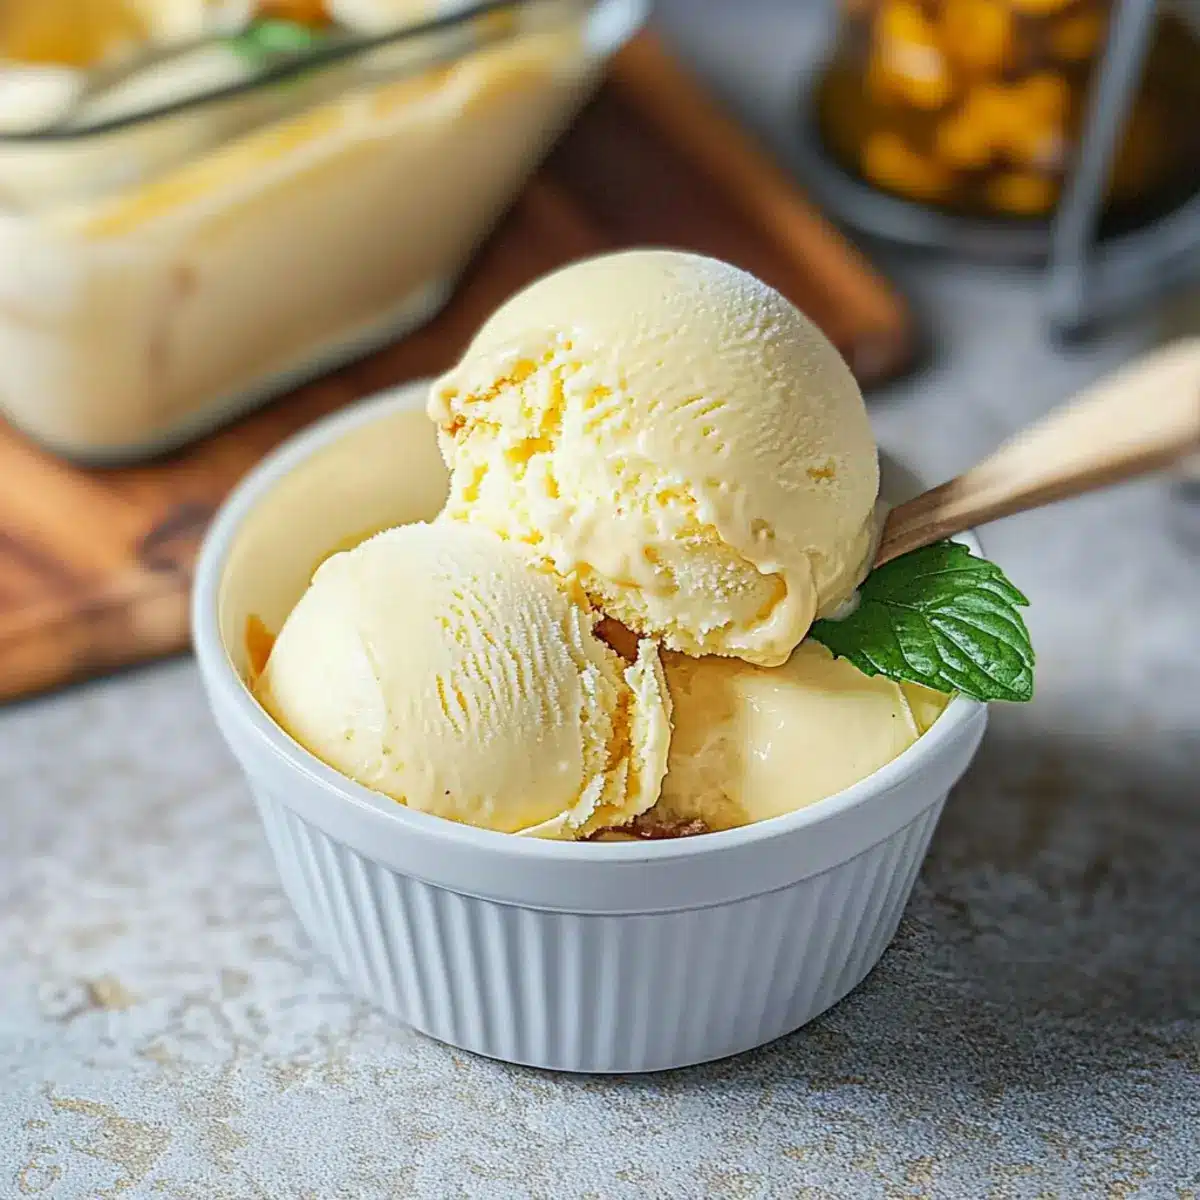
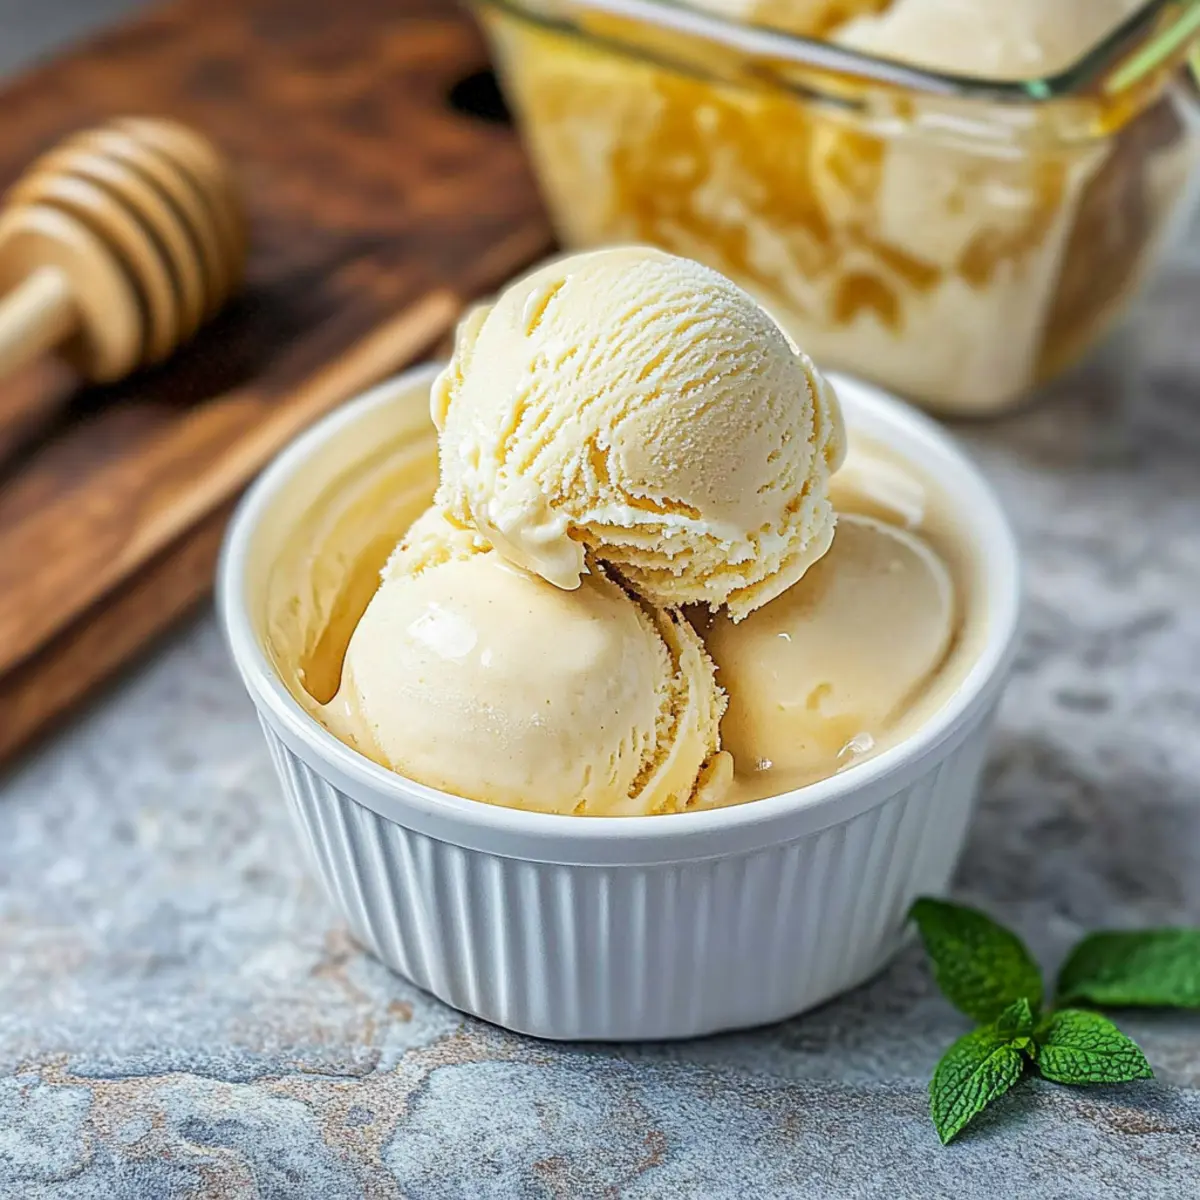
After churning, transfer the Burnt Honey Ice Cream to a freezer-safe container and smooth the top. To achieve a firmer texture, place it in the freezer for an additional 4 hours. This final freezing will set the ice cream perfectly, making it ready for scooping and serving to friends and family!
How to Store and Freeze Burnt Honey Ice Cream
Fridge: Store in an airtight container in the fridge for up to 3 days to maintain its creamy texture.
Freezer: Transfer the ice cream to a freezer-safe container with a tight-fitting lid. For optimal texture, consume within a week; it can last up to 2 weeks but may become icy.
Reheating: If you notice ice crystals forming, let the Burnt Honey Ice Cream sit at room temperature for about 10 minutes before scooping. This helps restore that delightful creaminess.
Covering: Always press a piece of parchment paper directly onto the surface of the ice cream before sealing for added protection against freezer burn.
Helpful Tricks for Burnt Honey Ice Cream
-
Monitor Honey Closely: Caramelizing the honey should be done carefully; it darkens quickly. Stir and watch diligently to avoid burning it and preserve that delicious toasted flavor.
-
Whisking Technique: When combining hot cream with the egg mixture, constant whisking is vital to prevent curdling. If curdling does occur, blend the mixture to achieve a smooth consistency before chilling.
-
Cold Ingredients: Ensure your heavy cream, milk, and crème fraîche are very cold before mixing. This simple step significantly enhances the texture of your Burnt Honey Ice Cream, resulting in creaminess and a delightful mouthfeel.
-
Chill Properly: Don’t skip the chilling step after cooking the custard. Refrigerate it for a minimum of two hours, or preferably overnight, to allow the flavors to meld beautifully.
-
Churning Guidelines: Follow your ice cream maker’s instructions for churning time. Over-churning can lead to icy textures, while under-churning may leave it too soft. Aim for a delightful soft-serve consistency before freezing!
Make Ahead Options
Burnt Honey Ice Cream is a fantastic dessert to make ahead of time, saving you precious moments during busy days! You can prepare the custard base and refrigerate it for up to 24 hours before churning. To do this, simply follow the recipe until the mixture is complete, then cool it down and store it in an airtight container in the fridge. This allows the flavors to meld beautifully without sacrificing quality. When you’re ready to enjoy your ice cream, simply churn the chilled custard in your ice cream maker, freeze it for at least 4 hours for optimal texture, and you’ll achieve the same rich, creamy delight as if it were freshly made!
What to Serve with Burnt Honey Ice Cream
Transport your taste buds to a sunlit afternoon with the decadent creamy delight of this exquisite dessert.
-
Warm Apple Pie: The buttery, flaky crust and cinnamon-spiced apples provide a comforting contrast to the rich ice cream, making for a classic dessert duo.
-
Beghrir Pancakes: These Moroccan pancakes soak up the ice cream’s sweet honey notes, creating a delightful synergy that will satisfy your sweet cravings.
-
Chocolate Lava Cake: The warm, gooey center of a chocolate lava cake pairs beautifully with the creamy, caramelized honey flavor, creating an indulgent experience with every bite.
-
Crushed Biscotti: Serve some crunchy, nutty biscotti on the side to add a textural contrast and a hint of sweetness that enhances the luxurious ice cream.
-
Homemade Shortbread Cookies: Buttery shortbread provides a simple yet rich complement, balancing the smooth sweetness of your Burnt Honey Ice Cream.
-
Fresh Berries: A medley of fresh berries adds a vibrant burst of flavor, enhancing the dessert’s overall sweetness while introducing lively acidity for balance.
-
Mint Tea: A warm cup of Moroccan mint tea provides a refreshing finish, wrapping up the decadent experience with aromatic herbal notes that cleanse the palate.
-
Salted Caramel Sauce: Drizzle a bit of salted caramel over the top for an added layer of sweetness and depth that will elevate the dish even further.
Burnt Honey Ice Cream Variations
Feel free to explore these delightful variations and substitutions to make this creamy treat your own!
- Dairy-Free: Swap heavy cream and milk with coconut milk and almond milk for a luscious, dairy-free version.
- Different Honey: Try using wildflower honey instead of orange blossom for unique floral notes that surprise the palate.
- Spicy Twist: Add a pinch of cayenne pepper or chili powder to the mixture for a surprising heat that pairs beautifully with the sweetness.
- Nutty Delight: Incorporate crushed pistachios or toasted almonds before churning for added texture and nutty flavor.
- Chocolate Drizzle: Once churned, dribble hot fudge or chocolate sauce over the soft serve for an indulgent finish.
- Culinary Adventure: Consider infusing the cream with herbs like thyme or basil for a unique herbal note that elevates every bite.
- Ice Cream Sandwiches: Scoop the Burnt Honey Ice Cream between cookies or brownies to create decadent ice cream sandwiches.
- Garnish Suggestions: Top with crushed honeycomb or caramel shards to add a crunchy texture and a visual pop that will impress your guests.
Each twist adds a personal touch to this already spectacular dessert! And if you’re in the mood for more creative desserts, be sure to check out the delicious Cookies Cream Cookie or the light and refreshing Bavarian Cream Berries to round out your dessert offerings!
Burnt Honey Ice Cream Recipe FAQs
How do I choose the right honey for this recipe?
Absolutely! The key to achieving that distinctive flavor in your Burnt Honey Ice Cream lies in the honey you choose. I recommend using orange blossom honey for its floral notes and caramelized richness. If you prefer a different twist, wildflower honey can also work wonderfully, providing a more complex taste profile. Just ensure the honey is high-quality, as it significantly impacts the ice cream’s final flavor.
How should I store my Burnt Honey Ice Cream?
For optimal freshness, store your Burnt Honey Ice Cream in an airtight container in the fridge for up to 3 days. However, if you want to preserve that delightful creaminess, transfer it to a freezer-safe container. It can last in the freezer for about 2 weeks, but for the best texture, aim to enjoy it within a week. Always cover the surface with a piece of parchment paper before sealing to prevent ice crystals.
Can I freeze Burnt Honey Ice Cream?
Yes, indeed! Once churned, transfer your Burnt Honey Ice Cream to a freezer-safe container. Ensure it’s airtight and place it in the freezer for about 4 hours for a firmer texture. If you want to enjoy it later, it can last up to 2 weeks, but for the best experience in terms of flavor and texture, I recommend consuming it within a week. Just let it sit at room temperature for about 10 minutes before scooping if it becomes too hard.
What should I do if my ice cream curdles during the process?
If you find that your mixture has curdled, don’t despair! Simply transfer it to a blender and blend until smooth. The key is to whisk constantly when adding the hot cream to the egg mixture to prevent curdling in the first place. If you do end up with curdled cream, this step will help restore the silky texture that defines your Burnt Honey Ice Cream.
What dietary restrictions should I consider with this ice cream?
While this Burnt Honey Ice Cream is naturally indulgent, it does contain dairy and eggs, making it unsuitable for vegans and those with lactose intolerance or egg allergies. If you need a dairy-free alternative, you could try coconut milk or almond milk in place of the cream and milk, although it may alter the flavor and texture slightly. Always check the specific brands for allergens if making for someone with serious allergies.
How do I enhance the flavor of my Burnt Honey Ice Cream?
The more the merrier! If you’re looking to add a bit of flair, consider infusing your custard with spices like cinnamon or cardamom during the warming step of the cream and milk. Just add about 1/2 teaspoon of ground spice for a delightful twist on the flavor. Another suggestion is to swirl in some chocolate or nut butter right before freezing for added richness and taste!
Indulge in Creamy Burnt Honey Ice Cream Joy
Ingredients
Equipment
Method
- Prepare an ice bath with ice and cold water. Nest a medium bowl inside and place a fine-mesh strainer over the top.
- In a medium bowl, whisk together the egg yolks and granulated sugar until pale and slightly thickened, about 2 minutes.
- In a medium saucepan, warm the orange blossom honey over medium heat for about 5 minutes until caramelized.
- In another saucepan, heat the heavy cream and whole milk until warm, then gradually whisk into the caramelized honey.
- Slowly pour the hot honey-cream mixture into the egg yolk mixture, whisking constantly to temper the eggs.
- Return the mixture to the saucepan and cook over medium-low heat, whisking continuously until thickened, about 2 minutes.
- Strain the custard through the fine-mesh strainer into the ice bath, then whisk in the crème fraîche and salt.
- Allow the mixture to cool to room temperature in the ice bath for 15-20 minutes, then refrigerate for at least 2 hours.
- Pour the chilled custard into the ice cream maker and churn according to the manufacturer's instructions, about 20-25 minutes.
- Transfer to a freezer-safe container and freeze for 4 hours to firm up before serving.
Leave a Reply