
As I wandered through my garden, the bright yellow dandelion petals danced in the gentle spring breeze, inviting creativity. Capturing this joyful moment, I decided to create a delightful batch of Homemade Dandelion Jelly. This recipe is not only heartwarming but also a beautiful way to transform often-overlooked backyard blooms into a flavorful treat. With its light sweetness and floral notes, this easy jelly recipe is perfect for slathering on warm toast or pairing with your favorite cheeses. Plus, it’s vegan-friendly and gluten-free, making it a versatile addition to any kitchen. Can you imagine indulging in a jar of sunshine? Let’s dive into this charming springtime delight together!
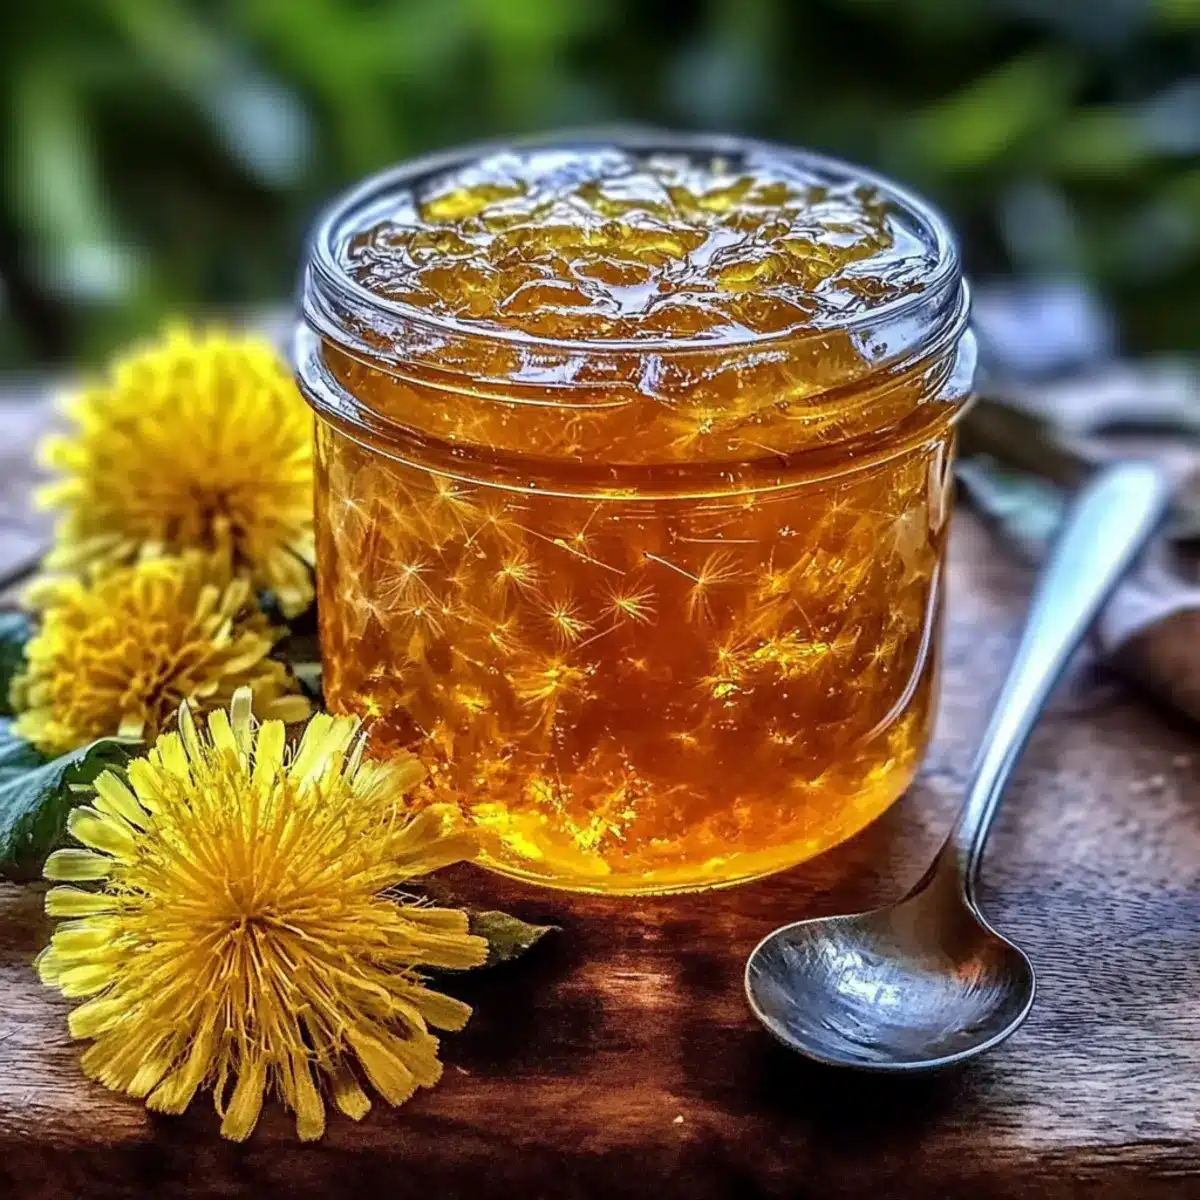
Why Try Homemade Dandelion Jelly?
Bright, Floral Flavor: This jelly delivers a refreshing taste of spring, made using gorgeous dandelion petals that transform into a sweet, herbal spread.
Easy to Make: With simple ingredients and straightforward steps, you’ll whip up this delightful jelly in no time, perfect for even novice cooks.
Vegan and Gluten-Free: A wonderful option for anyone with dietary restrictions, this recipe caters to all, ensuring everyone can enjoy it.
Versatile Pairings: Enjoy it on toast, with soft cheeses, or even drizzled over desserts — the possibilities are endless!
Unique Homemade Preserves: Impress friends and family with your homemade skills by presenting them with something as unique as Homemade Jam Donut delight.
Homemade Dandelion Jelly Ingredients
For the Jelly
- Fresh Dandelion Petals – These are the star of the show; pick only vibrant yellow petals from a pesticide-free area to avoid bitterness.
- Sugar – This sweetens the jelly; consider substituting with coconut sugar for a unique, deeper flavor (note that it will darken your jelly).
- Lemon Juice – Essential for balancing sweetness; it adds a bright acidity that enhances the overall flavor.
- Water – Used to gently extract the flavors from the dandelion petals while simmering.
- Pectin – Necessary for thickening; opt for a vegan substitute if you prefer a plant-based approach.
- Butter (optional) – Helps in minimizing foam during boiling, keeping your jelly smooth and clear.
Transform your springtime blooms into delightful homemade dandelion jelly with these simple ingredients!
Step‑by‑Step Instructions for Homemade Dandelion Jelly
Step 1: Prepare Petals
Begin by gathering fresh dandelion petals, making sure to only collect vibrant yellow flowers from a pesticide-free area. Rinse the petals thoroughly under cool water to remove dirt and insects. This initial step is crucial for ensuring the bright flavor of your Homemade Dandelion Jelly shines through. You should end up with about 2 cups of clean petals for the perfect infusion.
Step 2: Infusion
In a medium saucepan, combine the rinsed dandelion petals with 4 cups of water. Bring the mixture to a gentle boil over medium heat, then reduce to a simmer and cover. Let it simmer for about 30 minutes; this process extracts the wonderful floral flavor while ensuring the jelly remains bright and fresh. Be careful not to rush this step to avoid bitterness.
Step 3: Strain
After simmering, remove the saucepan from heat and allow it to cool slightly. Set a fine-mesh strainer over a large bowl and carefully pour the dandelion mixture into it, allowing the liquid to separate from the petals. Press the petals gently with a spoon to extract as much liquid as possible, then discard the petals. You should have about 3 cups of fragrant dandelion infusion ready for your jelly.
Step 4: Combine Ingredients
Return the reserved liquid to the saucepan, then add 3 cups of sugar and 1/4 cup of lemon juice, stirring well. Also, mix in the pectin according to package instructions, ensuring all ingredients are combined thoroughly. Over medium heat, stir constantly until the sugar and pectin dissolve completely, creating a sweet and tangy base for your Homemade Dandelion Jelly.
Step 5: Boil
Increase the heat and bring the mixture to a rolling boil, stirring occasionally to prevent sticking. Allow it to boil vigorously for about 10 minutes, or until the jelly reaches a thickened consistency. To check if it’s ready, use the cold plate method: place a spoonful on a cold plate and tilt it; if it holds its shape, your jelly is done.
Step 6: Jar and Store
Once the desired consistency is reached, carefully pour the hot dandelion jelly into sterilized jars. Ensure to leave about 1/4 inch of headspace at the top. Wipe the rims to remove any residue before sealing with the lids. If you’re using a water bath, process the jars for 5-10 minutes to ensure proper sealing. Once cooled to room temperature, store unopened jars in a cool, dark place to enjoy later!
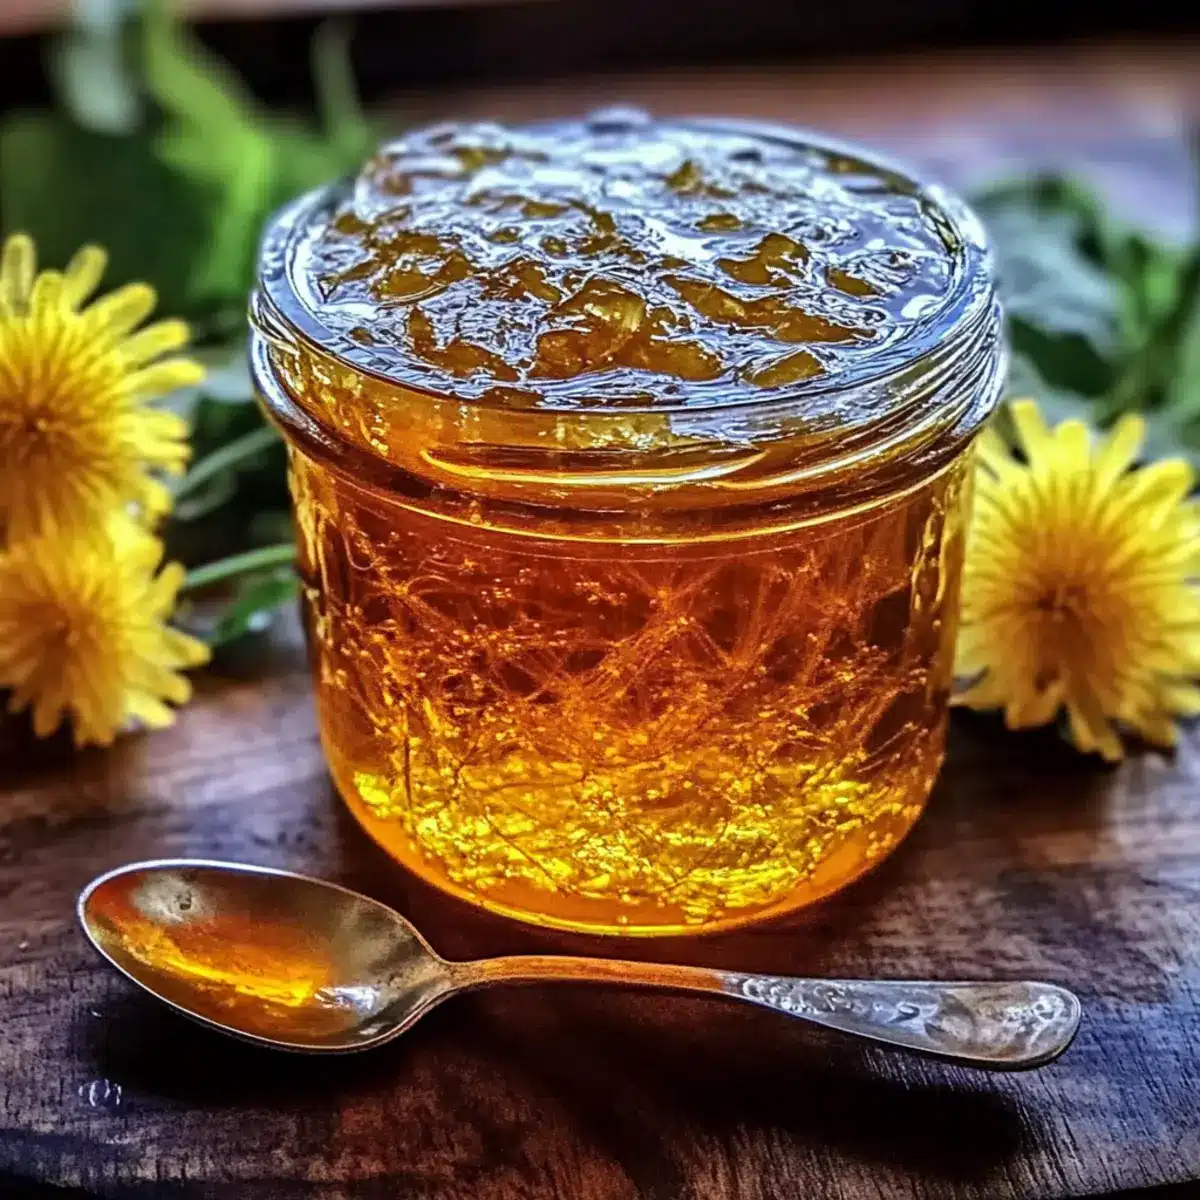
Homemade Dandelion Jelly Variations
Feel free to let your creativity bloom and experiment with these exciting twists on your jelly!
- Ginger Kick: Add fresh grated ginger during the boiling step for a zesty spice that brightens the floral flavor.
- Honey Sweetness: Swap out regular sugar for honey or agave nectar to create a distinct sweetness that complements the dandelions.
- Flavored Dandelion Jelly: Infuse other flavors like vanilla or herbs (such as mint or lavender) during the simmering process for a unique twist.
- Fruity Fusion: Mix in chopped strawberries or raspberries while boiling for a berry-infused floral delight that’s dazzlingly pink!
- Nutty Crunch: Stir in crushed nuts like walnuts or almonds after the jelly has cooled slightly for added texture and flavor complexity.
- Vibrant Citrus: Try adding orange or lime zest to the infusion for an extra citrusy brightness that dances on your palate.
- Savory Twist: Pair with cream cheese or soft cheeses for a delightful savory and sweet contrast, like an herbal cheese board!
- Exotic Spices: Experiment with a pinch of cardamom or cinnamon for an unexpected aromatic layer that will surprise your taste buds.
These delicious ideas can elevate your jelly experience—just like the joy of baking delightful treats such as Cannoli Cookies Homemade.
How to Store and Freeze Homemade Dandelion Jelly
Fridge: Store opened jars of your homemade dandelion jelly in the refrigerator for up to 1 month while maintaining its delightful flavor and floral aroma.
Pantry: Unopened jars can be kept in a cool, dark pantry for up to 1 year, ensuring they remain fresh and ready to brighten your mornings.
Freezer: If you want to store your jelly for longer, consider freezing it in airtight containers for up to 6 months; just be sure to leave some space at the top to allow for expansion.
Reheating: To enjoy your frozen jelly, simply thaw it in the fridge overnight and warm it gently on the stove or microwave before serving for a comforting embrace of spring!
What to Serve with Bright Floral Homemade Dandelion Jelly?
Imagine a delightful meal where the sweet and floral flavors of your homemade dandelion jelly harmonize beautifully with various accompaniments.
- Warm Toast: The classic choice! A slice of freshly toasted bread transforms into a soft, warm canvas, showcasing your bright floral jelly’s unique sweetness.
- Biscuits: Flaky and buttery, biscuits provide a rich contrast to the lightness of dandelion jelly, making each bite a delightful experience.
- Soft Cheese: Try it with creamy brie or tangy goat cheese for a lovely pairing. The richness of the cheese balances the jelly’s floral notes perfectly.
- Greek Yogurt: Swirl a spoonful of the jelly into tangy yogurt for a burst of sunshine in your morning routine. Add a sprinkle of granola for crunch.
- Scones: Serve the jelly alongside warm scones at a brunch gathering. The texture and sweetness will enchant your guests and elevate the occasion.
- Dessert Sauce: Drizzle on vanilla ice cream or spoon over fresh fruit for a sweet surprise that highlights the jelly’s vibrant flavor.
- Herbal Tea: Complement your jelly treats with a fragrant herbal tea, like chamomile or lemon verbena, which will add a soothing warmth to your meal.
- Sparkling Water: For a light and refreshing drink, enjoy sparkling water infused with lemon or mint beside your dandelion jelly delights.
- Cheese Board: Create an elegant cheese board featuring assorted cheeses, nuts, and fresh fruit, allowing your jelly to add a bright, sweet touch.
Let your creativity flow as you explore these delightful combinations with your homemade dandelion jelly!
Expert Tips for Homemade Dandelion Jelly
-
Petal Selection: Choose only bright yellow dandelion petals; avoid any greens or browning parts to prevent bitterness in your homemade dandelion jelly.
-
Simmering Secrets: Take your time during the infusion step; a gentle simmer for 30 minutes extracts the best flavors without introducing bitterness.
-
Cold Plate Test: Always test your jelly’s consistency with the cold plate method—if it firms up when cooled, you’re on the right track!
-
Stir Continuously: While boiling, keep stirring to avoid scorching; this maintains the jelly’s smooth texture and vibrant color.
-
Jar Safety: For safe sealing, ensure jars are sterilized and leave 1/4 inch headspace before capping; this helps preserve freshness.
Make Ahead Options
Homemade Dandelion Jelly is perfect for busy cooks looking to save time! You can prepare the dandelion infusion up to 24 hours in advance by simmering the petals in water (as detailed in Step 2) and storing the strained liquid in the refrigerator. When you’re ready to finish your jelly, simply return the infused liquid to the saucepan and follow the remaining steps (combining ingredients, boiling, and jarring). This method ensures that you can easily whip up a delightful jelly while keeping the fresh flavors intact. Just remember to seal the jars well and store them in a cool, dark place for up to a year once processed — perfect for special occasions or everyday treats!
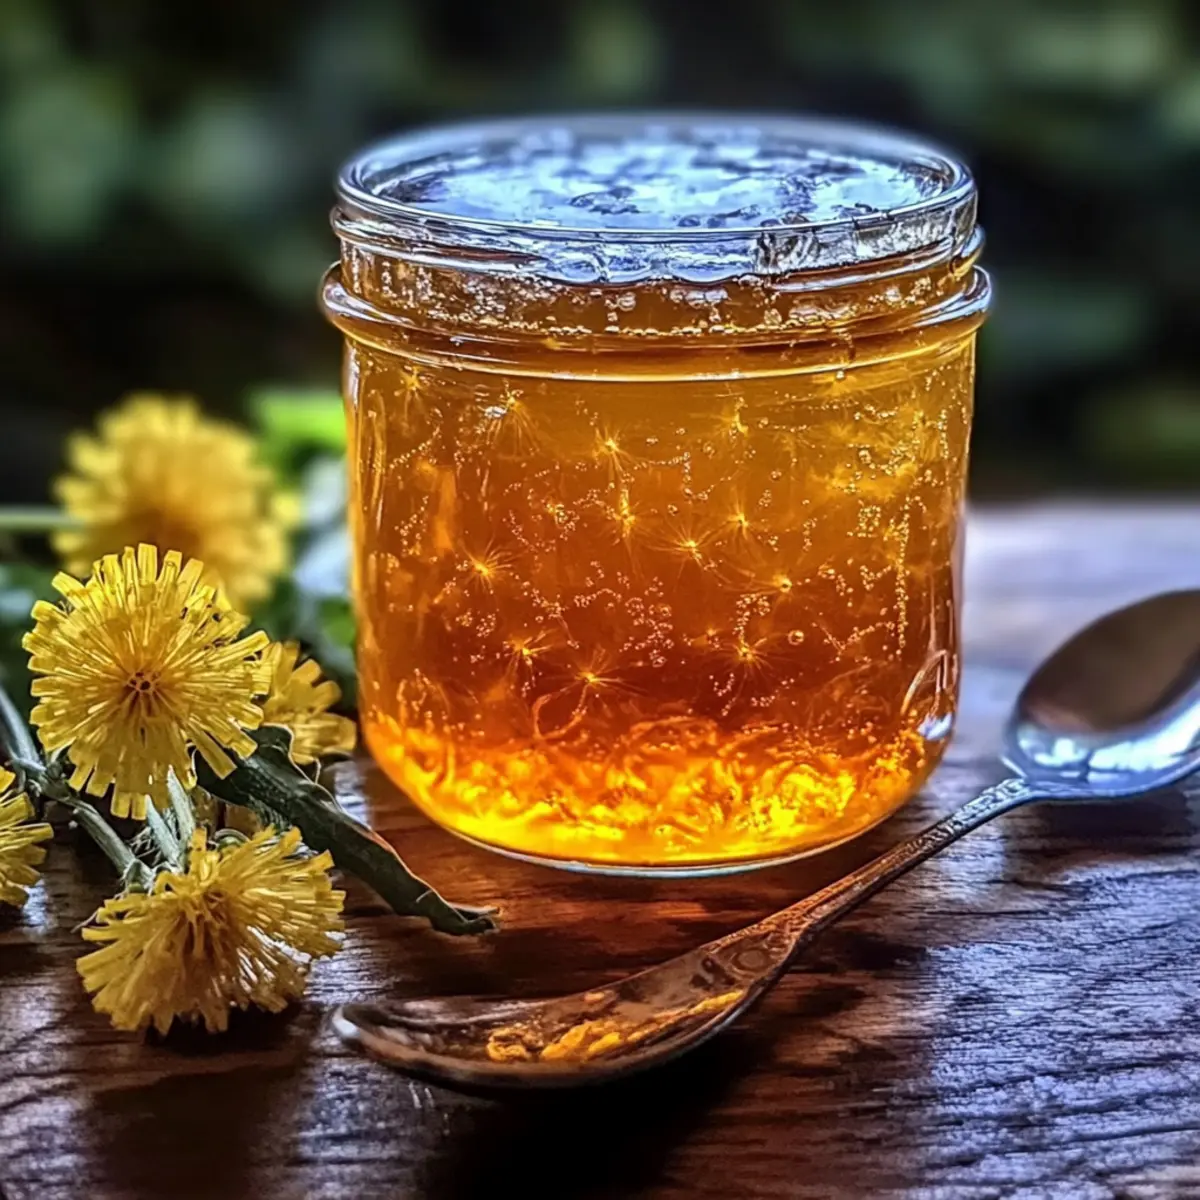
Homemade Dandelion Jelly Recipe FAQs
What type of dandelion petals should I use?
Absolutely! For the best flavor, only use bright yellow dandelion petals. Avoid any green parts or petals with dark spots, as they can introduce bitterness to your homemade dandelion jelly. Harvest only from areas free of pesticides for a safe and delicious treat!
How should I store my dandelion jelly?
Once you’ve made your delicious homemade dandelion jelly, store opened jars in the refrigerator. They will retain their delightful flavor for up to 1 month. Unopened jars can be kept in a cool, dark pantry for up to 1 year. Just make sure they’re tightly sealed!
Can I freeze dandelion jelly?
Yes, you can! To freeze your jelly, pour it into airtight containers, leaving a little space at the top for expansion. It will keep well in the freezer for up to 6 months. To enjoy, simply thaw it overnight in the fridge and warm it gently on the stove or in the microwave.
What if my jelly doesn’t thicken?
If your homemade dandelion jelly doesn’t reach the desired thickness, don’t worry! You can reprocess it by pouring the jelly back into a pot, adding additional pectin according to package instructions, and boiling it once more until thickened. Just remember to stir continuously to prevent scorching!
Is dandelion jelly safe for pets?
Generally, yes! Dandelions are safe for pets in small quantities; they even provide some health benefits. However, if you’re unsure, it’s always best to check with your veterinarian, especially if your furry friend has specific dietary restrictions or allergies.
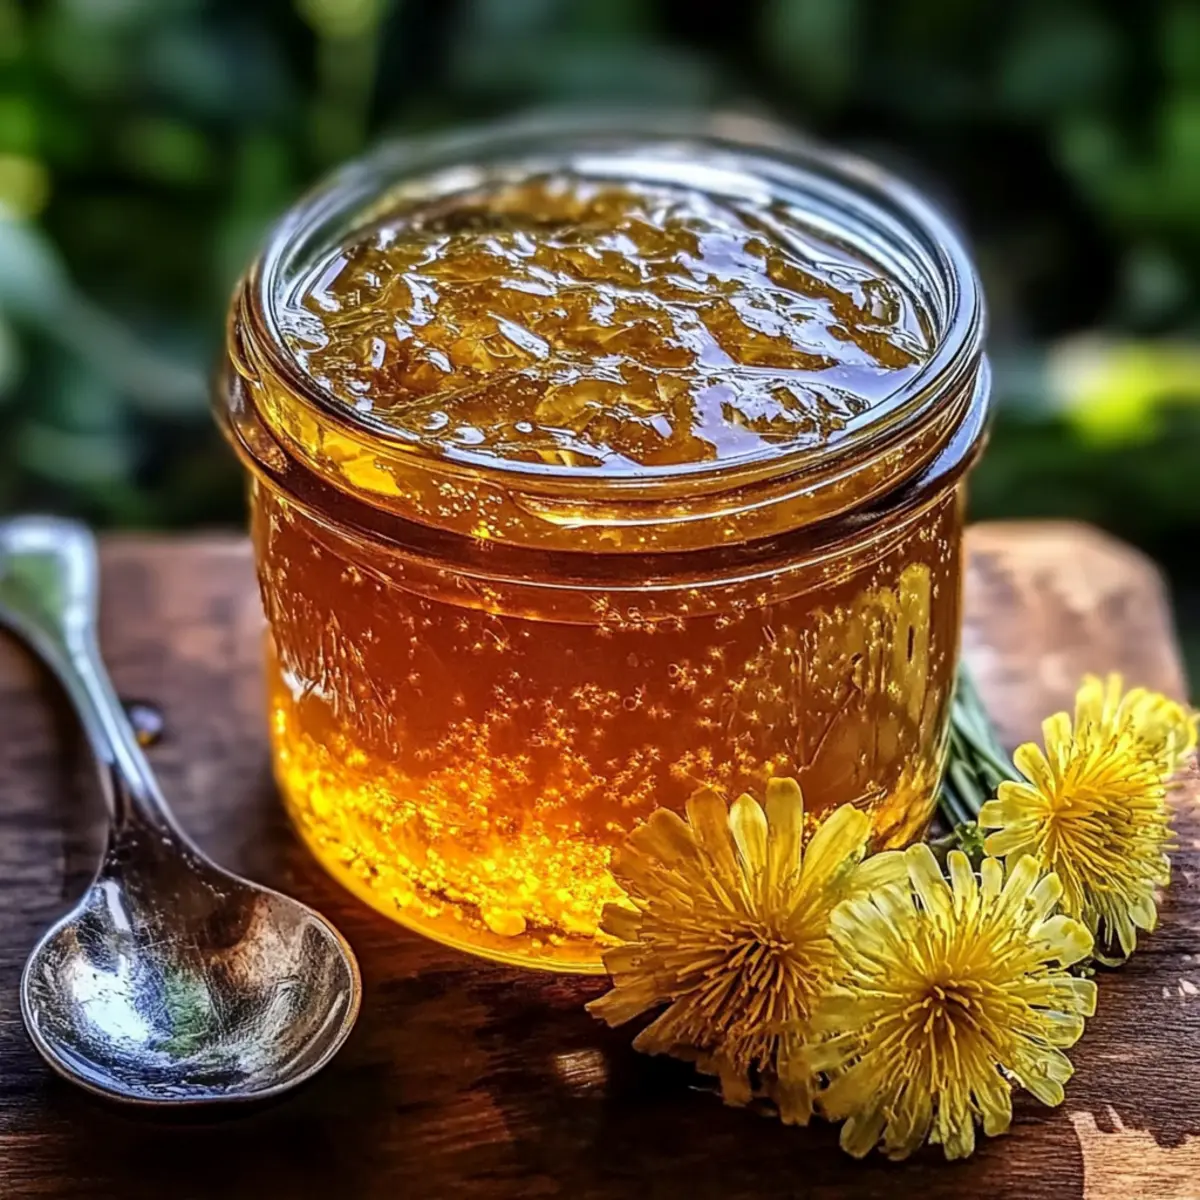
Homemade Dandelion Jelly: Brighten Your Spring Mornings
Ingredients
Equipment
Method
- Gather fresh dandelion petals, rinse them thoroughly, and ensure you have about 2 cups of clean petals.
- In a medium saucepan, combine the rinsed dandelion petals with 4 cups of water. Bring to a gentle boil, then simmer for 30 minutes.
- Remove from heat, cool slightly, and strain the mixture through a fine-mesh strainer into a large bowl, pressing on the petals to extract liquid.
- Return the liquid to the saucepan, add 3 cups of sugar and 1/4 cup of lemon juice, stirring well. Mix in the pectin according to package instructions.
- Bring to a rolling boil while stirring occasionally. Boil vigorously for about 10 minutes, or until the jelly thickens.
- Carefully pour the hot dandelion jelly into sterilized jars, leaving 1/4 inch of headspace. Seal with lids and process in a water bath if desired.
Leave a Reply