
The kitchen buzzed with excitement as my friends and I gathered for our annual Easter bake-off. Little did we know that we would stumble onto a crowd-pleaser: Easter Egg Oreo Balls. These festive, no-bake treats are a revelation—quick to whip up and incredibly customizable, making them perfect for all our spring celebrations. Just imagine crafting these charming, egg-shaped delights filled with the rich flavors of Oreos and cream cheese, then coating them in vibrant pastel hues that brighten any dessert table. Plus, they’re so easy to make that even novice bakers can join in the fun! Who wouldn’t want to sink their teeth into a creamy, chocolate-covered bite of nostalgia? Ready to roll up your sleeves and create something delightful? Let’s dive in!
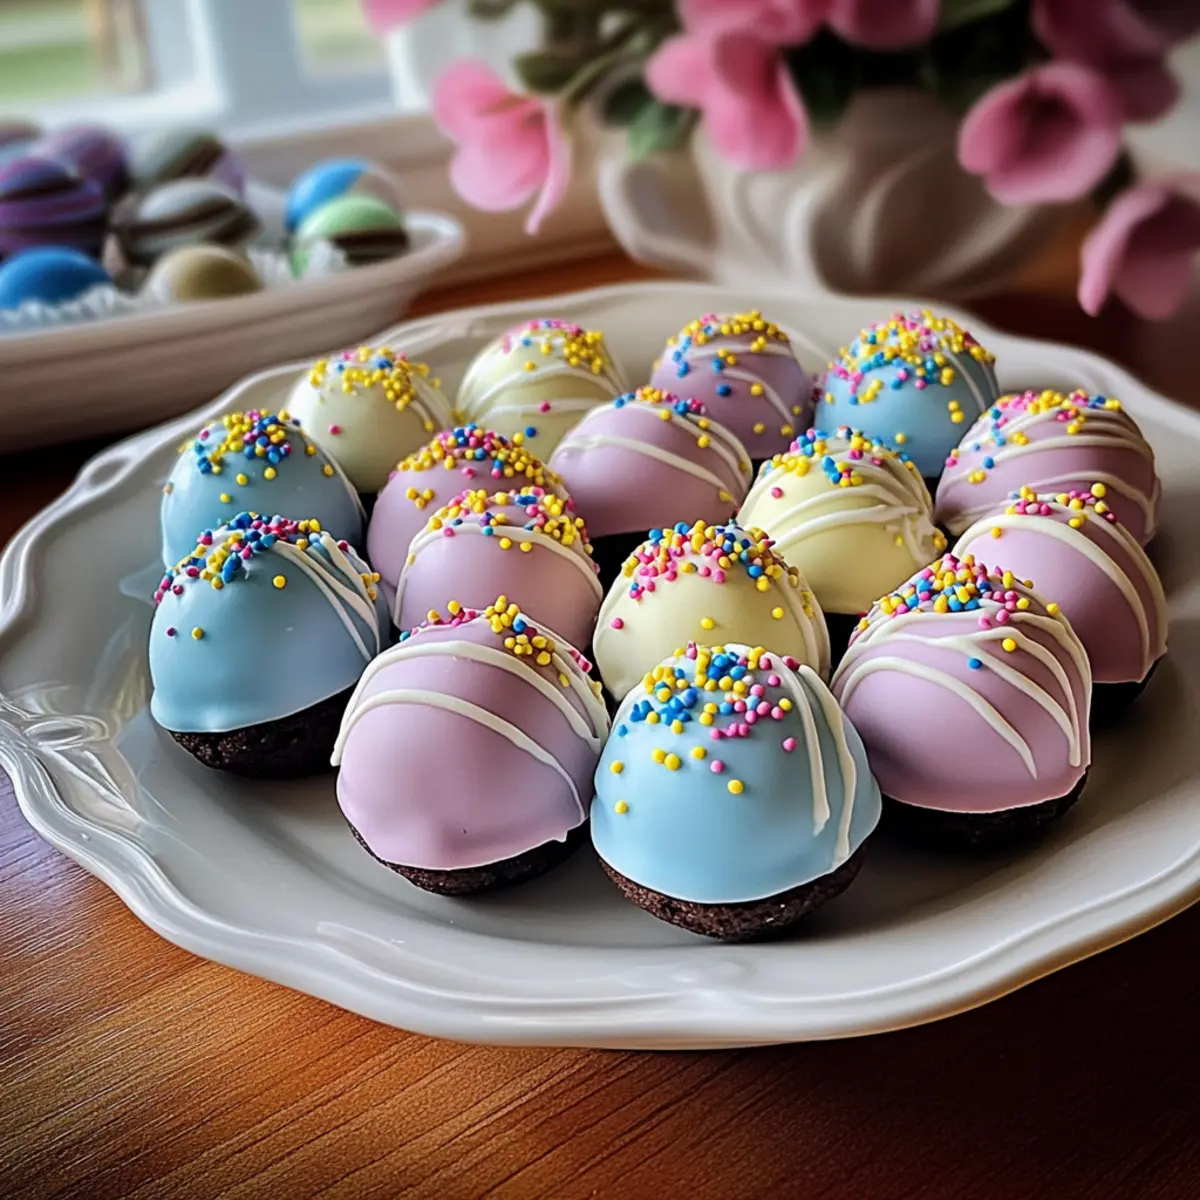
Why Are Easter Egg Oreo Balls So Fun?
Delightful Creativity: These Easter Egg Oreo Balls allow for endless customization, from different colors and sprinkles to flavor variations! Easy Preparation: With no baking required, they’re super simple to whip up, making them a perfect project for anyone, whether you’re a seasoned chef or new to the kitchen. Festive and Fun: Their vibrant pastel colors bring a joyful touch to any gathering, sure to impress family and friends. Perfect for Sharing: Whether served at a brunch or packed as gifts, they offer a treat everyone can enjoy. If you’re in the mood for other sweet ideas, check out my delicious Oreo Fudge Brownie or try adding a twist with these Feta Fried Eggs for a fun brunch!
Easter Egg Oreo Balls Ingredients
• Get ready to create magic with these simple ingredients!
For the Filling
- Oreo Cookies – Provides a deep chocolate flavor and crispy texture; feel free to swap for Golden Oreos for a different twist!
- Cream Cheese – Adds a rich, creamy texture to the filling; consider using reduced-fat or dairy-free options for a lighter touch.
- Vanilla Extract – Enhances the flavor profile beautifully; optional but recommended for that extra oomph!
For the Coating
- White Candy Melts – Creates a smooth, colorful coating; you can substitute with white chocolate chips, adding coconut oil for a silky consistency.
- Pastel Food Coloring – Tints the candy coating in vibrant Easter colors; opt for gel food coloring for the best results!
For Decoration
- Sprinkles/Sanding Sugar – Adds that festive decoration touch; totally optional but makes these Easter Egg Oreo Balls extra special!
Step‑by‑Step Instructions for Easter Egg Oreo Balls
Step 1: Crush Oreos
Using a food processor or a zip-top bag with a rolling pin, finely crush about 24 Oreo cookies until you have a uniform crumb texture. Aim for a consistency that resembles sand to ensure a smooth filling for your Easter Egg Oreo Balls. This process should take around 3-5 minutes, depending on your method.
Step 2: Combine Filling
In a medium mixing bowl, combine the crushed Oreos and 8 ounces of softened cream cheese. For added flavor, mix in 1 teaspoon of vanilla extract if desired. Use a hand mixer or a spatula to blend until you form a thick, dough-like consistency that holds together well, which should take about 2-3 minutes.
Step 3: Shape Eggs
Using a tablespoon, scoop out portions of the Oreo mixture and roll them into egg-shaped forms with your hands. Aim for smooth, uniform shapes approximately 1.5 inches long. Place each formed egg onto a parchment-lined baking sheet, keeping them spaced about an inch apart so they don’t stick together.
Step 4: Chill
Place the baking sheet of shaped eggs in the refrigerator for 30 minutes or in the freezer for about 15 minutes. This chilling process is essential for firming up the Easter Egg Oreo Balls, making them easier to coat later. Once they are set, they should feel firm to the touch.
Step 5: Melt Coating
In a microwave-safe bowl, add 12 ounces of white candy melts. Microwave in 30-second intervals, stirring in between, until fully melted and smooth, which typically takes about 1-2 minutes total. Avoid overheating to prevent seizing. The melted coating should be glossy and fluid, perfect for dipping your Oreo Balls.
Step 6: Color Coating
Divide the melted candy into smaller bowls if you want multiple colors. Stir in pastel gel food coloring until you achieve your desired hues. Remember to start with a small amount of coloring, as it’s easy to adjust for more vibrant shades. This step allows you to customize your Easter Egg Oreo Balls for the festive occasion.
Step 7: Dip Eggs
Remove the chilled Oreo eggs from the refrigerator. One at a time, dip each egg into the melted candy coating, using a fork or dipping tool to ensure an even coat. Let excess coating drip off before placing them back onto the parchment-lined sheet. The coating should completely cover the eggs for a lovely, polished finish.
Step 8: Decorate
Before the coating sets, sprinkle festive decorations like colored sprinkles or sanding sugar on top of each egg for a charming look. Alternatively, you can drizzle them with melted chocolate in different colors for added flair. This step adds a fun, decorative touch to your Easter Egg Oreo Balls.
Step 9: Set
Allow the coated Oreo eggs to sit at room temperature for about 15 minutes until the coating hardens. For quicker results, place the tray in the refrigerator for 10 minutes. The final result should be a vibrant, hard candy shell enclosing your rich creamy center.
Step 10: Serve/Store
Once set, your Easter Egg Oreo Balls are ready to enjoy! Serve them on a decorative platter during your Easter celebration or pack them in festive bags as gifts. If not eaten right away, store them in an airtight container in the refrigerator for up to 5 days or freeze them for up to 2 months for later enjoyment.
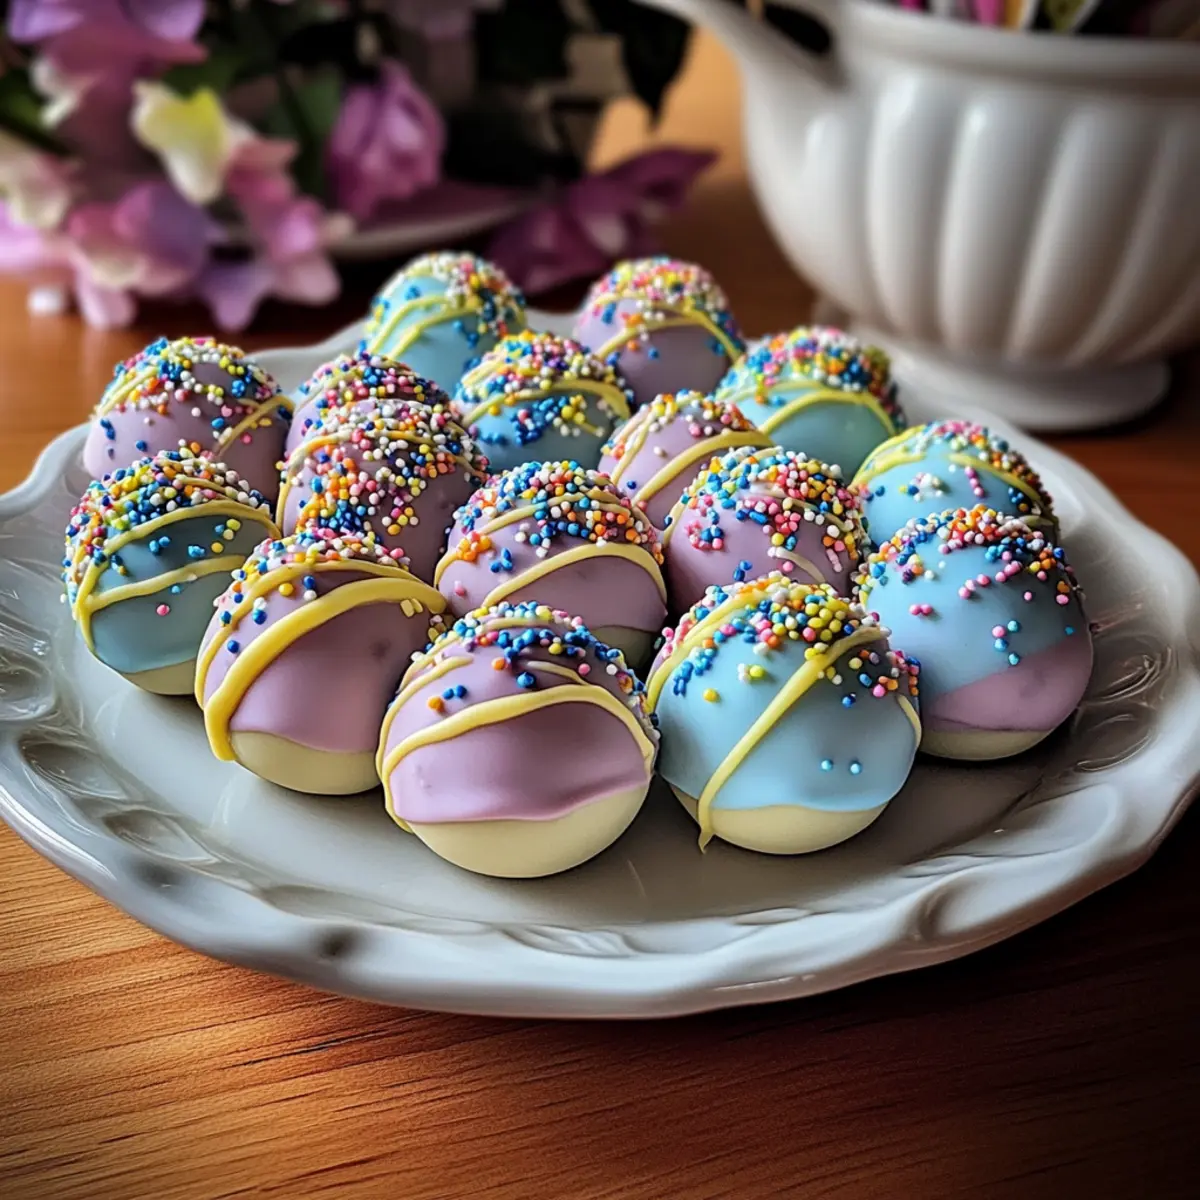
Easter Egg Oreo Balls Variations
Feel free to unleash your creativity with these delightful twists that will elevate your Easter Egg Oreo Balls to the next level!
-
Gluten-Free: Substitute Oreo cookies with gluten-free cookies, ensuring everyone can join the fun without compromise. These treats can easily be enjoyed by all your guests!
-
Nutty Flavor: Incorporate 1/4 cup of finely chopped nuts like walnuts or almonds into the filling for an added crunch that complements the creamy texture beautifully. The warmth of nuts in each bite brings a comforting touch.
-
Minty Fresh: Add a few drops of peppermint extract to the mixture for a refreshing mint flavor that pairs wonderfully with chocolate. Imagine the coolness contrasting with the rich filling for a unique, festive experience!
-
Coconut Dream: Roll the finished eggs in shredded coconut instead of a candy coating for a tropical twist. This change gives a lovely chewiness that balances the sweet, making these bites even more enjoyable!
-
Dark Chocolate Coating: Swap white candy melts for dark chocolate to enhance the flavor profile. The slight bitterness of dark chocolate will create a delicious contrast with the sweet cream cheese filling.
-
Fruit Flavors: Incorporate a tablespoon of orange or lemon zest into the filling for a burst of citrus flavor. This refreshing addition perfectly complements the chocolate and adds a vibrant twist to your treats!
-
Spicy Kick: Add a pinch of chili powder or cayenne pepper to the melted coating for a surprising hint of heat. This bold combination will surely ignite the taste buds and keep them guessing!
For more delicious ideas to complement your Easter festivities, consider whipping up an Oreo Fudge Brownie or enjoying a savory treat like Feta Fried Eggs. Happy customizing!
Make Ahead Options
These Easter Egg Oreo Balls are a fantastic treat to prepare ahead for your busy celebrations! You can make the filling and shape the eggs up to 24 hours in advance; just keep them tightly covered in the refrigerator to maintain their freshness. If you prefer, you can also freeze the shaped eggs for up to 2 months. When ready to serve, simply thaw them overnight in the fridge while you melt the candy coating and prepare the colorful decor. After dipping the eggs in the coating and adding sprinkles, they will be just as delightful as if made on the same day. This planning not only saves time but ensures you have a show-stopping dessert ready to impress!
How to Store and Freeze Easter Egg Oreo Balls
Fridge: Keep your Easter Egg Oreo Balls in an airtight container for up to 5 days. This way, they stay fresh and delightful for your spring celebrations or snack cravings.
Freezer: For longer storage, freeze the Oreo Balls in a single layer in a freezer-safe container or zip-lock bag for up to 2 months. Just make sure they’re well-wrapped to prevent freezer burn.
Thawing: When ready to enjoy, simply transfer the frozen Easter Egg Oreo Balls to the fridge for a few hours or overnight. They will retain their flavor and texture beautifully!
What to Serve with Easter Egg Oreo Balls?
As the vibrant colors of your Easter Egg Oreo Balls catch the eye, you can elevate your dessert table with delightful pairings that create a festive feast.
- Fresh Fruit Salad: A bright and refreshing mix of seasonal fruits balances the sweetness of the Oreo balls, adding a delightful crunch. Consider adding a drizzle of honey or a sprinkle of mint for an extra zing!
- Chocolate-covered Strawberries: Indulge your guests with another chocolate treat; the sweetness of strawberries perfectly complements the creamy filling of the Oreo balls. Their juicy freshness pairs beautifully with the rich flavors of the dessert.
- Creamy Vanilla Ice Cream: A scoop of smooth vanilla ice cream provides a delightful contrast in temperature and texture, enhancing the chocolatey experience of your dessert. The creamy richness makes every bite a comforting delight!
- Mini Cupcakes: Whip up a batch of pastel-colored mini cupcakes to match the vibrant hues of your Oreo balls. Their airy texture and variety of flavors add a charming touch to your dessert spread and invite guests to indulge.
- Sparkling Lemonade: Serve a refreshing glass of sparkling lemonade to cleanse the palate between bites. The citrusy zing and light effervescence will brighten the overall experience and keep everyone feeling festive!
- Festive Cookies: Add an assortment of decorative spring-themed cookies to your table. Their crunchy textures will provide a nice contrast to the creamy Oreo filling, with flavors that delight both young and old alike.
- Pineapple Mimosa: For a touch of elegance, offer a pineapple mimosa that pairs well with the sweetness of the Oreo balls. The bubbly drink lightens the atmosphere and invites relaxation among your guests.
Expert Tips for Easter Egg Oreo Balls
- Chill for Best Results: Ensure the Oreo mixture is well-chilled before shaping to achieve perfect egg forms and maintain the desired creamy texture.
- Color Gradually: When adding pastel food coloring, do it gradually to avoid overdoing it; you can always add more for a vibrant hue in your Easter Egg Oreo Balls.
- Avoid Overmixing: Mix the candy melts gently to prevent introducing air bubbles, which can affect the smooth finish of your coating.
- Use Dipping Tools: To avoid a messy process, consider using dipping tools or forks for even coating and fewer messy fingers.
- Alternative Coatings: For a twist, try rolling in crushed nuts or coconut instead of candy coating—this adds texture and flavor variety!
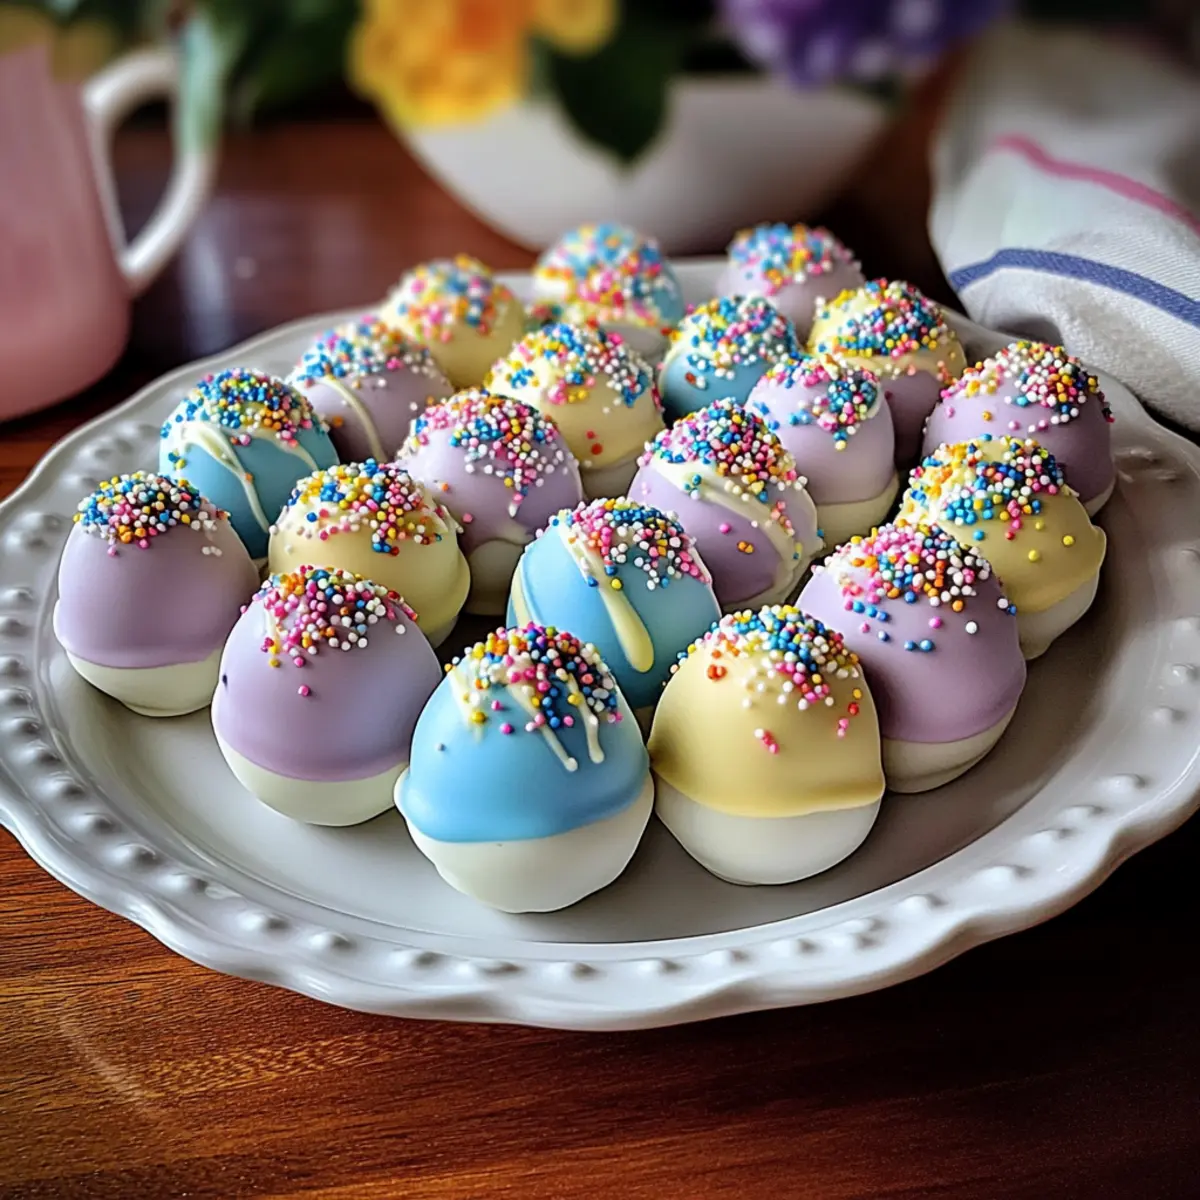
Easter Egg Oreo Balls Recipe FAQs
How do I select the best Oreo cookies for my Easter Egg Oreo Balls?
Absolutely! For the best flavor and texture, use regular Oreo cookies, which offer a deep chocolate taste. If you want a lighter flavor, you can swap them for Golden Oreos; both will work wonderfully!
What is the best way to store Easter Egg Oreo Balls?
To keep your Easter Egg Oreo Balls fresh, store them in an airtight container in the refrigerator for up to 5 days. If you want to enjoy them longer, you can freeze them for up to 2 months. Just ensure they’re well-wrapped to avoid freezer burn!
Can I freeze Easter Egg Oreo Balls?
Very! Freezing is a great way to preserve your treats. To freeze, lay the formed Oreo Balls in a single layer on a baking sheet and freeze them until solid, about 1-2 hours. Then, transfer them to a freezer-safe container or zip-lock bag. When you’re ready to enjoy, let them thaw in the fridge for a few hours or overnight, and they’ll taste just as delicious!
What should I do if my candy coating is too thick?
No worries! If you notice your melted candy coating is too thick for dipping, simply add a teaspoon of coconut oil or a small drizzle of vegetable oil, stirring until you reach the desired consistency. This will help achieve a smoother, more even coating on your Easter Egg Oreo Balls.
Are Easter Egg Oreo Balls safe for people with allergies?
It’s essential to consider allergy concerns! These treats contain Oreos, which contain wheat, dairy, and may have traces of nuts. If you’re making them for someone with specific dietary restrictions, you can use gluten-free cookies or dairy-free cream cheese. Be sure to read labels for safety and peace of mind!
Can I customize the flavors of my Easter Egg Oreo Balls?
Absolutely! The more the merrier when it comes to customizing! You can incorporate different flavor extracts like almond or mint into the filling for a delightful twist. Enjoy experimenting with flavors to create your family’s favorite version of Easter Egg Oreo Balls!
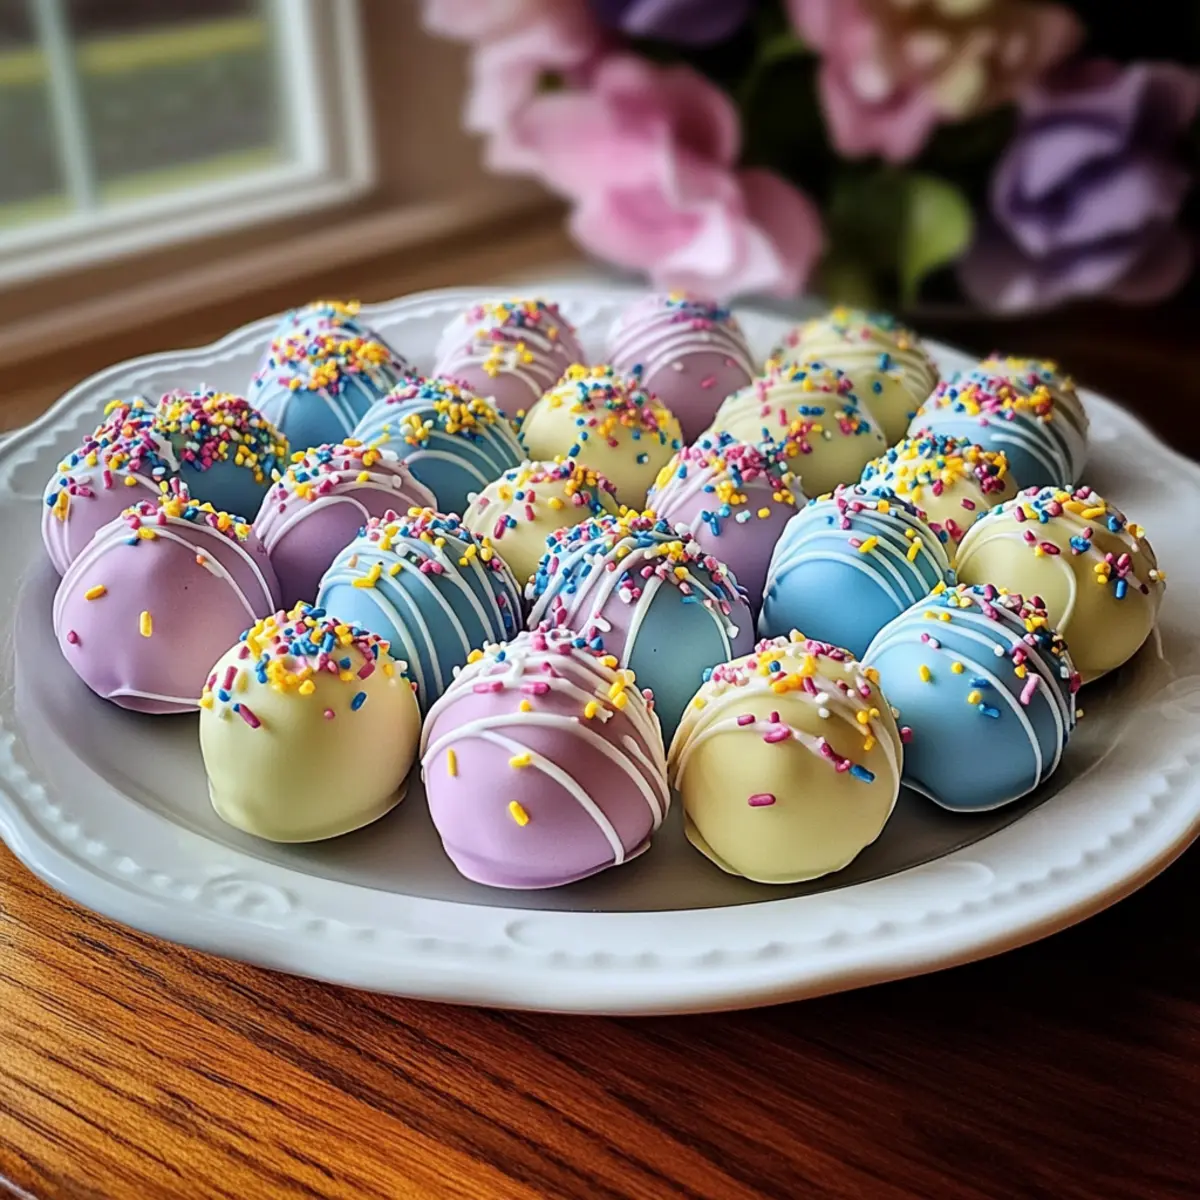
Delicious Easter Egg Oreo Balls for a Festive Treat!
Ingredients
Equipment
Method
- Crush about 24 Oreo cookies until you have a uniform crumb texture, resembling sand; this takes around 3-5 minutes.
- Combine the crushed Oreos and 8 ounces of softened cream cheese in a medium bowl. Mix in the vanilla extract if desired until you form a thick, dough-like consistency.
- Using a tablespoon, scoop out portions of the Oreo mixture and roll into egg shapes; place them on a parchment-lined sheet about an inch apart.
- Chill the baking sheet in the refrigerator for 30 minutes or in the freezer for 15 minutes to firm up the shapes.
- In a microwave-safe bowl, melt 12 ounces of white candy melts in 30-second intervals, stirring until smooth.
- If desired, stir in pastel gel food coloring to achieve your desired colors.
- Dip each chilled Oreo egg into the melted candy coating, using a fork to ensure an even coat; let excess coating drip off.
- Before the coating sets, sprinkle with decorations like colored sprinkles or drizzle with melted chocolate.
- Allow the coated eggs to set for 15 minutes at room temperature or refrigerate for 10 minutes until the coating hardens.
- Serve the Easter Egg Oreo Balls on a decorative platter or pack them as gifts; can be stored in an airtight container for up to 5 days.
Leave a Reply