
As I prepared for Easter festivities, I had a mini crisis when I realized I needed a dessert that was both eye-catching and fulfilling. Enter the No-Bake Easter Egg Cheesecake, a playful twist on a classic favorite that promises to steal the show at any gathering. This creamy dessert nestles a velvety cheesecake filling inside hollow chocolate eggs, all resting atop a buttery crumb base. With its make-ahead convenience, you can whip it up a day in advance, ensuring a stress-free celebration you’re sure to enjoy. Plus, it’s a guaranteed crowd-pleaser that’ll bring smiles to both kids and grown-ups alike. Ready to take your dessert game to a new level this Easter? Let’s dive into making these delightful treats!
Why Is This Easter Egg Cheesecake Special?
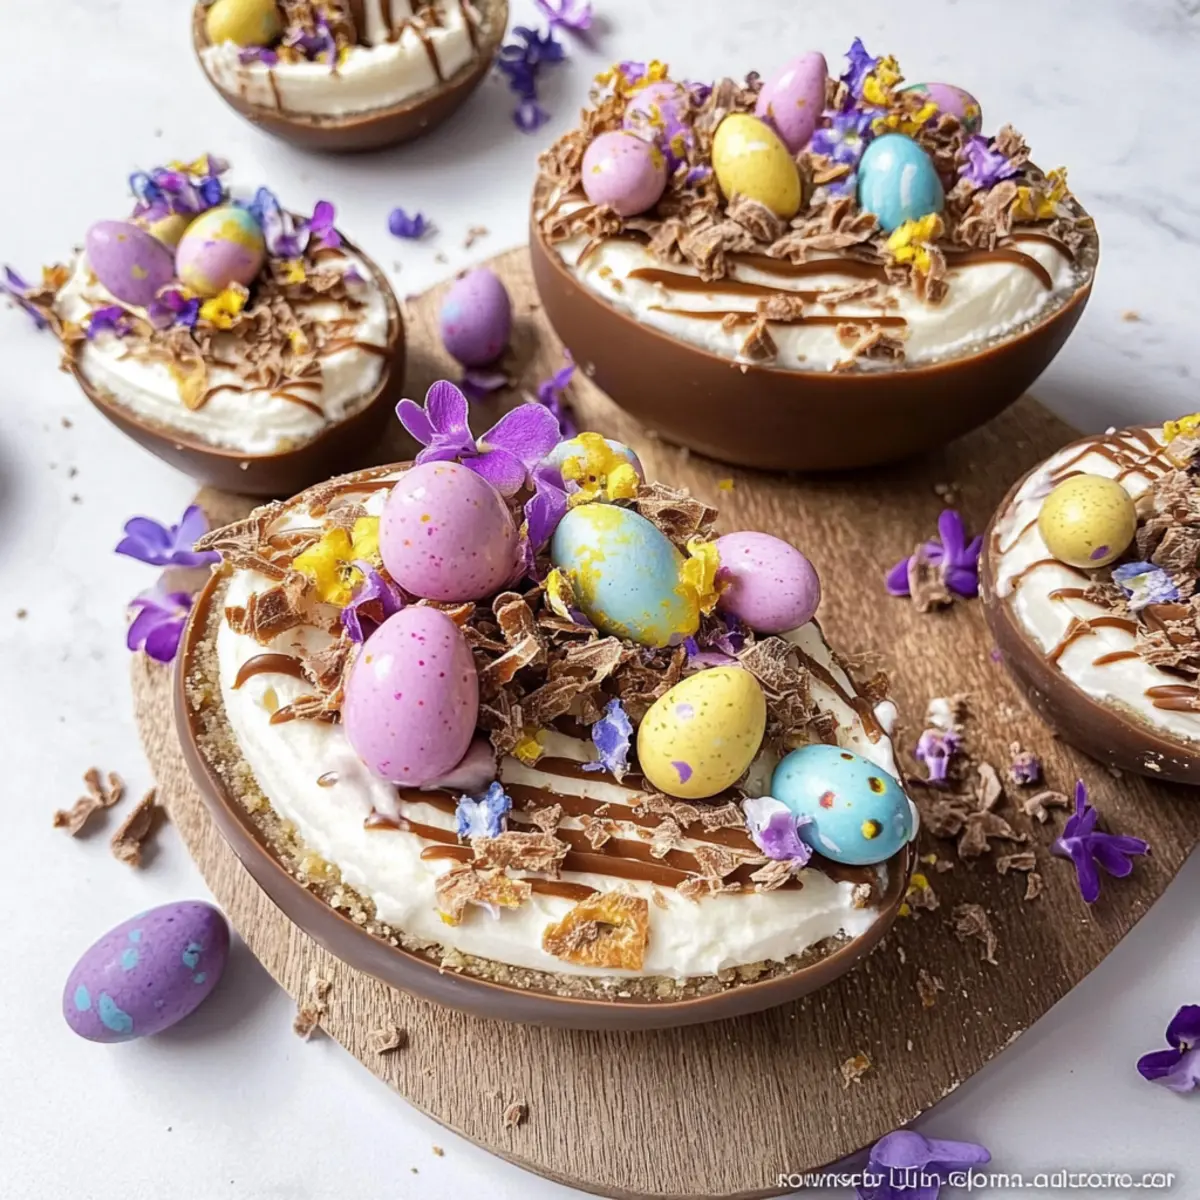
Irresistible Charm: This no-bake dessert combines the fun of Easter with creamy cheesecakes, encased in chocolate eggs that are a delight for the eyes.
Make-Ahead Magic: Prepare this cheesecake a day in advance, freeing up your time for other festivities without compromising on flavor.
Easy & Versatile: Crafted with simple ingredients, you can customize your cheesecake filling or try variations — like chocolate! This makes it perfect for any gathering.
A Showstopper: Its vibrant colors and playful presentation will wow your guests, making it the perfect centerpiece for your Easter table.
Kid-Approved Treat: Both children and adults will love these delightful sweets, ensuring everyone leaves with smiles! Pair it with fresh berries to elevate the experience even more.
For more festive ideas, check out my delicious Lemon Blueberry Cheesecake or the elegant York Style Cheesecake that also charm any crowd!
Easter Egg Cheesecake Ingredients
For the Cheesecake Filling
• Cream Cheese – ensures a rich and creamy texture; let it soften to mix easily.
• Powdered Sugar – sweetens the filling to perfection, making it silky smooth.
• Heavy Cream – whipped to airy perfection for a light filling.
• Vanilla Extract – enhances the cheesecake’s flavor; opt for pure vanilla for the best results.
For the Base
• Graham Cracker/Digestive Biscuits – adds delicious crunch; gluten-free options work beautifully too.
• Butter – binds the crumbs together; unsalted butter is ideal for flavor control.
For the Decoration
• Hollow Chocolate Eggs – serves as a delightful shell for your cheesecake; consider Cadbury eggs or other similar chocolates.
• Melted Chocolate – for drizzling; choose any chocolate type to personalize your dessert.
• Mini Chocolate Eggs – perfect for garnishing; add your favorite candies for extra fun!
Enjoy creating your Easter Egg Cheesecake that’s sure to dazzle at your festive gathering!
Step‑by‑Step Instructions for Easter Egg Cheesecake
Step 1: Prep the Eggs
Begin by carefully splitting the hollow chocolate eggs in half using a heated knife. This will ensure a clean cut and keep the chocolate intact, which is crucial for the perfect presentation of your Easter Egg Cheesecake. Lay the halves on a parchment-lined tray, keeping them stable for easier filling later.
Step 2: Make the Base
In a mixing bowl, crush the graham crackers or digestive biscuits until they resemble fine crumbs. Combine the crumbs with melted unsalted butter, mixing until the texture appears like wet sand. This base provides the crunchy foundation for your Easter Egg Cheesecake, elevating the flavor and texture of each bite.
Step 3: Assemble the Base
Divide the crumb mixture evenly among the prepared chocolate egg halves. Gently press the crumbs down with your fingers or a small spoon to create an even layer, ensuring a solid base. Chill the filled chocolate halves in the refrigerator for about 15 minutes to firm up the crust before adding the creamy filling.
Step 4: Prepare Filling
In a large mixing bowl, beat the softened cream cheese with powdered sugar and vanilla extract until smooth and creamy. This mixture becomes the rich filling for your Easter Egg Cheesecake. In a separate bowl, whip the heavy cream until you achieve stiff peaks, then carefully fold it into the cream cheese mixture, ensuring a light and airy texture.
Step 5: Fill Chocolate Eggs
Spoon the creamy cheesecake filling into the chilled chocolate egg halves, smoothing the tops with a spatula or the back of a spoon. Aim for a polished finish, as this will enhance the inviting look of your Easter Egg Cheesecake. Once filled, return the treats to the refrigerator for at least 2 hours, allowing them to set perfectly.
Step 6: Decorate
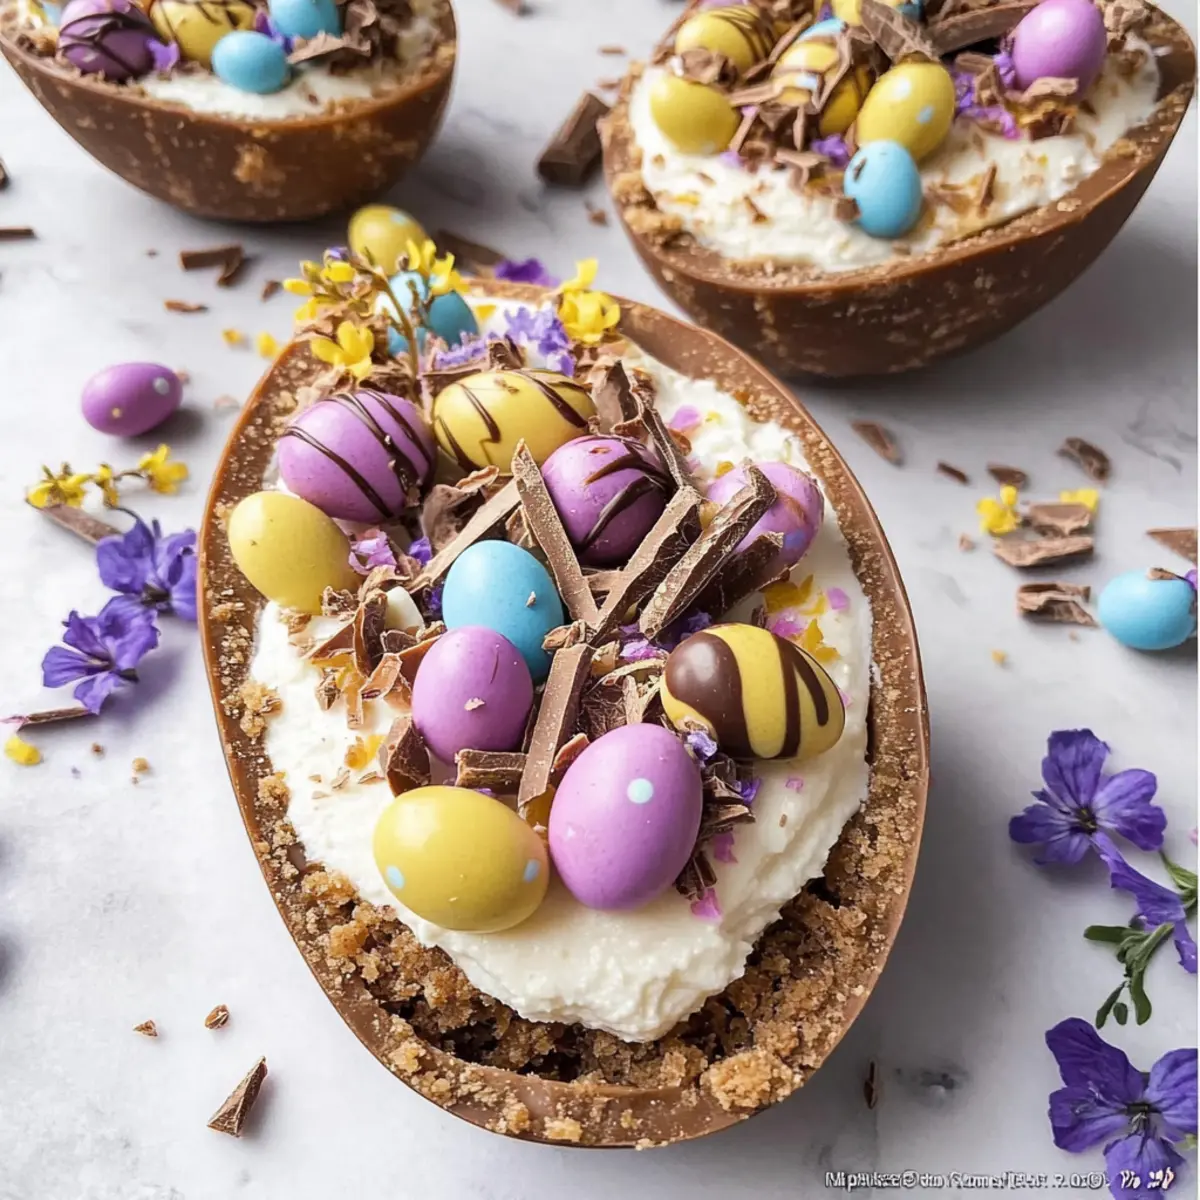
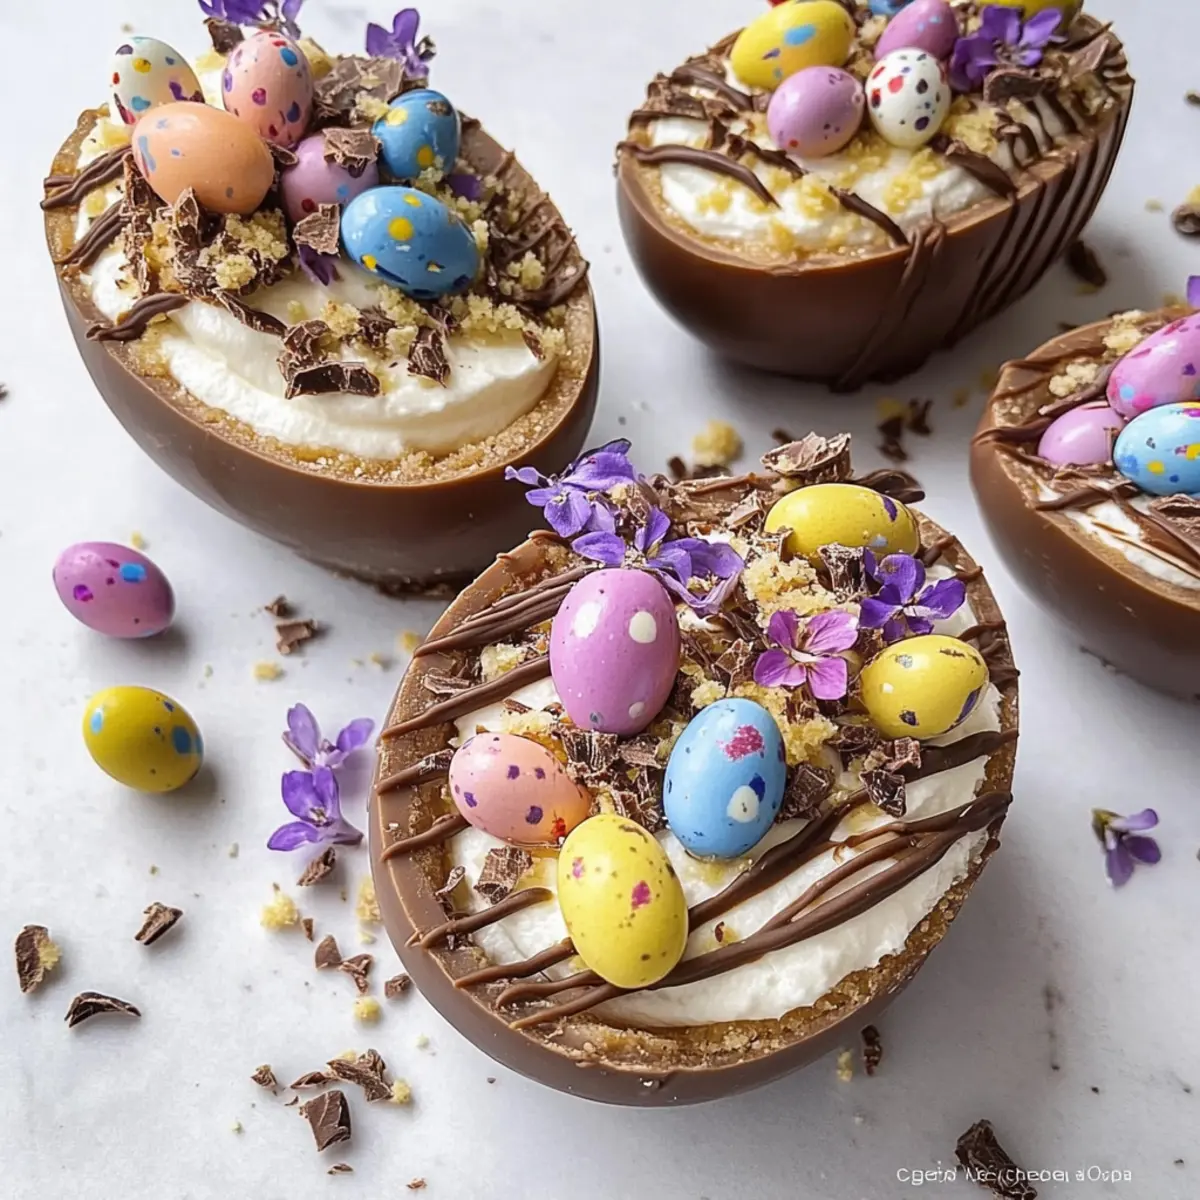
Once the filling has set, drizzle melted chocolate over the tops of the Easter Egg Cheesecake for a delightful finishing touch. Scatter mini chocolate eggs atop the drizzled chocolate for added color and festive flair. This decoration will not only enhance the appearance but also provide a delightful crunch and sweetness that complements your cheesecake.
Step 7: Serve and Enjoy
After decorating, your festive Easter Egg Cheesecake is ready to grace your table. Slice into the chocolate eggs to reveal the creamy, luscious filling inside. For the best presentation, serve immediately, or keep refrigerated until your guests arrive, ensuring a delightful treat that’s both visually stunning and irresistibly delicious.
Easter Egg Cheesecake Variations & Substitutions
Invite your creativity to shine with these delightful twists on the classic Easter Egg Cheesecake. Each suggestion adds a unique flair that caters to your taste buds!
-
Chocolate Cheesecake: Fold in cocoa powder with the cream cheese mixture for a rich chocolatey flavor. This variation is a chocolate lover’s dream come true!
-
Nutty Flavor Boost: Substitute crushed graham crackers with almond meal or hazelnut cookies for a nutty base that adds depth and complexity. You’ll be amazed at the extra richness this choice brings!
-
Dairy-Free: Use a dairy-free cream cheese alternative and coconut cream instead of heavy cream for a deliciously creamy dessert that caters to dietary preferences. Nobody will miss the dairy in this irresistible treat!
-
Fruit-Infused: Add pureed fruit like strawberries or raspberries to the cheesecake filling for a burst of fruitiness. It balances the sweetness perfectly and offers a refreshing experience in every bite.
-
Seasonal Decor: Swap mini chocolate eggs for seasonal candies like jellybeans or pastel-colored M&Ms to match the festive theme and brighten up your presentation. Your Easter table will look even more inviting!
-
Spicy Kick: Introduce a pinch of cinnamon or nutmeg to the cheesecake filling to bring warmth and spice to the creamy goodness. It’s a cozy twist that creates a comforting indulgence.
-
Lemon Zest: Add lemon zest to the cream cheese filling to brighten the flavors and give an uplifting citrus zing. Not only does it taste fantastic, but it also adds a lovely aroma!
-
Cheesecake Jars: If any chocolate eggs break, don’t fret! Layer the crust and filling in small jars for a charming dessert presentation. These cheesecake jars are not only cute, but they also make portion control easy!
For additional dessert inspiration, take a peek at my crowd-pleasing Snow Globe Cheesecake or the delectable Apple Cheesecake Buns that will surely impress your loved ones!
What to Serve with Easter Egg Cheesecake?
Imagining the joy of a festive gathering, let’s elevate your celebration with delightful accompaniments that harmoniously complement the rich flavors of your cheesecake.
-
Fresh Berries: The tartness of strawberries or blueberries offers a refreshing contrast to the creamy sweetness, enhancing each bite.
-
Mint Sprigs: A sprinkle of fresh mint adds a burst of color and a refreshing herbaceous note that brightens the rich cheesecake flavor.
-
Chocolate Drizzle: Serve with extra melted chocolate on the side for those who crave an additional layer of indulgence with each slice.
-
Whipped Cream: Light and airy, a dollop of whipped cream adds an extra creamy element that beautifully enhances the texture of the cheesecake.
-
Coconut Macaroons: This chewy treat provides a sweet, toasted flavor that pairs well with the cheesecake’s richness, creating a delightful texture contrast.
-
Coffee or Espresso: A warm cup of coffee or a shot of espresso serves as the perfect drink pairing, balancing the sweetness with its robust flavors.
-
Lemon Sorbet: Its cool, zesty profile refreshes the palate and cleanses the taste buds between bites of your decadent cheesecake.
These delightful pairings will not only complement your Easter Egg Cheesecake but will also create a festive atmosphere that invites laughter, joy, and a touch of sweetness to your celebrations.
Expert Tips for the Best Easter Egg Cheesecake
-
Softened Cream Cheese: Ensure the cream cheese is at room temperature before mixing; this prevents lumps in your cheesecake filling for a smooth texture.
-
Chocolate Egg Care: Use a heated knife to split the hollow chocolate eggs, minimizing the risk of cracks. If cracks occur, transform them into cheesecake jars instead!
-
Chill Time Matters: Chill your filled chocolate eggs for at least 2 hours to allow the cheesecake to set properly, ensuring each bite is a delightfully creamy Easter Egg Cheesecake.
-
Decoration Timing: For the freshest look, drizzle chocolate and add mini eggs right before serving. This keeps your decorations vibrant and appealing.
-
Base Consistency: The crumb mixture should resemble wet sand; it needs to hold together but not be overly compressed. This helps maintain a balance of crunch and creaminess.
Enjoy creating a show-stopping Easter Egg Cheesecake that will impress your family and friends!
Storage Tips for Easter Egg Cheesecake
Fridge: Store any leftovers in an airtight container in the refrigerator for up to 3 days to maintain freshness and flavor.
Freezer: These delightful cheesecakes can be frozen for up to 3 months; wrap each individually in plastic wrap and then place in a freezer-safe container.
Defrosting: When ready to enjoy, transfer to the fridge to defrost overnight. Avoid reheating, as the texture is best enjoyed chilled.
Serving Reminder: Decorate with melted chocolate and mini eggs just before serving for optimal presentation and taste. Enjoy your Easter Egg Cheesecake!
Make Ahead Options
These Easter Egg Cheesecakes are perfect for busy home cooks looking to save time! You can prepare the graham cracker base up to 24 hours in advance, storing it in an airtight container in the refrigerator to maintain freshness. Additionally, the cheesecake filling can be made and kept in the fridge for up to 3 days before you fill the chocolate eggs. When you’re ready to assemble, simply fill the chilled chocolate egg halves with the previously prepared filling, smooth the tops, and let them set for at least 2 hours. This way, you’ll have a delightful, ready-to-serve dessert that tastes just as delicious as if you made it all at once.
Easter Egg Cheesecake Recipe FAQs
What type of chocolate eggs should I use for the Easter Egg Cheesecake?
Absolutely! Opt for hollow chocolate eggs such as Cadbury eggs, as they provide a sturdy and delicious shell for your cheesecake. If you have dietary restrictions or preferences, consider using gluten-free chocolate eggs or even dark chocolate varieties for a richer flavor.
How should I store leftover Easter Egg Cheesecake?
Very good question! Store any leftover Easter Egg Cheesecake in an airtight container in the fridge for up to 3 days. If you’re looking to keep it longer, these desserts can be frozen for up to 3 months. Just be sure to wrap each cheesecake half in plastic wrap and then place them in a freezer-safe container.
Can I freeze Easter Egg Cheesecake?
Yes, indeed! To freeze your Easter Egg Cheesecake, start by wrapping each chocolate egg half tightly in plastic wrap. Then, place them in a freezer-safe container to avoid freezer burn. When you’re ready to enjoy, simply transfer them to the refrigerator to thaw overnight — avoid reheating, as the texture is best enjoyed chilled.
What should I do if the chocolate eggs crack while splitting?
Not to worry! If you’re gentle while splitting the chocolate eggs using a hot knife, you can usually avoid cracks. However, if any do break, turn them into cheesecake jars by layering the crumb base and cheesecake filling in small glasses. This way, you can still enjoy the flavors without sacrificing presentation!
Can I make Easter Egg Cheesecake ahead of time?
Absolutely! This cheesecake is perfect for making ahead. You can prepare it the day before your gathering, as it tastes best after chilling for at least 2 hours to set. This not only saves you time on the day of your celebration but also enhances the flavors as they meld together beautifully overnight.
Is this Easter Egg Cheesecake suitable for children with allergies?
Very much so, but always check the ingredients first! If allergies are a concern, ensure you choose allergy-friendly substitutes. Use gluten-free graham crackers and check for milk-free chocolate options. This way, you can cater to various dietary needs while still providing a festive treat that all kids can enjoy!
Enjoy creating your Easter Egg Cheesecake and happy baking!
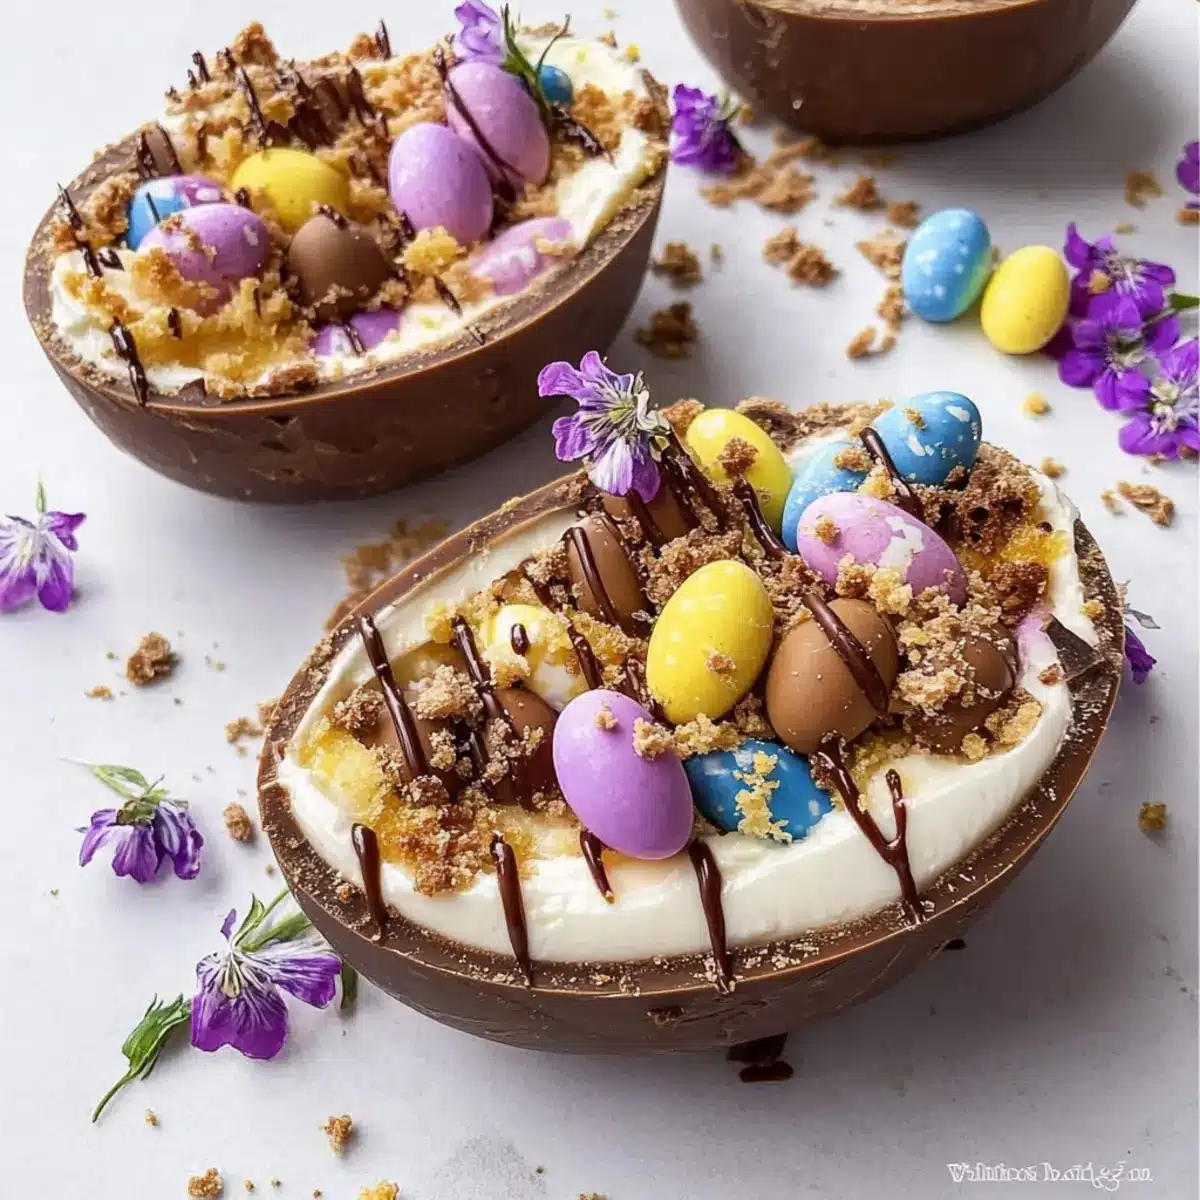
Creamy Easter Egg Cheesecake for a Festive Delight
Ingredients
Equipment
Method
- Begin by carefully splitting the hollow chocolate eggs in half using a heated knife. Lay the halves on a parchment-lined tray.
- In a mixing bowl, crush the graham crackers or digestive biscuits until they resemble fine crumbs. Combine with melted unsalted butter.
- Divide the crumb mixture among the prepared chocolate egg halves, pressing down to create an even layer. Chill for about 15 minutes.
- In a large mixing bowl, beat softened cream cheese with powdered sugar and vanilla until smooth. In a separate bowl, whip heavy cream and fold it in.
- Spoon the cheesecake filling into the chilled chocolate egg halves, smoothing the tops. Chill for at least 2 hours to set.
- Once set, drizzle melted chocolate on top and scatter mini chocolate eggs for decoration.
- Slice into the chocolate eggs to reveal the creamy filling and serve immediately or keep refrigerated.
Leave a Reply