
Eager to hop into the spring spirit? As the flowers bloom and Easter approaches, I’m thrilled to share a recipe that captures the essence of the season: No-Bake Easter Bunny Coconut Tails. These delightful little treats combine creamy sweetness with the chewy texture of coconut, making them the perfect addition to your festive celebrations. They’re incredibly easy to whip up with simple pantry staples, allowing you to spend less time in the kitchen and more time enjoying the company of loved ones. Plus, their pastel colors bring a cheerful pop to your dessert table. Ready to create a springtime sensation that will make everyone smile? Let’s dive into this fun and tasty adventure!
Why Are These Treats A Must-Try?
Irresistible sweetness: Each bite of these Easter Bunny Coconut Tails is a delightful blend of creamy and chewy, providing a perfect springtime flavor that you won’t be able to resist.
No-Bake Convenience: There’s no baking required! You can whip up these treats in no time, freeing you to spend quality moments with family this season.
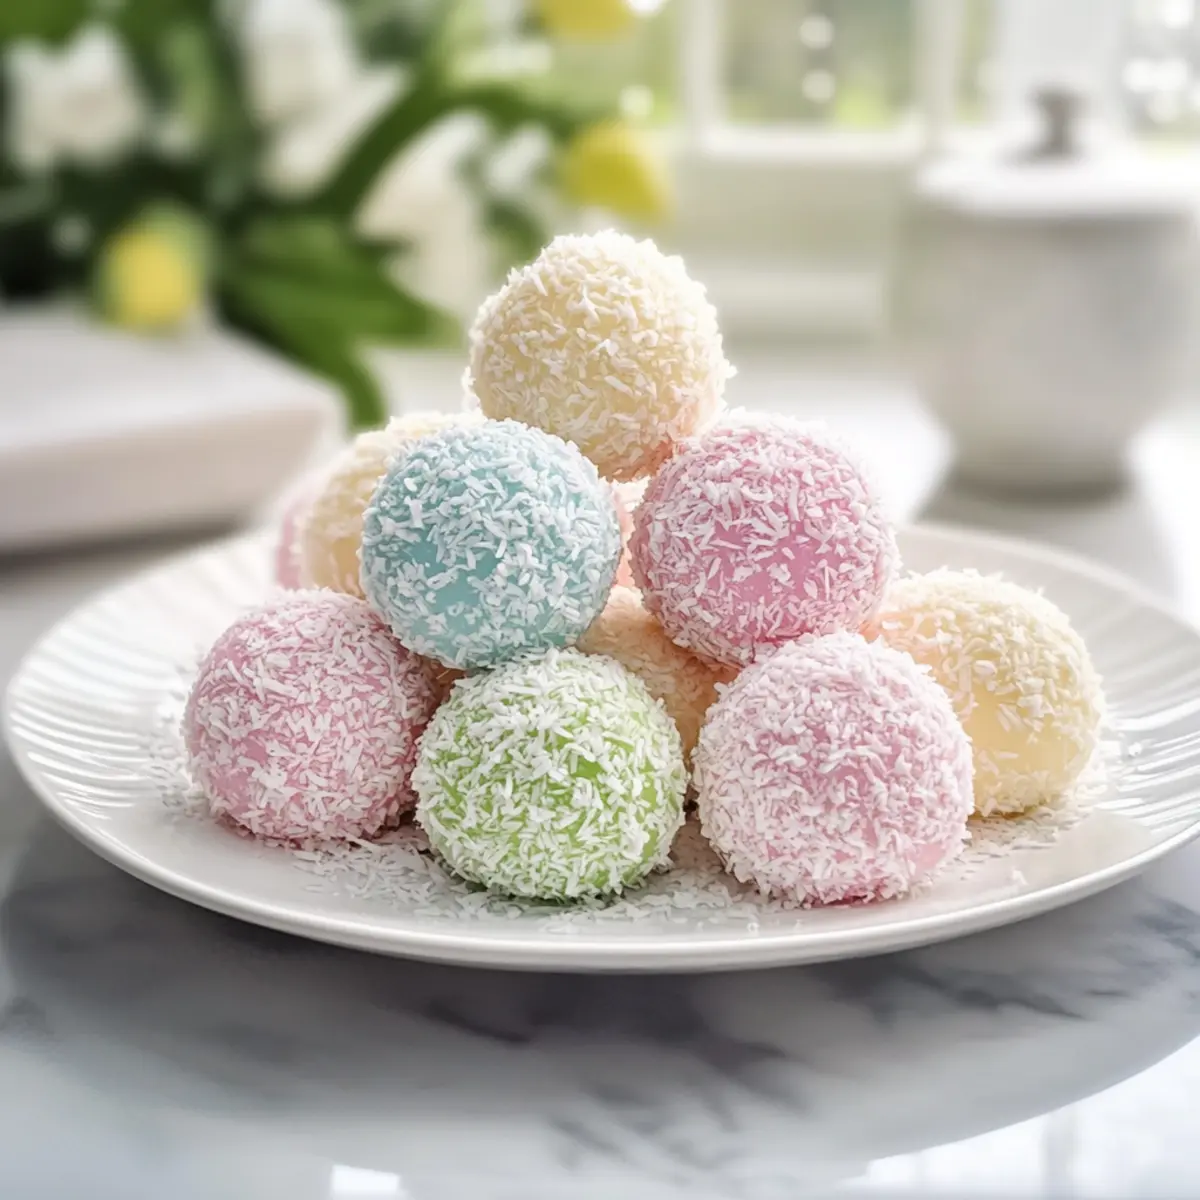
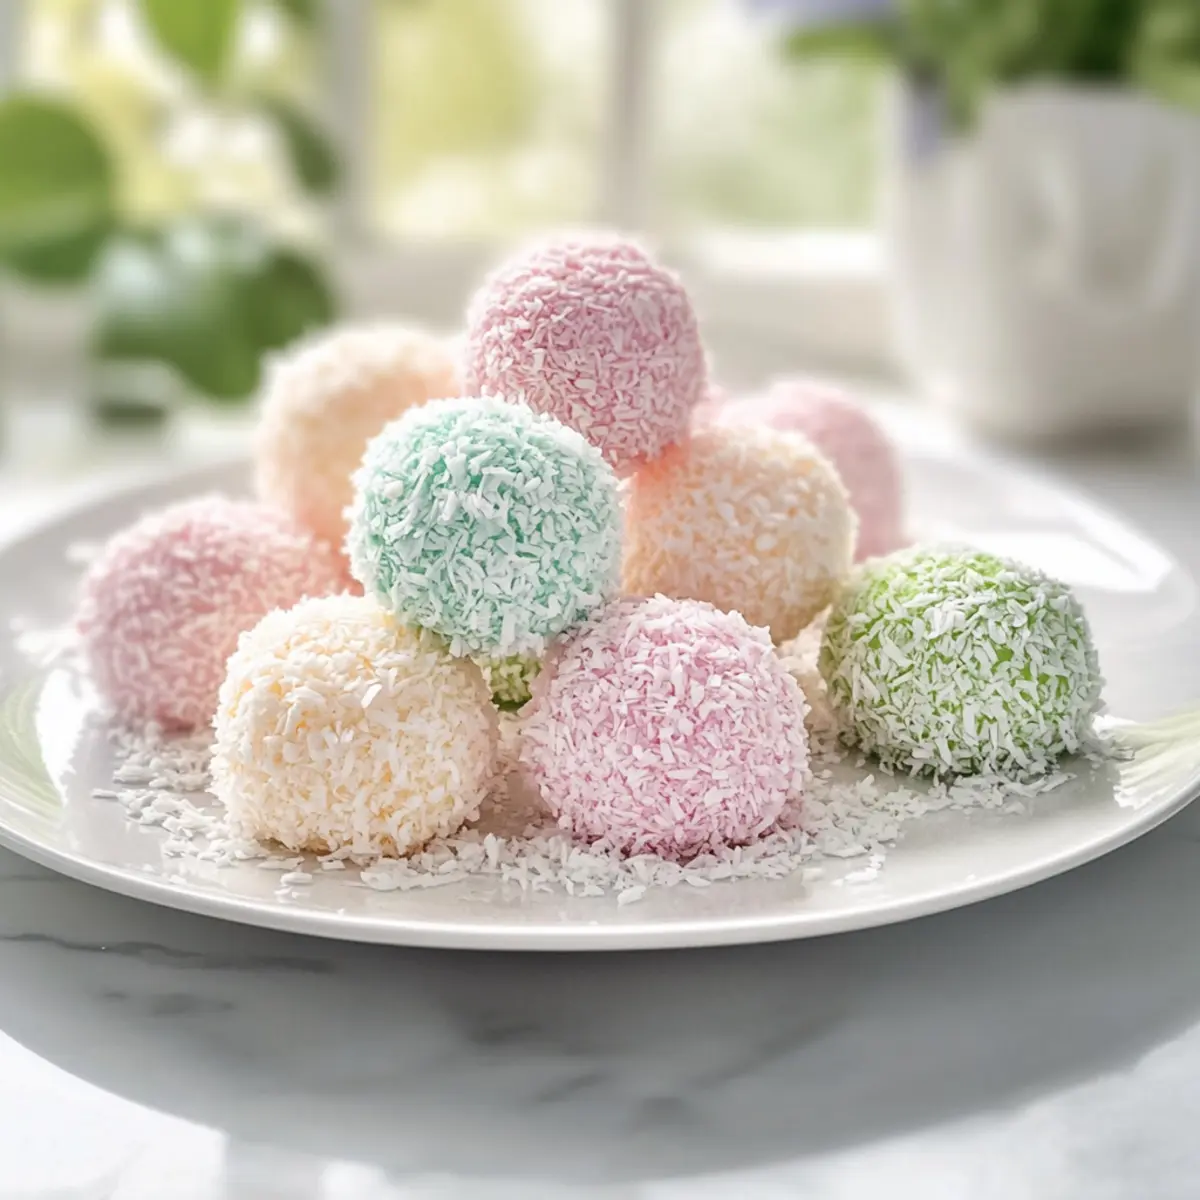
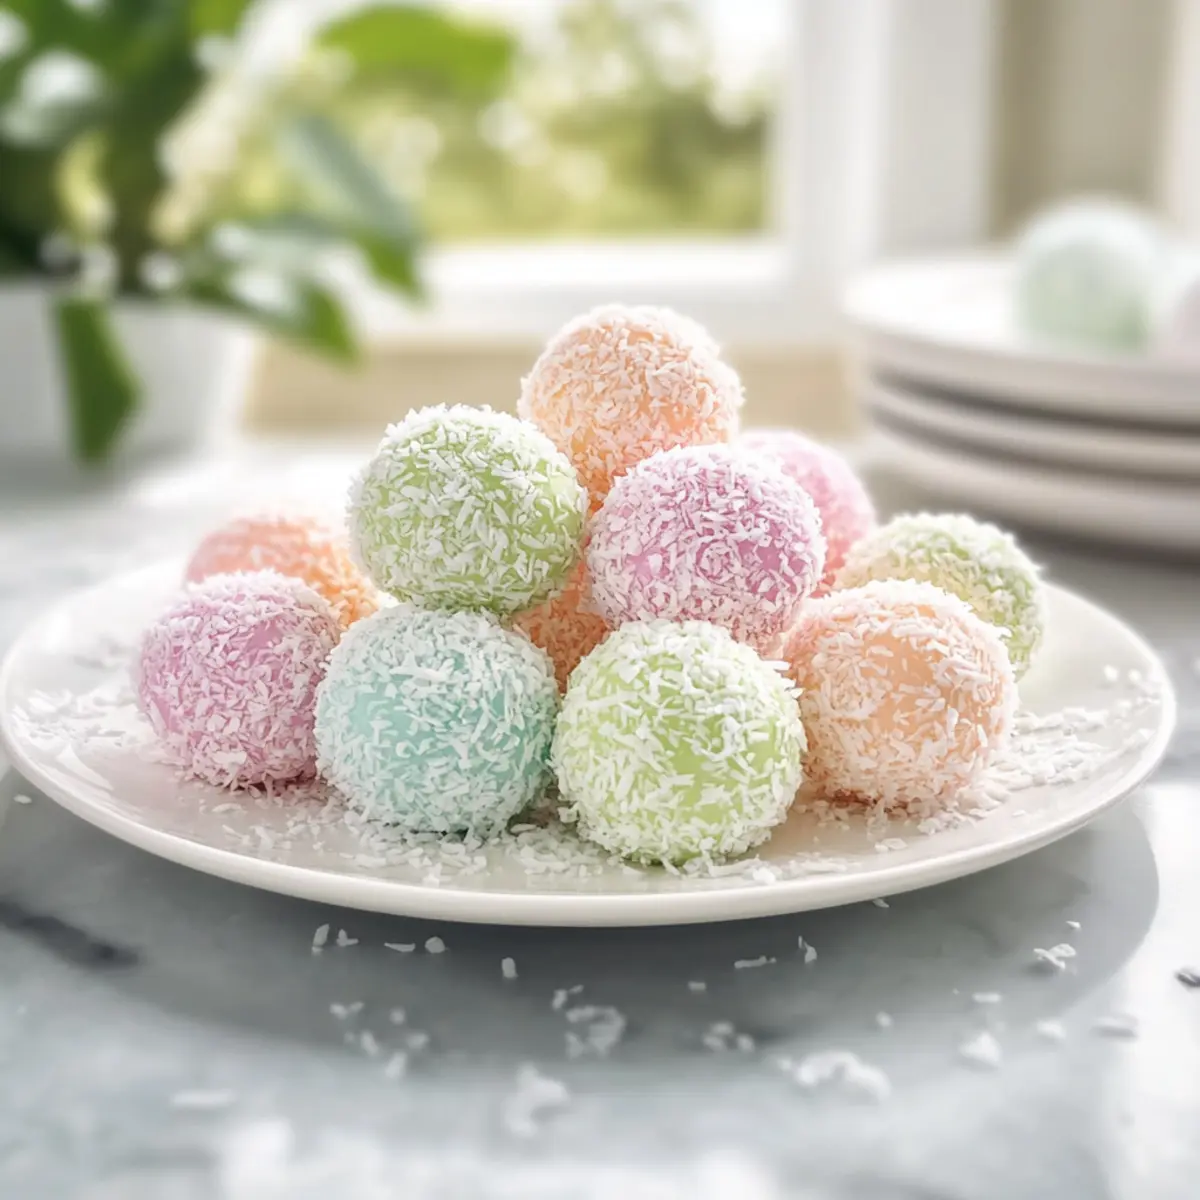
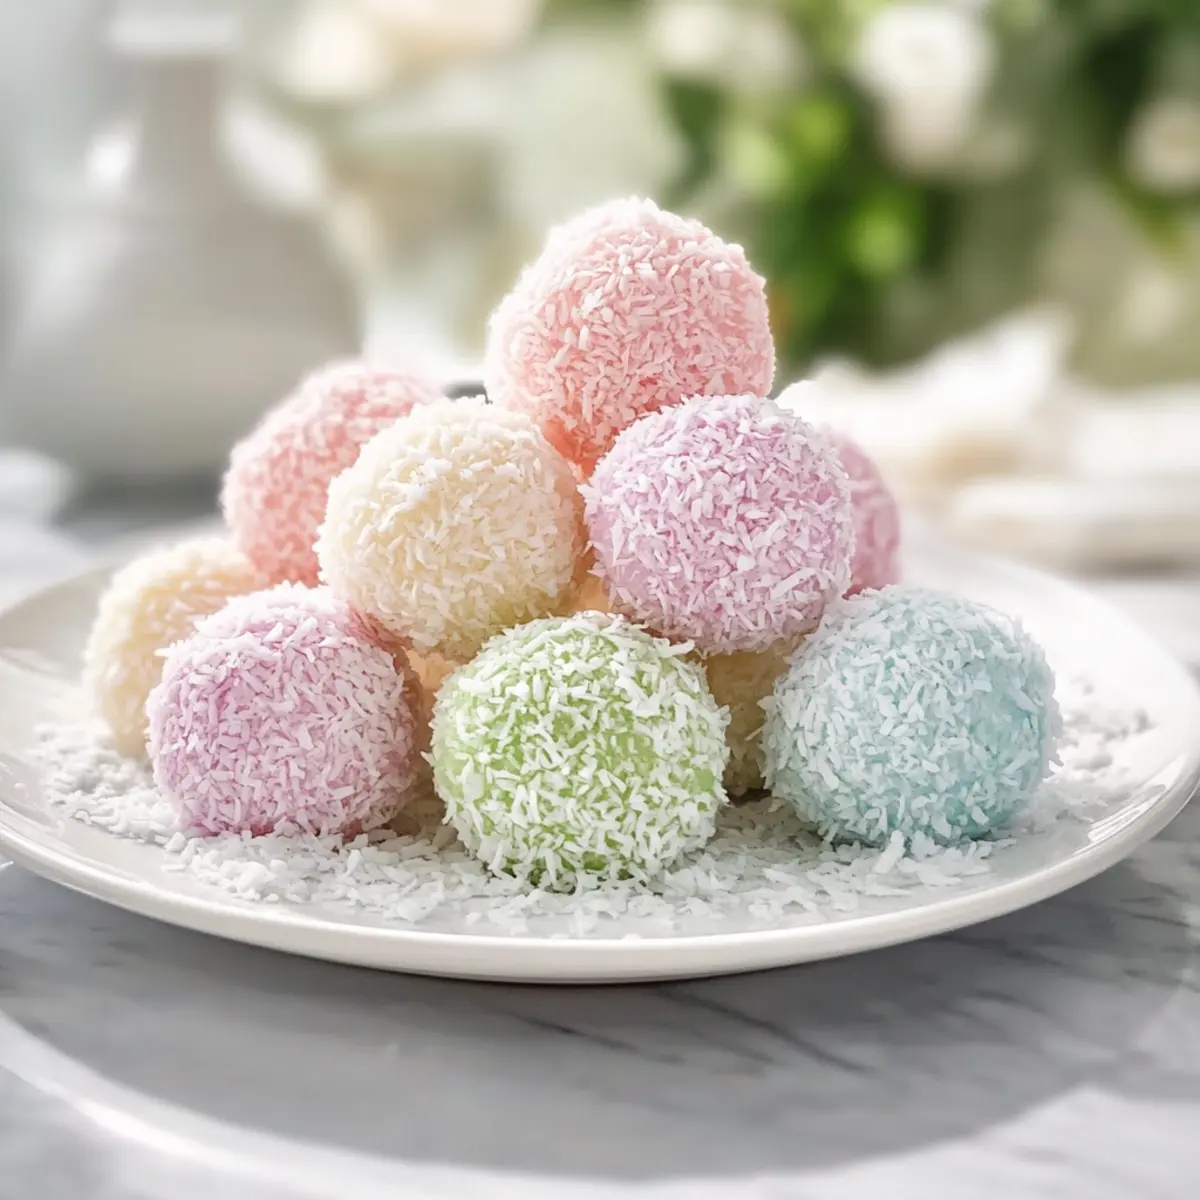
Festive Fun: The pastel colors and cute bunny tail shapes bring vibrancy to your dessert table, making them a hit at gatherings and parties.
Versatile Variations: Feel free to personalize! Whether you roll them in chocolate or mix in some zesty flavors, you can create a unique twist on these classics. If you love coconut, you might also enjoy Sweet Coconut Cream or Coconut Rum Tiramisu.
Crowd-Pleasing Appeal: They’re not just pretty; they’re delicious! Find yourself and your guests returning for seconds, or even thirds, on these delightful bites.
Easter Bunny Coconut Tails Ingredients
For the Base
• Medium Shredded Coconut – A chewy foundation for the tails; try unsweetened for more control over sweetness.
• Sweetened Condensed Milk – Essential for binding and providing that creamy consistency; choose full-fat for the best texture.
• Butter – Richness in every bite; make sure it’s melted and cooled before mixing in.
• Vanilla Extract – Adds a delightful warmth and enhances the overall flavor of the treats.
For the Coating
• Fine Shredded Coconut – Creates a pretty pastel shell; critical for achieving the look of fluffy bunny tails.
• Liquid Food Coloring – Helps to tint the coconut for cheerful spring colors; natural alternatives can be substituted for a healthier option.
• Confectioner’s Sugar – Adjusts sweetness and improves the texture; you can reduce it if using sweetened coconut.
These Easter Bunny Coconut Tails are not only remarkably easy to prepare but also offer a delightful treat that will make your spring celebrations a little sweeter!
Step‑by‑Step Instructions for Easter Bunny Coconut Tails
Step 1: Prepare the Base Mixture
In a large mixing bowl, whisk together 1 can of sweetened condensed milk, 4 tablespoons of melted and cooled butter, and 1 teaspoon of vanilla extract until smooth and creamy. Ensure the mixture is well combined, as this will create the base for your Easter Bunny Coconut Tails. Set the bowl aside for the next step while you gather the dry ingredients.
Step 2: Mix in Coconut and Sugar
Gently fold in 2 cups of medium shredded coconut and 1 cup of confectioner’s sugar into the creamy mixture. Use a spatula to mix until the coconut is fully incorporated and the mixture becomes thick and sticky. This will form the foundation of your Easter Bunny Coconut Tails, so ensure everything is blended evenly before proceeding to chill.
Step 3: Chill the Mixture
Cover the bowl with plastic wrap and place it in the refrigerator for about 15 minutes. This chilling time helps the mixture firm up slightly, making it easier to shape into tails later. While you wait, prepare your workspace for rolling the tails. A clean surface will help maintain the fun of this festive project.
Step 4: Color the Coating
While the mixture is chilling, divide 1 ½ cups of fine shredded coconut into several small bowls, depending on how many colors you’d like to create. Add a few drops of liquid food coloring to each bowl and mix well until the coconut is evenly tinted with cheerful pastels. This will give your Easter Bunny Coconut Tails their delightful appearance.
Step 5: Form the Bunny Tails
Once the mixture has chilled, remove it from the refrigerator. Using a small cookie scoop or your hands, portion out about 1½ teaspoons of the mixture and roll it into a smooth ball. The warmth from your hands will help define the shape. Repeat this process until all the mixture is formed into bunny tails, arranging them on a tray.
Step 6: Coat the Bunny Tails
Take each ball of the Easter Bunny Coconut Tails and roll it in the colored coconut until fully coated. Ensure each tail is evenly covered for a beautiful finish, and place them back on the tray as you go. This coating gives them a playful and festive touch, adding to their appeal.
Step 7: Refrigerate to Set
Transfer the tray of coated bunny tails to the refrigerator and let them chill for about 1 hour. This will help them firm up and maintain their shape. It’s crucial to keep them chilled afterward, so they stay fresh and delightful until you’re ready to serve them.
Step 8: Serve and Enjoy
Once the Easter Bunny Coconut Tails are set, you can display them on a festive platter or serve them straight from the tray. They make a charming and delicious treat for any spring gathering, sure to delight both adults and children alike with their sweet taste and whimsical appearance!
Make Ahead Options
These Easter Bunny Coconut Tails are perfect for busy cooks looking to save time during spring celebrations! You can prepare the base mixture up to 24 hours in advance—simply follow the recipe instructions through chilling, then store the mixture in an airtight container in the refrigerator. When you’re ready to serve, scoop and roll the mixture into balls, coat in colored coconut, and chill again for about an hour before presenting them. To maintain their delightful texture and flavors, keep the coated tails chilled until serving, ensuring they remain just as delicious as when freshly made. This prep-ahead approach allows you to enjoy quality time with family and friends while still delivering a charming dessert!
How to Store and Freeze Easter Bunny Coconut Tails
Fridge: Store your Easter Bunny Coconut Tails in an airtight container for up to 1 week. This keeps them fresh and delicious, ready to be enjoyed at family gatherings.
Freezer: For longer storage, freeze the tails in a single layer on a baking sheet, then transfer them to a freezer-safe bag or container. They’ll keep well for up to 3 months.
Thawing: When ready to enjoy, simply transfer the frozen tails to the fridge for a few hours to thaw. They’ll retain their delightful texture and taste.
Serving Tip: Serve chilled for the best flavor experience, keeping these sweet coconut treats irresistible for your festive gatherings!
Expert Tips for Easter Bunny Coconut Tails
- Stickiness Check: Ensure the mixture is sticky enough to hold together when pressed. If it’s too dry, add a bit more medium shredded coconut to reach the right texture.
- Vibrant Colors: For lively pastel shades, opt for liquid food coloring, which blends smoothly without clumping. This is crucial for enhancing the visual appeal of your Easter Bunny Coconut Tails.
- Storage Solutions: Keep your treats in an airtight container; they’ll last up to one week in the refrigerator or can be frozen for up to three months—perfect for make-ahead treats!
- Roll with Care: When coating, gently roll each ball in the tinted coconut to achieve a lovely even layer. This light coverage adds a delightful texture and keeps them visually appealing.
- Flavor Variations: Don’t be shy to mix it up! Add zesty citrus zest or almond extract for added flavor depth, tailoring each batch of Easter Bunny Coconut Tails to your taste.
What to Serve with Easter Bunny Coconut Tails?
Imagine sharing sweet bites of happiness with loved ones while celebrating the joys of spring.
-
Fresh Fruit Salad: Bursting with juicy flavors, this vibrant medley adds a refreshing contrast to the creamy sweetness of the coconut tails. Perfect for brightening up your dessert table!
-
Light Vanilla Ice Cream: The creamy, cool experience of vanilla ice cream complements the chewy texture of the coconut tails, offering a delightful balance that everyone will love.
-
Chocolate Dipped Strawberries: The rich chocolate pairs exquisitely with the sweet coconut tails. Their visual charm will make your treat table even more enchanting and delectable.
-
Mint Limeade: This crisp, refreshing beverage adds a zingy brightness, helping to cleanse the palate between bites of sweet coconut bliss.
-
Carrot Cake Bites: These moist, spiced treats echo the Easter theme while providing a lovely flavor contrast, making your dessert spread as colorful as it is delicious.
-
Mini Egg Cookies: Delightfully crunchy and colorful, these cookies will bring a playful aspect to your dessert table, perfectly matching the festive vibe of the Easter Bunny Coconut Tails.
Easter Bunny Coconut Tails Variations
Feeling inspired to make these delightful treats your own? Customize your Easter Bunny Coconut Tails with these fun variations!
-
Sweeter Twist: Use sweetened shredded coconut instead of unsweetened for a richer sweetness that makes every bite extra delightful.
-
Chocolate Lovers: Roll the bunny tails in melted chocolate instead of coconut for a decadent, richer flavor that pairs beautifully with the coconut.
-
Citrus Zing: Add a teaspoon of lemon or orange zest to the mixture for a refreshing citrus twist that brightens the flavor profile beautifully.
-
Almond Dream: Swap the vanilla extract for almond extract to add a warm, nutty aroma that enhances the overall experience of these treats.
-
Festive Eggs: Shape the mixture into small egg forms for a unique twist on presentation, perfect for spring celebrations and Easter gatherings.
-
Chocolate Chip Surprise: Fold in mini chocolate chips for an extra layer of sweetness and fun texture that the kids will love!
-
Nutty Crunch: Mix in some finely chopped nuts like almonds or walnuts for a crunchy contrast to the chewy coconut base.
-
Spicy Kick: For those who like a little heat, add a pinch of cayenne pepper or cinnamon to the mixture for a surprising flavor boost.
And if you’re looking for more delightful coconut treats, you might want to check out our Sweet Coconut Cream or indulge in some rich Coconut Rum Tiramisu. Happy customizing!
Easter Bunny Coconut Tails Recipe FAQs
What type of coconut should I use for these treats?
For the base, I recommend medium shredded coconut, which provides the delightful chewiness. You can choose between sweetened or unsweetened; opting for unsweetened gives you more control over the overall sweetness of the final product.
How should I store my Easter Bunny Coconut Tails?
Keep your Easter Bunny Coconut Tails in an airtight container in the refrigerator for up to 1 week. This way, they maintain their freshness and delightful taste, making them perfect for whenever that sweet craving strikes!
Can I freeze the Easter Bunny Coconut Tails?
Absolutely! To freeze your treats, place them in a single layer on a baking sheet to firm up, then transfer them to a freezer-safe bag or container. They can last for up to 3 months in the freezer. Just remember to thaw them in the fridge for a few hours before serving!
What can I do if the coconut mixture is too sticky?
If you find the mixture is too sticky to form into balls, simply add a little more medium shredded coconut until you achieve a texture that holds together well without falling apart. Adjusting this can often make all the difference in how your bunny tails come out!
Can pets eat Easter Bunny Coconut Tails?
It’s best to keep these treats away from pets, as they contain ingredients like sweetened condensed milk and sugar that may not be suitable for them. Ensure to store them safely where your furry friends can’t reach!
How can I customize the flavor of my Easter Bunny Coconut Tails?
Feel free to get creative! You might add citrus zest for an aromatic twist or even some nut extracts like almond to enhance the taste. Mixing in small chocolate chips is another fun way to add sweetness and extra flavor!
Easter Bunny Coconut Tails: Irresistibly Sweet Spring Treats
Ingredients
Equipment
Method
- In a large mixing bowl, whisk together the sweetened condensed milk, melted butter, and vanilla extract until smooth and creamy.
- Gently fold in the medium shredded coconut and confectioner’s sugar into the creamy mixture until fully incorporated.
- Cover the bowl with plastic wrap and place it in the refrigerator for about 15 minutes.
- While the mixture is chilling, divide the fine shredded coconut into small bowls and add liquid food coloring to each bowl.
- Once the mixture has chilled, portion out about 1½ teaspoons and roll into smooth balls.
- Roll each ball in the colored coconut until fully coated.
- Transfer the tray of coated bunny tails to the refrigerator and let them chill for about 1 hour.
- Serve chilled on a festive platter.
Leave a Reply