
As I whisk together vibrant layers of Jell-O for my Easter JELLO Cheesecake, I can’t help but think of the sparkling springtime celebrations it will grace. This playful dessert with its fluffy no-bake texture and pastel colors isn’t just eye-catching; it’s a breeze to prepare, making it perfect for busy holiday schedules. Not only does this layered delight impress guests of all ages, but its creamy cheesecake base brings a touch of comfort to those festive gatherings. Imagine cutting into it and revealing those stunning colors, making it the centerpiece of your table. Curious about how you can bring this cheerful treat to life? Let’s dive into the recipe!
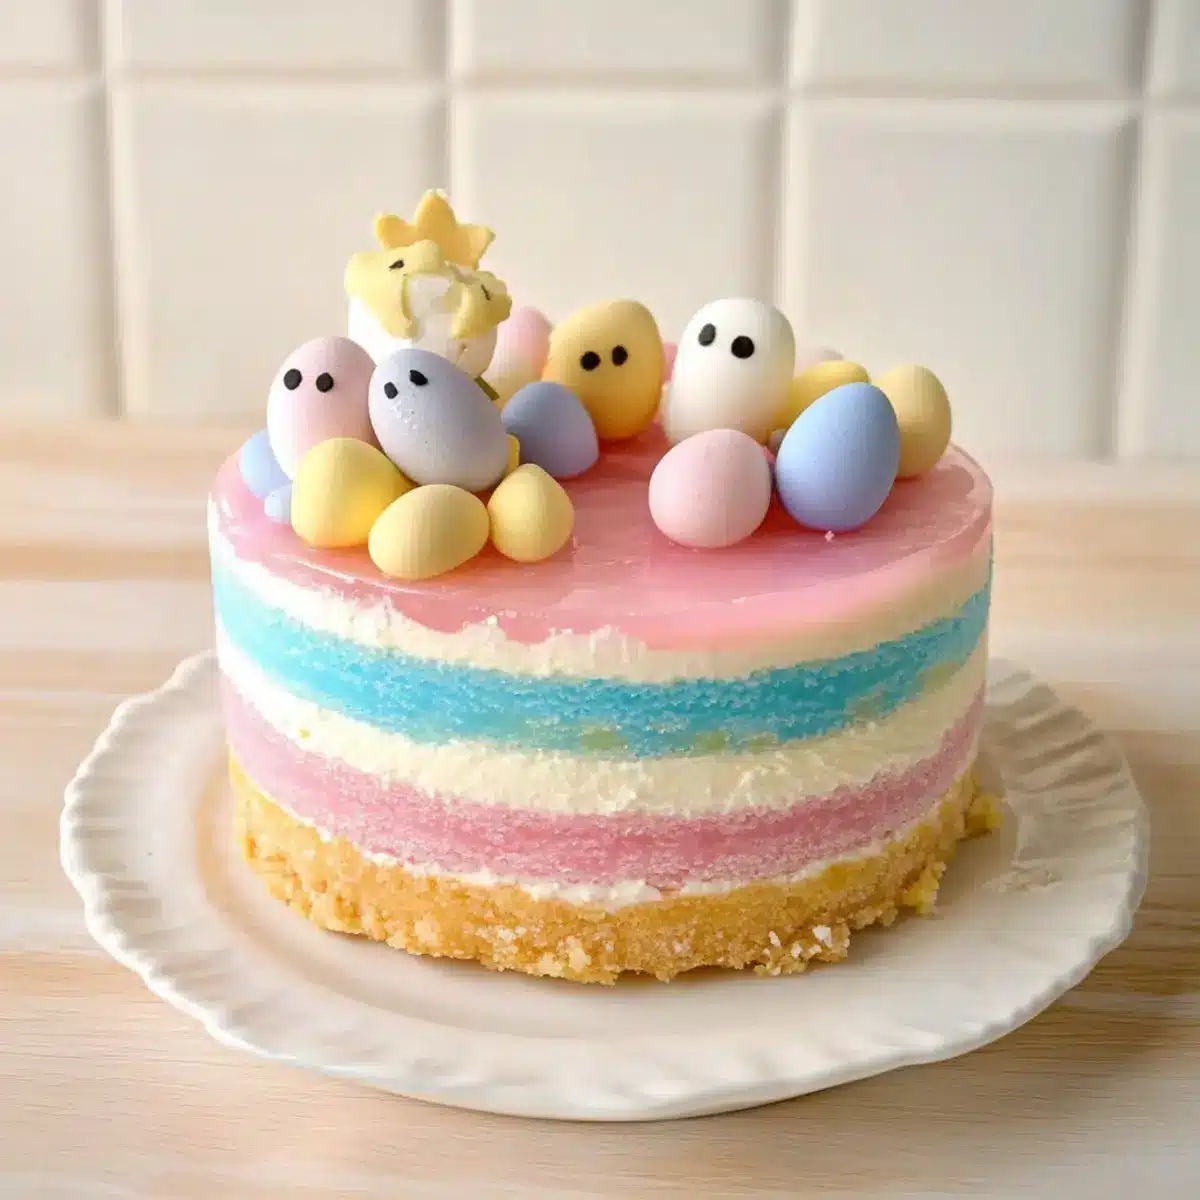
Why is Easter JELLO Cheesecake a Must-Try?
Vibrant Layers: The pastel colors of this cheesecake create a stunning visual appeal, perfect for spring celebrations.
Fluffy Texture: Enjoy a delightful no-bake experience that promises a light and airy finish.
Crowd-Pleaser: Kids and adults alike will adore the sweet flavors and playful presentation.
Customization: Feel free to experiment with different Jell-O flavors and colors, making it your own! Consider pairing this showstopper with Lemon Blueberry Cheesecake for an extra dimension of flavor.
Quick Prep: With minimal prep time, you can whip it up and store it for the big day ahead. Get ready to impress your guests with this festive favorite!
Easter JELLO Cheesecake Ingredients
Get ready to create this delightful dessert with these essential ingredients!
For the Cheesecake Base
• Jell-O Classic No-Bake Cheesecake Mix – This forms the creamy base for your festive dessert; feel free to use any brand you love!
• Milk – Essential for mixing with the cheesecake blend; using low-fat milk can lighten up the dish.
• Butter – Adds richness to the crust; unsalted butter is typically the best choice for balance.
• Cooking Spray – Ensure easy removal from the springform pan and keeps your cheesecake intact.
For the Colorful Layers
• Blue Jell-O Powder (3 tablespoons) – This vibrant flavor creates a fun blue layer; switch it up with any flavored gelatin to tailor your dessert!
• Strawberry or Cherry Jell-O Powder (3 tablespoons) – Provides a sweet contrast layer; alternatives like raspberry can be delicious too.
• Boiling Water (⅓ cup for blue Jell-O, ½ cup for red Jell-O) – Crucial for dissolving the Jell-O powder; stick to the exact measurements for perfect results.
• Ice Cold Water (½ cup for both colors) – Helps with the setting of your Jell-O; icy cold water results in firmer layers.
• Cool Whip (3 tubs, 8 oz each) – Makes the layers fluffy and light; consider using whipped cream for a homemade touch!
Optional Topping
• Cadbury Pastel Mini Eggs – A festive touch that enhances the visual appeal of your cheesecake; for a lighter look, substitute with fresh fruits or chocolate shavings.
With these ingredients on hand, you’re all set to create a stunning Easter JELLO Cheesecake that will steal the show at your celebrations!
Step‑by‑Step Instructions for Easter JELLO Cheesecake
Step 1: Prepare the Springform Pan
Begin by greasing a 9-inch springform pan with cooking spray to prevent sticking. Following the package instructions for your Jell-O Classic No-Bake Cheesecake Mix, prepare the crust and firmly press it into the base of the pan. This creates a solid foundation for your colorful layers, setting the stage for a delicious Easter JELLO Cheesecake.
Step 2: Make the Cheesecake Filling
In a mixing bowl, combine your cheesecake mix with milk and melted butter according to the package directions. Stir until smooth and creamy, ensuring no lumps remain. Once your filling achieves a light consistency, gently pour it over the prepared crust and spread it evenly. Refrigerate this layer for about 30 minutes or until it slightly sets.
Step 3: Create the Blue Layer
For the blue layer of your Easter JELLO Cheesecake, dissolve 3 tablespoons of blue Jell-O powder in ⅓ cup of boiling water, stirring until fully melted. Then, add ½ cup of ice cold water to the mixture, and let it cool for a few minutes. Once cooled, fold in one tub of Cool Whip until well combined, creating a light, airy layer ready to be spread.
Step 4: Chill the Blue Layer
Gently spread the blue Jell-O mixture over the slightly set cheesecake layer in the springform pan. Make sure it’s evenly distributed for a beautiful presentation. Allow this layer to set in the refrigerator for at least 2 hours, or until firm, ensuring it’s ready for the next vibrant layer of your Easter JELLO Cheesecake.
Step 5: Prepare the Pink Layer
Now, let’s make the pink layer! Repeat the process with 3 tablespoons of strawberry or cherry Jell-O powder, dissolving it in ½ cup of boiling water. Mix in ½ cup of ice cold water afterward and let it cool down. Once cooled, fold in another tub of Cool Whip until the mixture is light and fluffy, adding delightful flavor to your cheesecake.
Step 6: Layer the Pink Mixture
Carefully pour and spread the pink Cool Whip Jell-O mixture over the set blue layer in the springform pan. Ensure you cover the blue evenly for that stunning visual effect that will wow your guests. Now, place the cheesecake back in the refrigerator for at least 4 hours, or overnight if possible, allowing all layers to meld beautifully.
Step 7: Top Off the Cheesecake
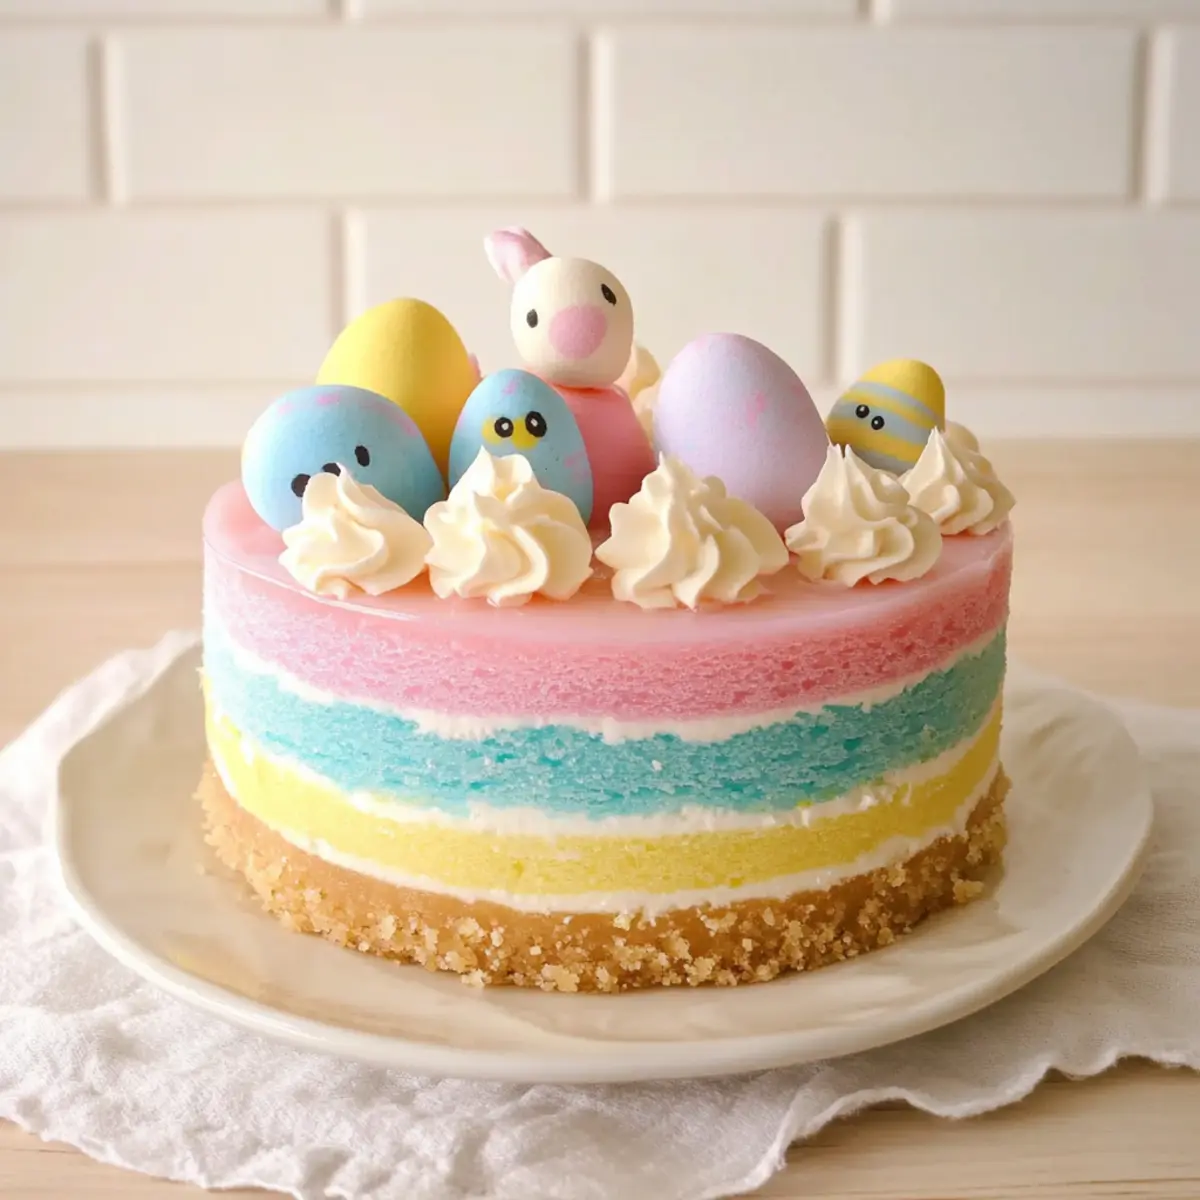
After your Easter JELLO Cheesecake has firmly set, it’s time to finish it! Spread or pipe the final tub of Cool Whip on top for a fluffy, creamy finish. If you wish, adorn your dessert with Cadbury Pastel Mini Eggs for that festive touch. This colorful topping will elevate the presentation, making it perfect for your spring celebrations.
Make Ahead Options
These Easter JELLO Cheesecake layers are perfect for meal prep enthusiasts! You can prepare the cheesecake base and the blue layer up to 24 hours in advance to save time for your celebrations. Simply follow the recipe up to the point of adding the blue layer, then cover the springform pan tightly with plastic wrap and refrigerate. The pink layer can also be made up to 3 days ahead, ensuring optimal freshness when served. When it’s time to serve, simply complete the cheesecake by spreading the final layer of Cool Whip on top and adding any desired toppings. This allows you to enjoy a stress-free holiday while still presenting a stunning dessert!
Expert Tips for Easter JELLO Cheesecake
- Layer Chilling: Always ensure each layer is fully chilled before adding the next to maintain that vibrant, distinct separation of colors.
- Knife Technique: For clean slices, dip a knife in hot water and dry it off before cutting into your Easter JELLO Cheesecake. This will prevent colors from smearing.
- Flavor Variations: Don’t hesitate to mix and match Jell-O flavors! Experimenting with combinations can yield exciting results and make your dessert uniquely yours.
- Storage Care: Any leftovers should be covered and stored in the refrigerator for up to three days to maintain freshness and texture.
- Serving Freshness: Serve your cheesecake straight from the fridge to ensure it maintains that light and refreshing texture, perfect for spring gatherings.
Easter JELLO Cheesecake Variations & Substitutions
Embrace the creativity of the season and make this Easter JELLO Cheesecake your own with these fun twists and swaps!
- Flavor Swap: Try lime Jell-O for a fresh, zesty layer that adds a refreshing twist to the dessert.
- Color Alternatives: Use orange Jell-O for a bright sunset layer that brings cheer to your Easter table.
- Dairy-Free: Replace Cool Whip with coconut cream or dairy-free whipped topping for a delightful vegan option.
- Sugar-Free: Opt for sugar-free versions of Jell-O and Cool Whip if you’re keeping an eye on sugar intake, while still enjoying the festive colors.
- Nutty Crust: Instead of a traditional crust, blend crushed nuts with melted coconut oil for a gluten-free base that adds crunch and flavor.
- Fruit-Filled Layers: For an added layer of flavor, blend fresh fruits into the Jell-O mixture before chilling; berries or peaches work wonderfully!
- Topping Variations: Consider fresh strawberries or blueberries in place of mini eggs for a delicious and beautiful topping that adds a fruity tang.
- Whipped Cream Twist: Finally, take your topping up a notch by mixing in some citrus zest or vanilla extract with your whipped topping for a flavorful boost.
Feeling inspired? You might also enjoy pairing this colorful cheesecake with other delightful treats like Apple Cheesecake Buns or serving it alongside a delicious York Style Cheesecake for a memorable dessert spread.
Storage Tips for Easter JELLO Cheesecake
Fridge: Store your Easter JELLO Cheesecake in an airtight container or tightly covered with plastic wrap for up to 3 days to maintain freshness and vibrant colors.
Freezer: For longer storage, freeze slices of your cheesecake! Wrap each piece in plastic wrap, then place in a freezer-safe container for up to 2 months. Thaw in the fridge overnight before serving.
Reheating: There’s no need for reheating; serve your cheesecake chilled for the best taste and texture. Just slice straight from the fridge for a refreshing dessert!
What to Serve with Easter JELLO Cheesecake
There’s nothing quite like enjoying a delightful feast alongside your vibrant Easter JELLO Cheesecake.
-
Fresh Fruit Salad: A mix of seasonal berries and melons brightens the palate, providing a refreshing counterbalance to the sweet cheesecake. The colors mirror those of the cheesecake, offering a stunning presentation.
-
Mini Carrot Cakes: These soft, spiced cakes pair perfectly with the lightness of the cheesecake, creating a delightful flavor contrast that celebrates the season. Their cozy texture complements the airy layers of your dessert beautifully.
-
Whipped Cream Topping: A dollop of freshly whipped cream adds a touch of elegance, enhancing the cheesecake’s sweetness and texture. It invites guests to indulge a bit more while keeping everything light.
-
Iced Tea or Lemonade: A refreshing drink, like iced tea or lemonade, creates a perfect pairing with the dessert. Their zesty flavors cut through the richness, making every bite of Easter JELLO Cheesecake even more enjoyable.
-
Chocolate-Covered Strawberries: The combination of rich chocolate and tart strawberries adds sophistication. Each bite brings you a delightful blend of flavors that enhance the sweet, playful nature of the cheesecake.
-
Pineapple Upside-Down Cake: This classic dessert offers a contrasting texture with its soft layers and juicy pineapple pieces, making it an exciting addition to your Easter spread and adding a tropical flair to your meal.
-
Sparkling Water: Crisp and bubbly, sparkling water is a refreshing choice that cleanses the palate, ensuring the flavors of the cheesecake shine through. It’s an elegant non-alcoholic option for festive gatherings!
Easter JELLO Cheesecake Recipe FAQs
What type of Jell-O should I use for the layers?
Absolutely! You can choose any brand of flavored gelatin that suits your taste. For a classic look, I recommend using blue Jell-O for one layer and strawberry or cherry for the contrasting layer. Feel free to experiment with different flavors like raspberry or lemon to fit your festive theme!
How should I store leftover Easter JELLO Cheesecake?
To keep your cheesecake fresh, store it in an airtight container or tightly wrap it with plastic wrap. This will help maintain its vibrant colors and creamy texture for up to 3 days in the refrigerator.
Can I freeze Easter JELLO Cheesecake?
Yes, you can! To freeze, gently slice the cheesecake and wrap each piece in plastic wrap. Then, place them in a freezer-safe container or zip-top bag. This way, your delicious dessert can last for up to 2 months in the freezer. Just thaw it in the refrigerator overnight before enjoying again!
What if my layers aren’t setting properly?
If you find that your Jell-O layers aren’t setting, it might be due to insufficient chilling time or incorrect water measurements. Ensure that each layer is cooled and chilled before adding the next—2 hours should usually suffice for each layer. Also, double-check that you’re using the correct ratio of boiling to ice cold water specified in the recipe for perfect results.
Is this dessert safe for children or those with allergies?
The Easter JELLO Cheesecake contains ingredients like milk and gelatin, which some individuals may be allergic to. If you’re serving kids or guests with food allergies, consider using allergen-free alternatives. Additionally, for more dietary concerns, you can look for gelatin made from fruit pectin as a vegetarian substitute.
How can I maintain the colorful layers when slicing?
To achieve beautifully clean cuts, I recommend dipping your knife in hot water before making any slices. After each cut, wipe the blade with a clean towel to avoid transferring colors between layers. This technique will help preserve the delightful presentation of your Easter JELLO Cheesecake!
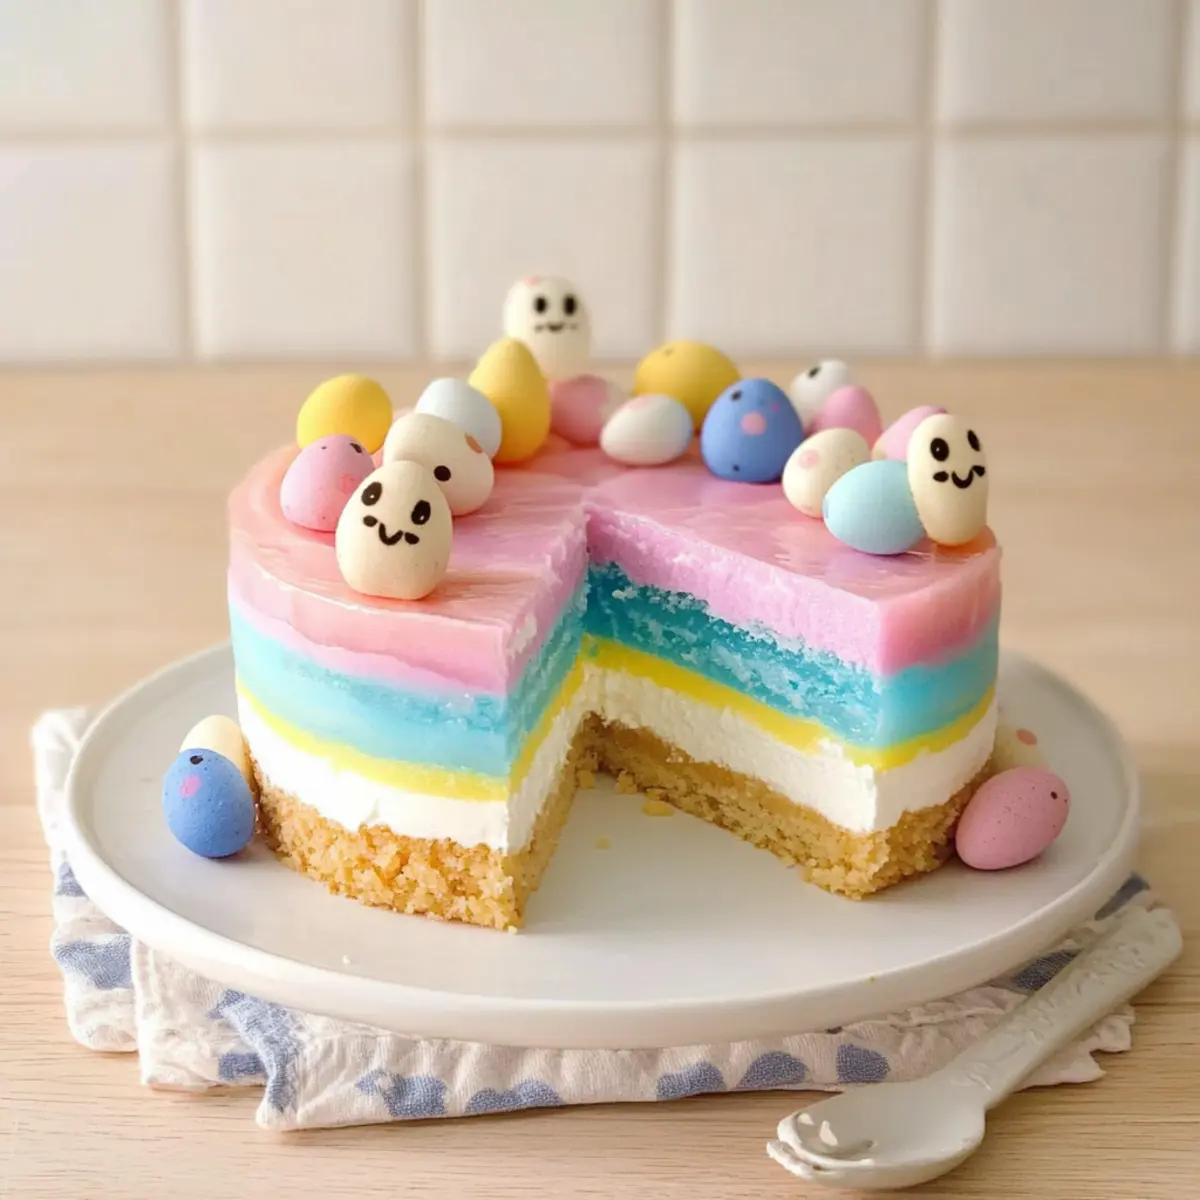
Colorful No-Bake Easter JELLO Cheesecake Delight
Ingredients
Equipment
Method
- Grease a 9-inch springform pan with cooking spray and prepare the crust according to package instructions.
- In a mixing bowl, combine Jell-O Classic No-Bake Cheesecake Mix, milk, and melted butter. Stir until smooth and creamy.
- Pour the cheesecake filling over the crust and refrigerate for about 30 minutes or until slightly set.
- Dissolve 3 tablespoons of blue Jell-O powder in ⅓ cup of boiling water. Add ½ cup of ice cold water and let it cool.
- Fold in one tub of Cool Whip until combined, and spread the blue layer over the cheesecake layer. Chill for at least 2 hours.
- Repeat the process with 3 tablespoons of strawberry or cherry Jell-O powder and ½ cup of boiling water for the pink layer, and fold in another tub of Cool Whip.
- Spread the pink mixture over the blue layer and refrigerate for at least 4 hours or overnight.
- After firmly set, spread or pipe the final tub of Cool Whip on top and decorate with Cadbury Pastel Mini Eggs.
Leave a Reply