
As I stood in my kitchen, the aroma of freshly squeezed oranges filled the air, instantly transporting me to sun-drenched afternoons. That’s when I knew it was time to whip up a batch of my go-to Orange Bars. This bright and zesty dessert strikes a perfect balance between sweet and tart, with a buttery base that cradles a luscious orange filling, embodying sunshine in every bite. What I love most about these Orange Bars is how quick and easy they are to make, making them a fantastic treat for breakfast or a delightful pick-me-up snack. Plus, they’re versatile enough to dress up with a scoop of ice cream for an indulgent dessert or enjoy on their own. Curious about how to bring this burst of flavor to your table? Let’s dive into the recipe!
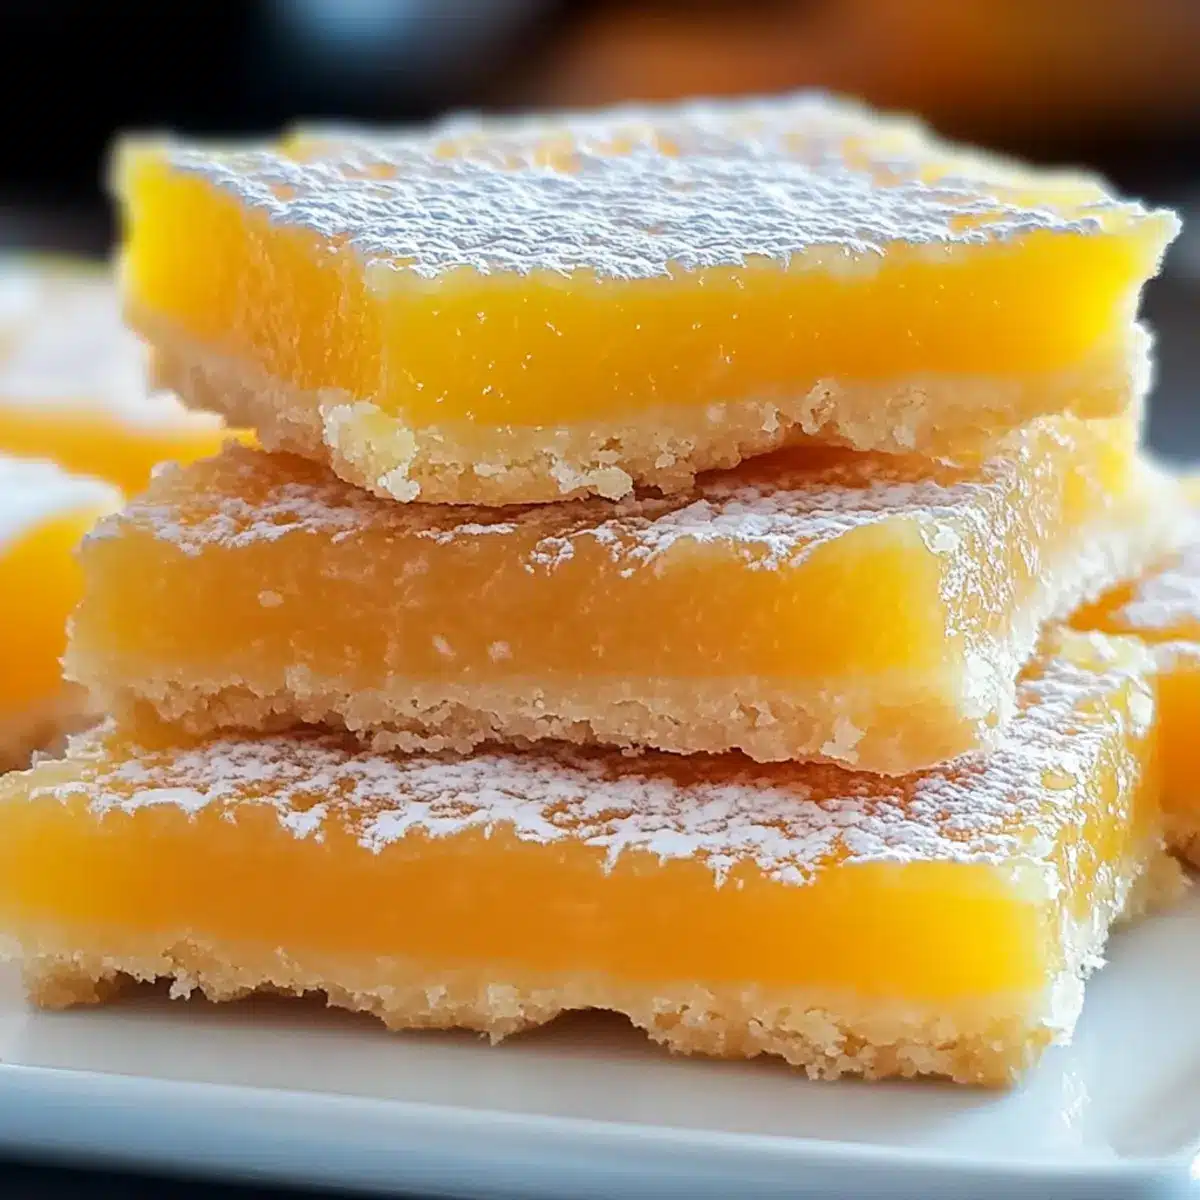
Why are these Orange Bars irresistible?
Bright, Zesty Flavor: The fresh orange juice and zest deliver a vibrant citrus burst that tantalizes your taste buds.
Quick to Make: With simple ingredients and straightforward steps, you can whip these up in no time, making them a go-to for busy days.
Versatile Treat: Perfect for breakfast, a snack, or dessert, these Orange Bars fit seamlessly into any occasion, from brunch with friends to a cozy night in.
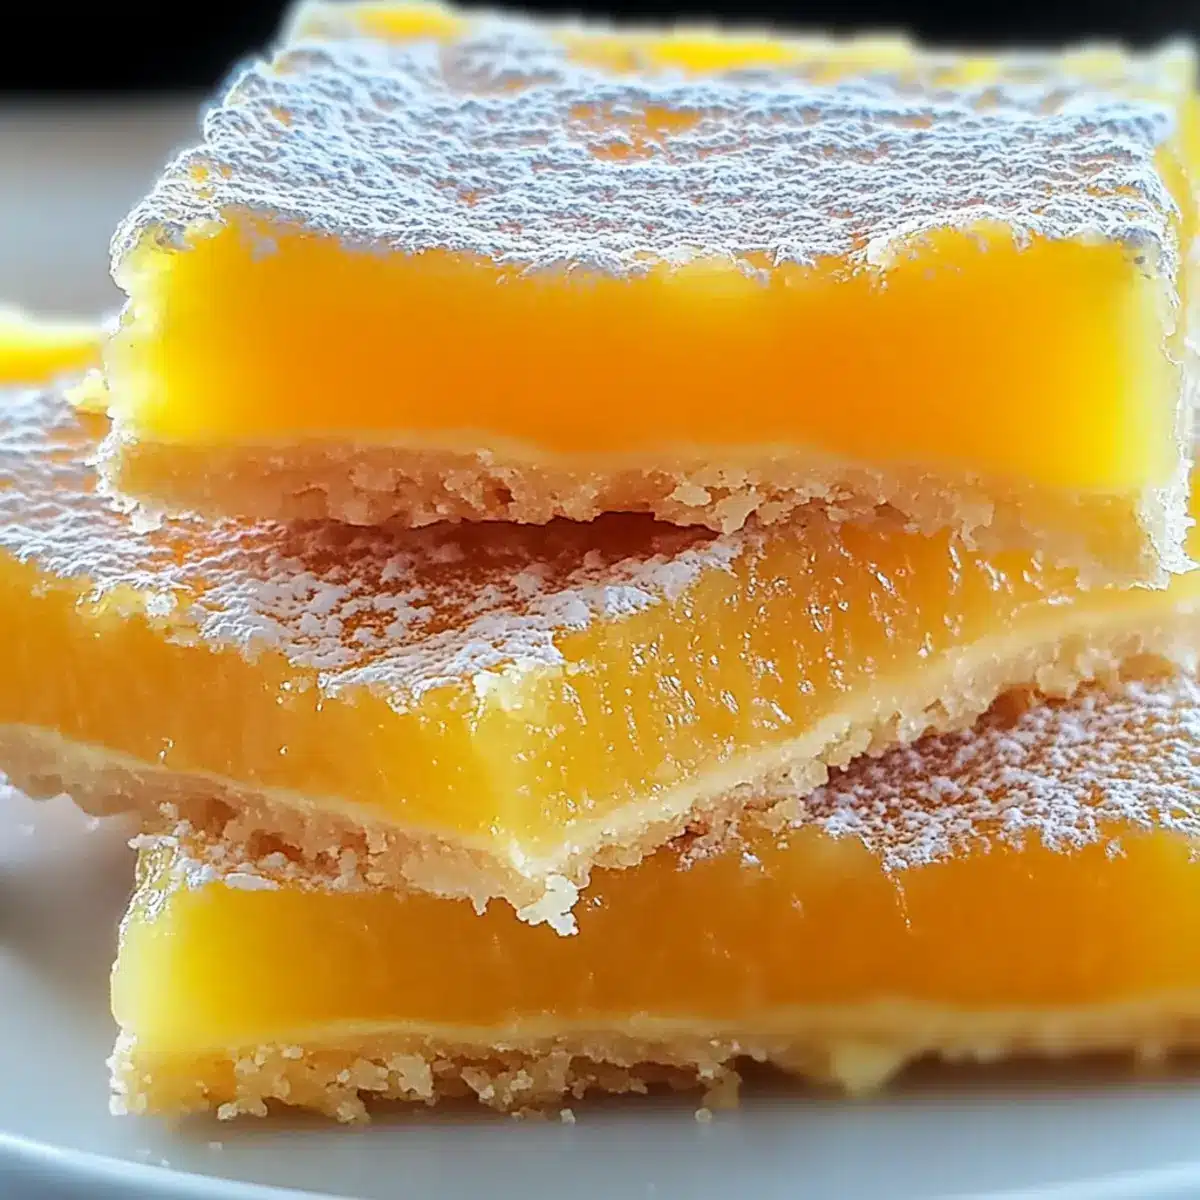
Appealing Texture: Enjoy the delightful contrast of the tender, chewy base and the silky, custardy filling topped with a sweet glaze.
Crowd-Pleaser: Whether you serve them at a gathering or keep them all to yourself, everyone will love this sunny treat! If you’re also a fan of quick and easy desserts, check out my Chocolate Orange Shortbread for another delicious option.
Orange Bars Ingredients
• Here’s everything you need to create zesty Orange Bars!
For the Crust
- All-purpose flour – Essential for structure in the bars; substitute with gluten-free flour if needed.
- Granulated sugar – Sweetens both the crust and filling; consider coconut sugar for a healthier option.
- Unsalted butter – Adds richness and a tender crumb; can be replaced with coconut oil for a dairy-free version.
- Large eggs – Provide binding and moisture; use flax eggs for a vegan alternative.
For the Filling
- Fresh orange juice – The star ingredient that imparts citrus flavor; fresh juice is best for vibrant taste.
- Orange zest – Enhances flavor with aromatic oils; use only the outer peel, avoiding the bitter pith.
- Vanilla extract – Rounds out flavors with warmth; almond extract can offer a unique twist.
- Cornstarch – Helps thicken the filling, creating a custardy texture; arrowroot powder can work as a substitute.
Be ready to bring sunshine to your table with these delightful Orange Bars!
Step‑by‑Step Instructions for Orange Bars
Step 1: Preheat the Oven and Prepare the Pan
Preheat your oven to 350°F (175°C) and grab an 8×8 inch or 9×13 inch baking pan. Grease the pan well with butter or non-stick spray, then carefully line the bottom with parchment paper, leaving some overhang for easy removal. This preparation ensures your Orange Bars will easily release from the pan after baking, making cleanup a breeze.
Step 2: Make the Crust Mixture
In a medium mixing bowl, combine all-purpose flour, granulated sugar, and a pinch of salt. In another bowl, whisk together melted unsalted butter and large eggs until smooth. Pour the wet mixture into the dry ingredients and gently mix until just combined. The texture should be slightly lumpy but cohesive. Spread this crust mixture evenly in the prepared baking pan, smoothening with a spatula.
Step 3: Bake the Crust
Place the crust in the preheated oven and bake for 15–20 minutes. The edges should turn a light golden brown while the center remains soft. Keep an eye on it to ensure it doesn’t over-bake, which could lead to a dry base. Once done, remove it from the oven and set it on a wire rack to cool slightly while you prepare the filling.
Step 4: Prepare the Filling
In a separate bowl, whisk together granulated sugar and cornstarch until evenly blended. Add freshly squeezed orange juice, orange zest, large eggs, and vanilla extract to the sugar mixture. Whisk continuously until the filling is smooth and homogeneous, with no lumps detected. This vibrant mixture will be the zesty heart of your Orange Bars.
Step 5: Combine Crust and Filling
Pour the smooth filling mixture over the baked crust, using a spatula to evenly distribute it. For a decorative touch, gently swirl the filling using the spatula, creating a marbled effect that enhances presentation. This will ensure every bite of your Orange Bars bursts with bright flavor as it bakes.
Step 6: Bake the Orange Bars
Return the pan to the oven and bake for an additional 25–35 minutes. You’ll know they’re done when the filling is set (it should jiggle slightly in the center) and has a golden hue. Keep a close watch towards the end of baking time to avoid overcooking. The aroma of oranges will fill your kitchen beautifully!
Step 7: Allow to Cool
Once your Orange Bars are baked to perfection, remove them from the oven. Allow the bars to cool completely in the pan on a wire rack. This cooling period ensures the filling will set properly, making it easier to slice without mess. Patience here will pay off with neat portions later!
Step 8: Prepare the Glaze
While waiting for the bars to cool, make the glaze by whisking together powdered sugar, a little orange juice, and extra zest in a small bowl. Continue mixing until you achieve a drizzle consistency, perfect for adding a sweet finish to your Orange Bars. This glaze will give them a delightful shine and an added burst of citrus flavor.
Step 9: Glaze and Slice
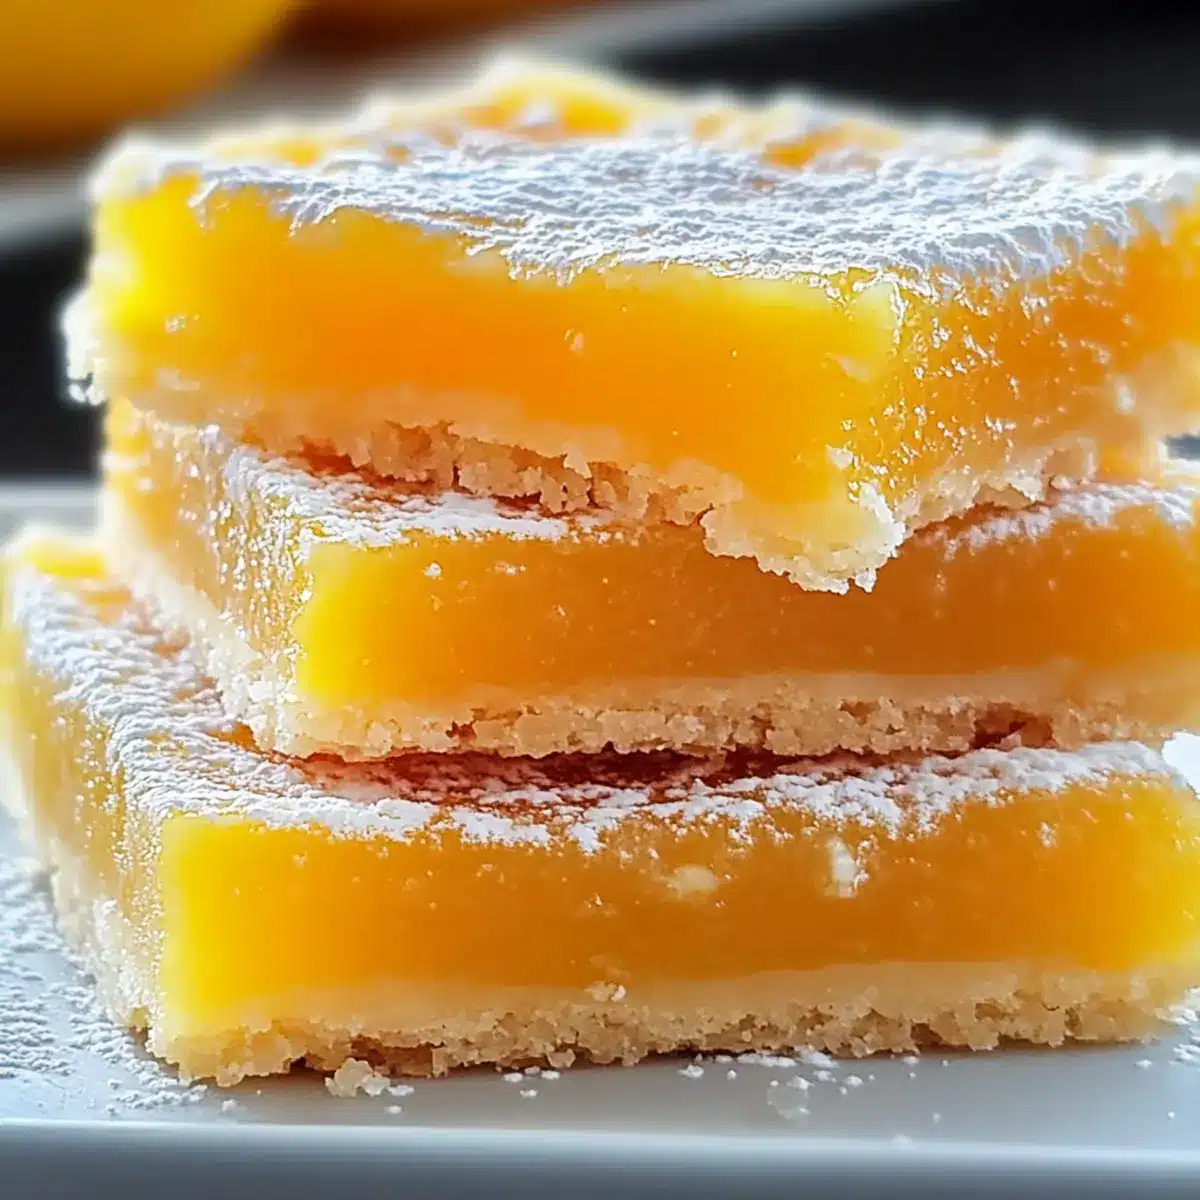
Once the bars are fully cooled, pour the glaze evenly over the top, letting it cascade to the edges for a beautiful finish. Allow the glaze to set for about 15 minutes. When you can’t resist any longer, cut the Orange Bars into squares using a sharp knife. Each slice should reveal the bright, sunny layers inside, ready to be enjoyed!
Make Ahead Options
These Orange Bars are perfect for meal prep, allowing you to enjoy a taste of sunshine even on the busiest days! You can prepare the crust and filling up to 24 hours in advance by baking the crust, letting it cool completely, and storing it covered in the refrigerator. For optimal freshness, mix the filling and store it in an airtight container; this will prevent any browning and keep the flavors vibrant. When you’re ready to serve, simply pour the filling over the crust and bake as directed. You’ll have delicious Orange Bars with minimal last-minute effort, impressing family and friends every time!
Storage Tips for Orange Bars
- Room Temperature: Store the Orange Bars in an airtight container for up to 2-3 days for optimal flavor and texture. Keep them in a cool, dry place away from direct sunlight.
- Fridge: If you plan to enjoy the bars longer, refrigerate them for up to a week. The chill will enhance the zesty flavor while keeping the filling creamy.
- Freezer: For longer storage, freeze unglazed Orange Bars in a tightly wrapped container or freezer bag for up to 2-3 months. Glaze them just before serving for the best results.
- Reheating: Thaw frozen bars overnight in the fridge before serving. Enjoy them cold, or warm them slightly in the oven at 300°F (150°C) for about 10 minutes for a fresh-baked feel.
What to Serve with Bright and Zesty Orange Bars
Imagine indulging in the sweet-tart embrace of these delightful Orange Bars while surrounded by friends and family. The right accompaniments can elevate this sunshine dessert into a feast for the senses.
-
Creamy Vanilla Ice Cream: The rich creaminess complements the tangy citrus filling, transforming a simple bar into a delightful sundae experience. A scoop of ice cream next to a warm bar is pure bliss.
-
Fresh Fruit Salad: Tossed with juicy berries and vibrant citrus, it brings a refreshing contrast that brightens every bite. The added textures and flavors pair beautifully with the Orange Bars.
-
Coffee or Tea: A cup of freshly brewed coffee or a citrus-infused herbal tea will enhance the dessert’s flavors, creating a comforting experience. The warmth of the drink complements the chilled bars, making each mouthful a moment of joy.
-
Crushed Graham Crackers: Adding a sprinkle of crushed graham crackers on top provides a crunchy texture that contrasts with the silky filling. This simple addition makes each bite intriguing.
-
Whipped Cream: A dollop of lightly sweetened whipped cream lends a luxurious touch that balances the tartness of the Orange Bars. Swirl it on top or serve it on the side for an indulgent finish.
-
Sparkling Water with Citrus Twist: Serve alongside refreshing sparkling water with a slice of lemon or lime for a bubbly contrast that enhances the orange flavor. This light, fizzy drink keeps the experience fresh and vibrant.
Elevate your gathering with these perfect pairings, ensuring that every bite of your Orange Bars is enjoyed to the fullest!
Expert Tips for Orange Bars
-
Mix Thoroughly, But Gently: Be sure to mix until just combined to prevent tough bars. Overmixing can lead to a dense texture, so a few lumps are okay!
-
Fresh Ingredients Matter: Use fresh oranges for juice and zest; this ensures a bright, vibrant flavor in your Orange Bars. Bottled juice lacks the depth that fresh juice offers.
-
Check for Doneness: Look for slightly puffed edges and a wobbly center when baking. The center should jiggle gently, indicating a custardy consistency.
-
Correct Cooling Time: Patience is key; ensure the bars cool completely before glazing. If the bars are still warm, the glaze will melt and create a gooey mess.
-
Proper Storage: Keep uneaten Orange Bars in an airtight container at room temperature for 2-3 days or refrigerate for up to a week to maintain their freshness and flavor.
Orange Bars Variations & Substitutions
Feel free to play around with these Orange Bars, inviting your own flair to the recipe while capturing that delightful citrus essence!
-
Dairy-Free: Replace unsalted butter with coconut oil for a rich, dairy-free version that still maintains that tender crumb.
-
Gluten-Free: Swap all-purpose flour for gluten-free flour mix to cater to gluten sensitivities without sacrificing taste or texture.
-
Healthier Sweetener: Use coconut sugar instead of granulated sugar to lower the glycemic index while enjoying a subtle caramel-like flavor.
-
Citrus Medley: Mix lemon juice and zest with the orange for a refreshing twist, introducing that sweet-tart zing everyone loves.
-
Spiced Infusion: Add a pinch of ground ginger or cardamom to the filling for a fragrant spiced variation that elevates the flavor profile.
-
Nutty Finish: Top your bars with toasted almonds or walnuts for a delightful crunch that complements the creamy filling beautifully.
-
Decadent Glaze: Drizzle with white chocolate ganache in addition to the orange glaze for an indulgent treat that’s hard to resist.
-
Savory Twist: Incorporate a hint of rosemary into the base for an unexpected but delicious savory-herbal twist, pairing wonderfully with the sweet filling.
These variations will surely keep your baking journey exciting! If you’re in the mood for another delightful treat, don’t forget to check out my Chocolate Orange Shortbread for a recipe that blends citrus with rich chocolate in a heavenly combination!
Orange Bars Recipe FAQs
How do I choose the best oranges for my Orange Bars?
Absolutely! For the best flavor, select fresh oranges that are firm and heavy for their size, as this indicates juiciness. Look for oranges without dark spots or blemishes on the skin. I recommend using navel oranges for their sweetness and vibrant zest which will enhance your bars beautifully.
How should I store leftover Orange Bars?
You can store your Orange Bars in an airtight container at room temperature for 2-3 days. If you want to prolong their freshness, refrigerate them for up to a week. Just make sure they are completely cool before sealing to prevent excess moisture.
Can I freeze Orange Bars, and if so, how?
Yes, you can freeze unglazed Orange Bars! Here’s how: first, wrap each bar individually in plastic wrap and then place them in a freezer-safe bag or container. They will keep for up to 2-3 months. When you’re ready to enjoy them, simply thaw overnight in the fridge and glaze before serving for that fresh taste!
What should I do if my Orange Bars are too runny?
If your filling appears too runny after baking, it might not have set properly. Make sure to bake them until the edges are puffed and the center jiggles slightly. If the bars are undercooked, return them to the oven for an additional 5-10 minutes. Checking with a toothpick around the edges can also guide you; it should come out clean or with just a few moist crumbs.
Are these Orange Bars suitable for people with dietary restrictions?
Very! You can make these Orange Bars gluten-free by substituting all-purpose flour with a gluten-free blend. Additionally, for a dairy-free version, replace unsalted butter with coconut oil, and for a vegan variant, use flax eggs (1 tablespoon of ground flaxseed mixed with 2.5 tablespoons of water per egg) instead of large eggs. Always ensure the sugar you use meets your dietary preferences.
What other recipes can I try if I enjoy these Orange Bars?
If you love these Orange Bars, I often recommend trying lemon bars or a delightful meringue pie for another zesty twist. Both recipes also offer that refreshing citrus taste and are sure to impress at your next gathering!
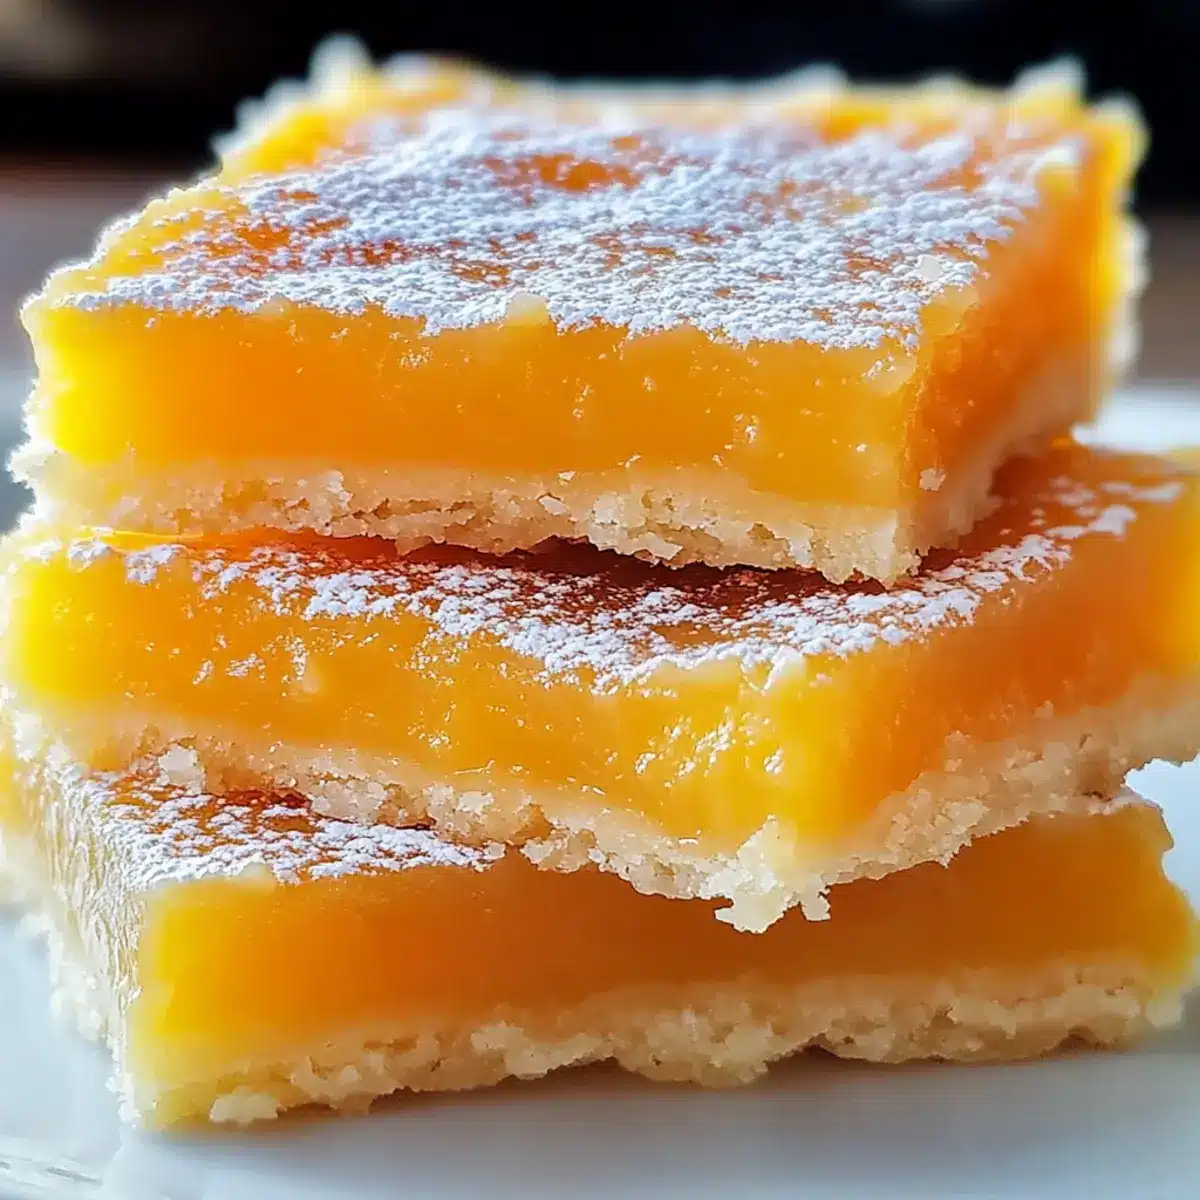
Zesty Orange Bars: Sunshine in Every Delicious Bite
Ingredients
Equipment
Method
- Preheat your oven to 350°F (175°C) and prepare your baking pan by greasing it and lining with parchment paper.
- Combine flour, sugar, and salt in a mixing bowl. In another bowl, whisk melted butter and eggs, then mix with dry ingredients.
- Spread the crust mixture evenly in the prepared pan and bake for 15–20 minutes until lightly golden.
- In a separate bowl, whisk together sugar and cornstarch, then add orange juice, zest, eggs, and vanilla; mix until smooth.
- Pour the filling over the baked crust and swirl gently, then return to the oven for 25–35 minutes until set.
- Allow the bars to cool completely in the pan on a wire rack.
- Whisk together powdered sugar, orange juice, and zest to make the glaze.
- Once cooled, glaze the bars and let set before slicing into squares.
Leave a Reply