
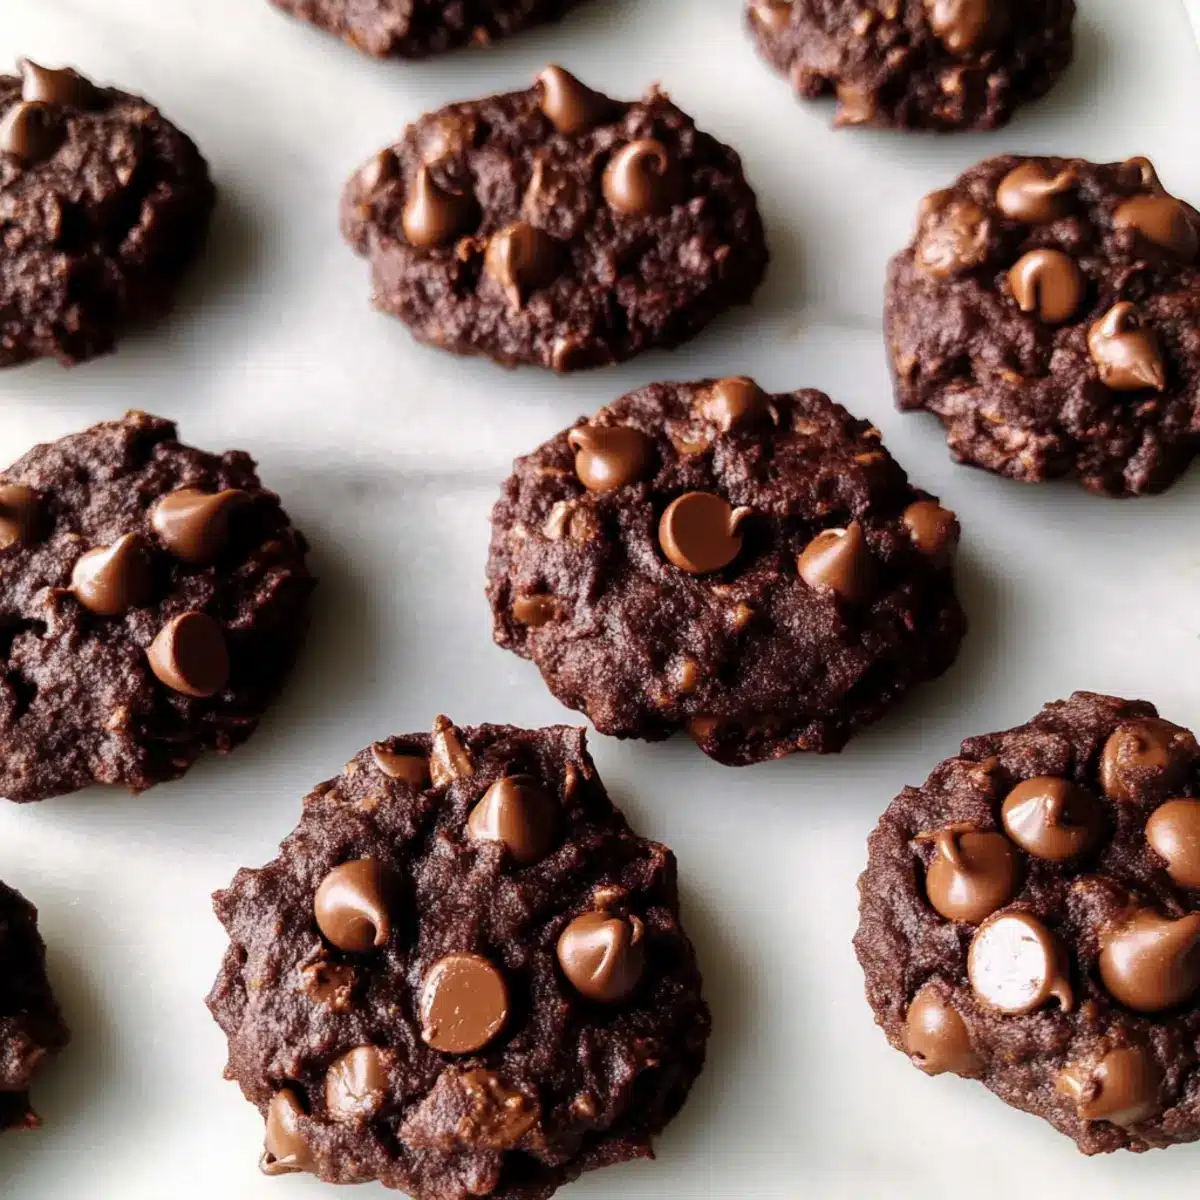
As I rummaged through my pantry for a quick snack, the forgotten can of chickpeas caught my eye. That’s when I decided to craft something a little out of the ordinary—Healthy High Protein Cocoa Chickpea Cookies. Swapping traditional ingredients for chickpeas and ripe bananas, I achieved a soft, fudgy cookie that’s not only gluten-free but also flourless and eggless. With each bite, you get a guilt-free chocolate treat that satisfies your sweet cravings while packing a protein punch. Whether you’re looking for a healthy snack or a post-workout boost, these cookies are a delightful solution. Who knew a pantry staple could transform into such a delicious surprise? Curious to see just how easy it is to whip these up? Let’s get started!
Why are these cookies a game changer?
Nutritious Delight: Each cookie is crafted with chickpeas, loaded with protein and fiber, making them a guilt-free treat.
Flourless Wonder: Enjoy the rich taste of chocolate without the gluten, perfect for those on a gluten-free diet.
Quick & Easy: Ready in just 12 minutes, they fit seamlessly into your busy lifestyle, whether for a quick snack or a dessert.
Versatile Options: Feel free to swap in peanut butter or add chocolate chips to customize your treats; they’re perfect for any occasion!
Satisfying Cravings: Indulge your sweet tooth while keeping your health goals intact—these cookies are a win-win!
For more unique cookie ideas, don’t miss out on Maple Cinnamon Cookies and Zebra Cookies Swirled.
Healthy High Protein Cocoa Chickpea Cookies Ingredients
Here’s everything you need to whip up these scrumptious cookies!
For the Base
- Chickpeas – Ensure they are well-rinsed and patted dry for the best texture and flavor.
- Ripe Banana – Use a banana with deep brown spots for maximum natural sweetness and moisture.
- Cocoa Powder – Dutch-processed or natural works to provide a rich chocolate flavor that masks the taste of chickpeas.
For the Structure
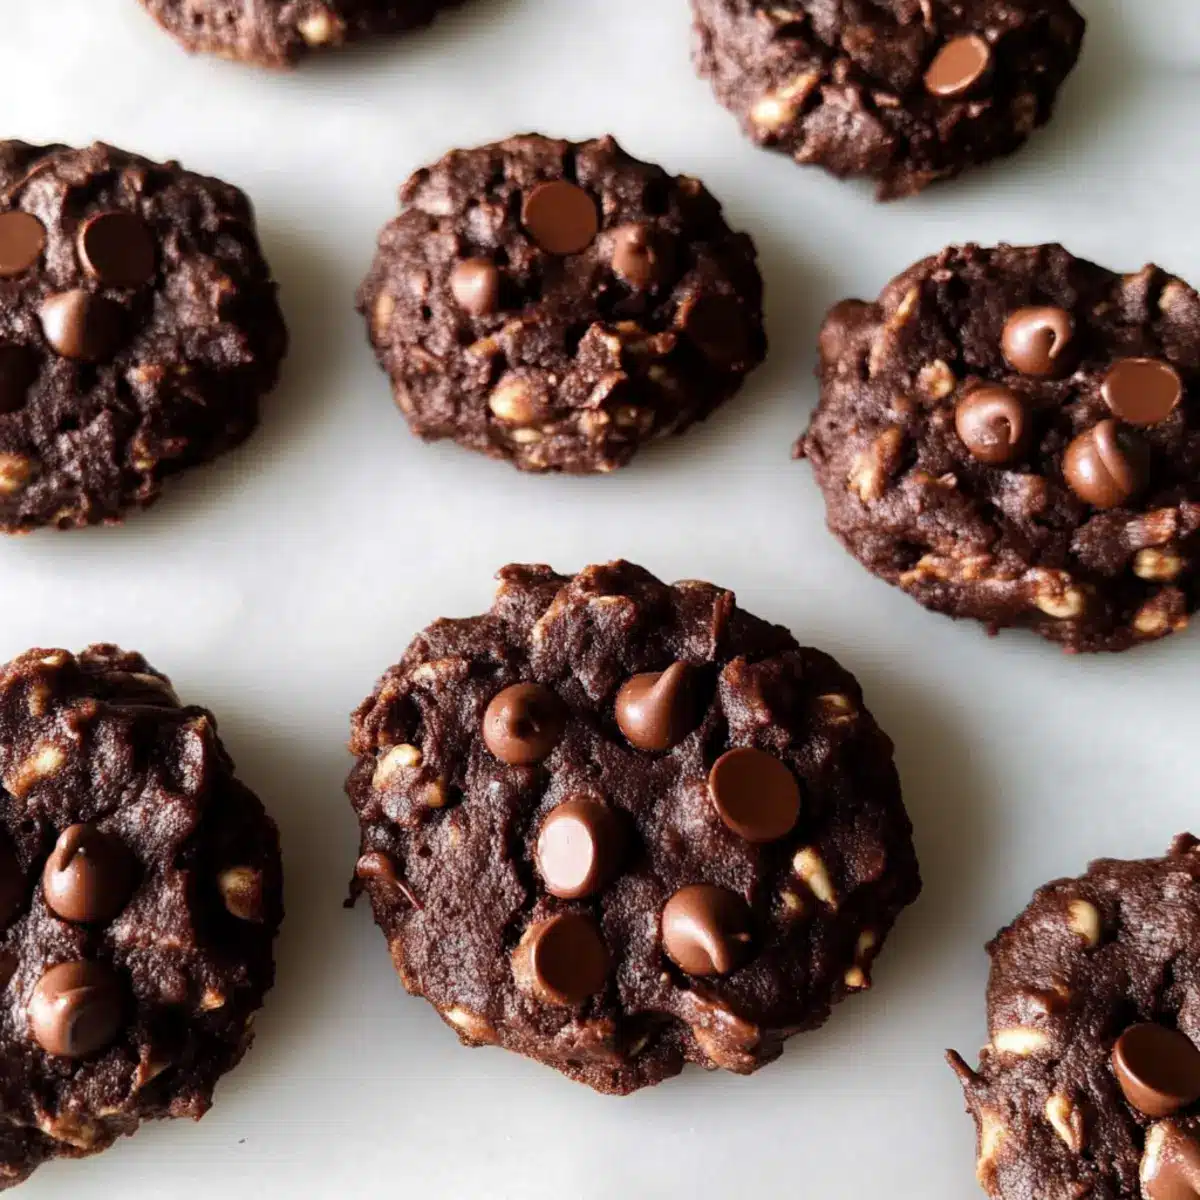
- Old-fashioned Rolled Oats – Provide the perfect chewiness; avoid quick or steel-cut oats for the best results.
- Nut Butter (Almond or Peanut) – Gives the cookies their creamy texture; almond for a subtle flavor, peanut for a classic taste.
For Sweetness
- Maple Syrup – Just a touch to add sweetness without overwhelming the other flavors; essential for moisture.
For Baking
- Baking Soda – Helps the cookies stay soft and not dense; a key ingredient for the perfect texture.
- Salt – Enhances the overall flavor profile; don’t skip this step!
For Extra Indulgence
- Chocolate Chips (optional) – Fold these in for delightful pockets of melted chocolate that take the cookies to another level.
With these ingredients, you’re well on your way to making healthy high protein cocoa chickpea cookies that are both delicious and satisfying!
Step‑by‑Step Instructions for Healthy High Protein Cocoa Chickpea Cookies
Step 1: Preheat the Oven
Begin by preheating your oven to 350°F (175°C). While the oven is warming up, take a baking sheet and line it with parchment paper. This will prevent the cookies from sticking, allowing for easy removal once they’re baked.
Step 2: Blend the Base
In a food processor, combine your well-rinsed chickpeas, cocoa powder, nut butter (either almond or peanut), maple syrup, baking soda, and a pinch of salt. Blend these ingredients for about 1-2 minutes until they form a mostly smooth and creamy mixture, ensuring that all the chickpeas are fully integrated, which will help create the perfect texture for your Healthy High Protein Cocoa Chickpea Cookies.
Step 3: Incorporate Oats and Banana
Next, transfer the blended mixture into a large mixing bowl. Chop your ripe banana into chunks and fold it into the mixture along with the rolled oats. If you’re adding chocolate chips, now is the time to gently stir them in, ensuring everything is well combined. This step enhances the texture and flavor of your cookies.
Step 4: Shape the Cookies
Using a spoon or a cookie scoop, drop spoonfuls of the dough onto the prepared baking sheet. Make sure to flatten each cookie slightly, as they will not spread much during baking. The formed cookies should be about 2 inches apart to allow for any minor spreading that may occur.
Step 5: Bake the Cookies
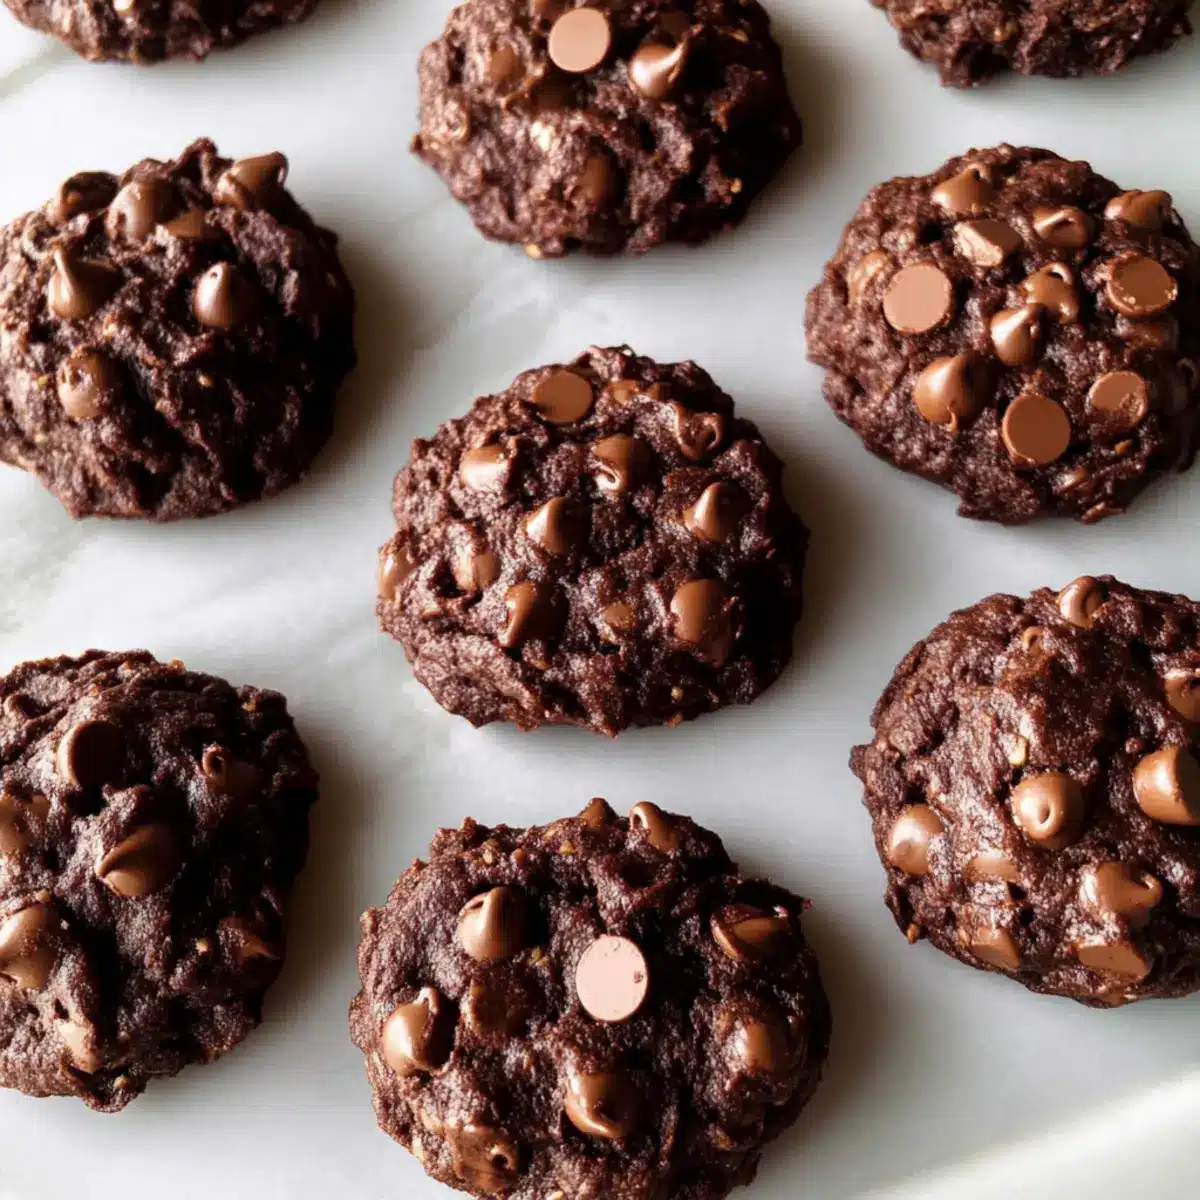
Place the baking sheet in your preheated oven and bake the cookies for 10 to 12 minutes. Keep an eye on them; the tops should appear matte and feel soft yet set when gently pressed. This indicates that your Healthy High Protein Cocoa Chickpea Cookies are perfectly baked and ready to come out.
Step 6: Cool and Serve
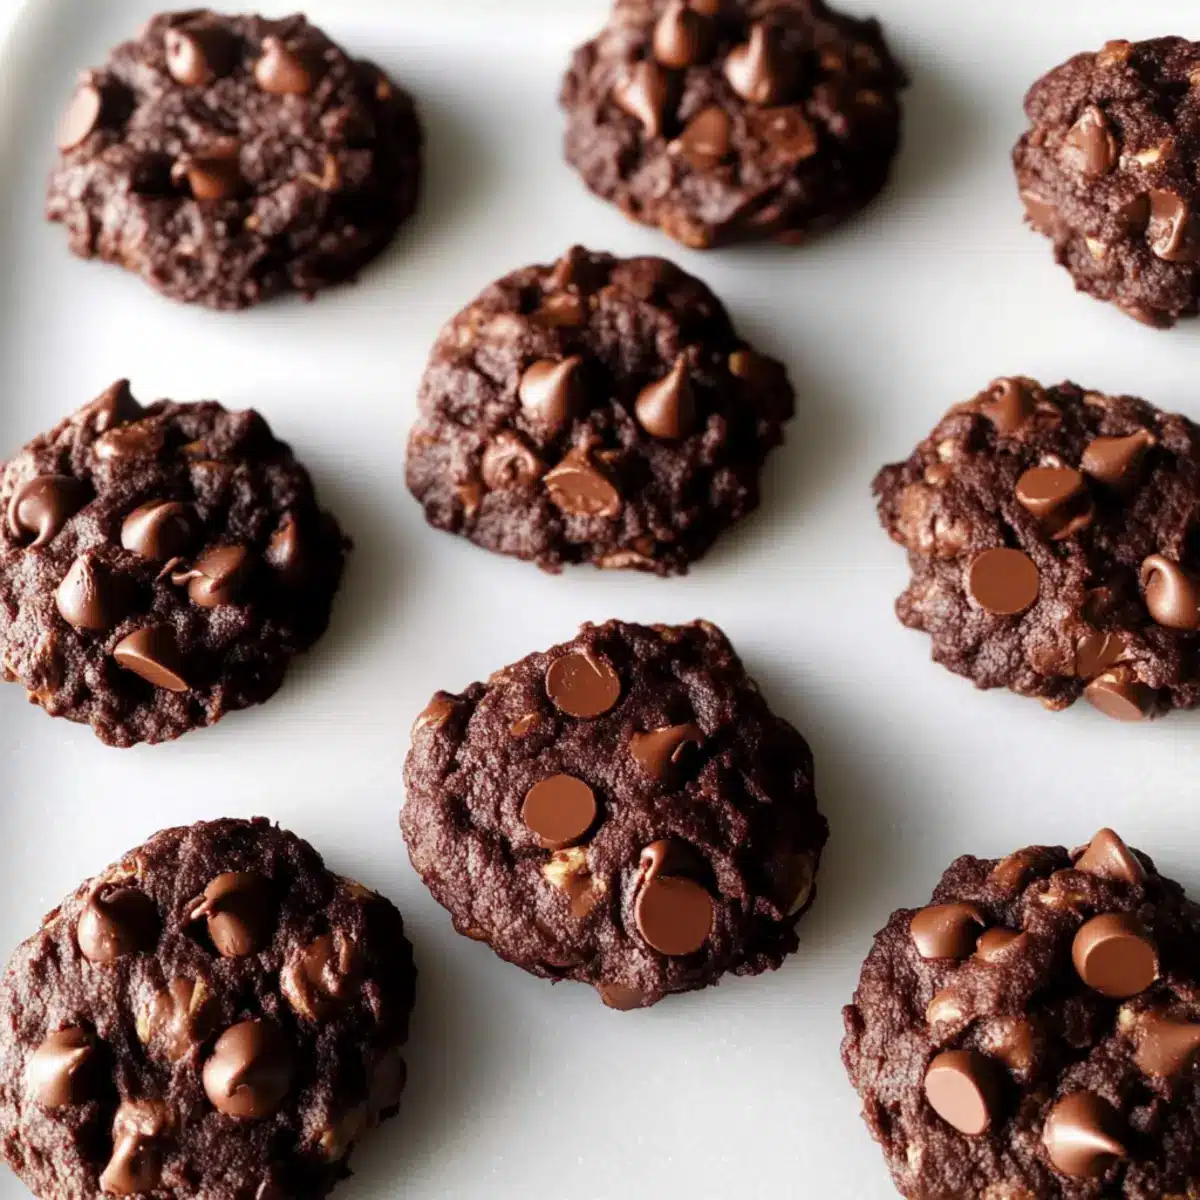
Once baked, let the cookies cool on the baking sheet for about 5 minutes. This allows them to firm up slightly before you transfer them to a cooling rack. After a few more minutes, the cookies will be ready to enjoy, with a rich chocolatey flavor that’s sure to please!
Storage Tips for Healthy High Protein Cocoa Chickpea Cookies
Room Temperature: Store cookies in an airtight container at room temperature for up to 3 days to maintain their soft texture and rich flavor.
Fridge: For extended freshness, keep them in the refrigerator; they can last for up to a week while ensuring they stay moist and delicious.
Freezer: Freeze cookies in a single layer, then transfer them to a freezer-safe bag for up to 3 months. Thaw at room temperature before enjoying.
Reheating: Simply pop the cookies in the microwave for about 10-15 seconds to bring back their fudgy goodness, making your Healthy High Protein Cocoa Chickpea Cookies as delightful as day one!
Expert Tips for Healthy High Protein Cocoa Chickpea Cookies
• Rinse Well: Make sure to rinse and pat dry chickpeas thoroughly. This step ensures the cookies have the desired texture and flavor.
• Avoid Overbaking: Keep a close eye on your cookies as they bake. Overbaking can lead to dryness, ruining the soft fudgy texture of your Healthy High Protein Cocoa Chickpea Cookies.
• Don’t Skip the Oats: Old-fashioned rolled oats are essential for structure. Substituting with quick or steel-cut oats can result in a different texture that doesn’t hold well.
• Customize Wisely: Feel free to add nuts or different nut butters, but remember that this might change the overall flavor. Stick with the base recipe for best results.
• Store Properly: Keep cookies in an airtight container at room temperature for up to 3 days. For longer shelf life, refrigerate them to retain freshness.
Make Ahead Options
These Healthy High Protein Cocoa Chickpea Cookies are perfect for meal prep enthusiasts! You can prepare the dough up to 24 hours in advance; simply store it in an airtight container in the refrigerator. By mixing the wet and dry ingredients, including the oats, banana chunks, and chocolate chips, you can save time right before baking. When you’re ready to bake, preheat your oven and scoop the cookie dough onto the baking sheet, flattening them slightly, as they won’t spread much during baking. Just remember to let them cool for a few minutes on the baking sheet before transferring them to the wire rack. This way, you’ll have delicious, freshly-baked cookies with minimal effort during your busy week!
What to Serve with Healthy High Protein Cocoa Chickpea Cookies
Elevate your snacking experience by pairing these chocolatey delights with fresh, vibrant sides and beverages that awaken the senses.
- Fresh Fruit Salad: A medley of seasonal fruits adds a burst of freshness that perfectly balances the richness of the cookies.
- Creamy Greek Yogurt: A dollop of Greek yogurt provides a tangy contrast; drizzle with honey for an extra touch of sweetness.
- Nutty Granola: Serve alongside a sprinkle of granola for added crunch and a heart-healthy option that complements the fudgy texture.
- Chilled Almond Milk: Refreshing and light, almond milk makes an excellent beverage to wash down these decadent treats, enhancing the chocolate flavor.
- Dark Chocolate Dipped Strawberries: For an indulgent pairing, pair these cookies with strawberries dipped in dark chocolate, creating a symphony of sweetness.
- Herbal Tea: A warm cup of chamomile or mint tea rounds out the experience, soothing the palate and providing a calming finish.
These pairings not only satisfy various flavor profiles but also enhance the enjoyment of your Healthy High Protein Cocoa Chickpea Cookies!
Healthy High Protein Cocoa Chickpea Cookies Variations
Feel free to get creative and tailor these delicious cookies to your taste buds!
-
Nut-Free: Swap nut butter with sunflower seed butter for a delightful nut-free option that still binds beautifully.
-
Peanut Butter Twist: Use peanut butter instead of almond for a familiar flavor that complements the chocolate perfectly.
-
Crunchy Add-Ins: Incorporate chopped nuts or seeds for an extra crunch, boosting texture and flavor with each bite.
-
Sweetener Swap: Replace maple syrup with agave honey for a different layer of sweetness, keeping the cookies moist and delicious.
-
Flavor Boost: Add a teaspoon of vanilla extract to enhance the richness of your cookies, making every bite even more indulgent!
-
Cocoa or Chocolate Chips: Add a few extra chocolate chips for even more molten chocolate delight; who doesn’t love an extra chocolate burst?
-
Spicy Kick: Sprinkle in a pinch of cayenne pepper to add a subtle heat, creating a unique flavor experience with your sweet treat.
-
Chickpea Variation: Try mixing in black beans instead of chickpeas for a slightly different taste and nutritional profile, while remaining hearty and satisfying.
Feel inspired? These suggestive variations can add an exciting twist to your favorites, like snacking on Orange Shortbread Cookies or enjoying the delightfully sweet Cannoli Cookies Homemade. Pick and choose your favorites!
Healthy High Protein Cocoa Chickpea Cookies Recipe FAQs
What kind of chickpeas should I use for the cookies?
I recommend using canned chickpeas, which are already cooked and tender. Make sure to rinse them well under cold water to remove any excess sodium and pat them dry with a paper towel to ensure the best texture in your Healthy High Protein Cocoa Chickpea Cookies.
How should I store my Healthy High Protein Cocoa Chickpea Cookies?
To keep your cookies fresh, store them in an airtight container at room temperature for up to 3 days. If you’d like to extend their freshness, you can refrigerate them, which will keep them good for up to a week. Just make sure they’re well-sealed to prevent drying out!
Can I freeze these cookies?
Absolutely! To freeze your Healthy High Protein Cocoa Chickpea Cookies, first, place them in a single layer on a baking sheet and freeze until solid. Then transfer them to a freezer-safe bag or airtight container, where they can last for up to 3 months. When you’re ready to enjoy them, simply thaw at room temperature and warm briefly in the microwave if desired.
What if my cookies turn out too dry?
If your cookies are on the dry side, the most common culprit is overbaking. Make sure to keep an eye on them and remove them from the oven as soon as the tops appear set, even if they seem soft when pressed. If needed, you can add a bit more nut butter or ripe banana to the dough for future batches to keep them moist.
Are these cookies safe for people with nut allergies?
Good question! You can definitely make these Healthy High Protein Cocoa Chickpea Cookies nut-free by using sunflower seed butter instead of almond or peanut butter. Just be sure to check the labels of any chocolate chips you use to ensure they don’t contain any traces of nuts, especially for those with severe allergies.
Decadent Healthy High Protein Cocoa Chickpea Cookies Recipe
Ingredients
Equipment
Method
- Preheat your oven to 350°F (175°C) and line a baking sheet with parchment paper.
- In a food processor, blend chickpeas, cocoa powder, nut butter, maple syrup, baking soda, and salt until smooth.
- Transfer to a bowl and fold in chopped banana and rolled oats. Stir in chocolate chips if using.
- Drop spoonfuls of dough onto the baking sheet, flatten slightly, and space 2 inches apart.
- Bake for 10 to 12 minutes until tops are matte and soft yet set.
- Cool on the baking sheet for 5 minutes before transferring to a rack to finish cooling.
Leave a Reply