
As I stirred the vibrant mixture of bright raspberry, zesty lime, and sunny orange juice, the familiar scent of summer wafted through my kitchen—each swirl of color calling to mind carefree days. This Homemade Rainbow Sherbet Recipe isn’t just a frozen treat; it’s a joyful experience that transforms simple ingredients into a creamy, refreshing dessert that’s perfect for beating the heat. Whether you’re throwing a birthday bash or seeking a delightful way to cool off after a hot day, this quick and easy recipe is here to impress. With a dazzling array of flavors and a texture that rivals store-bought offerings, your loved ones will be asking for seconds. Are you ready to bring a taste of summer into your home? Let’s dive into making this colorful delight!
Why Choose This Rainbow Sherbet?
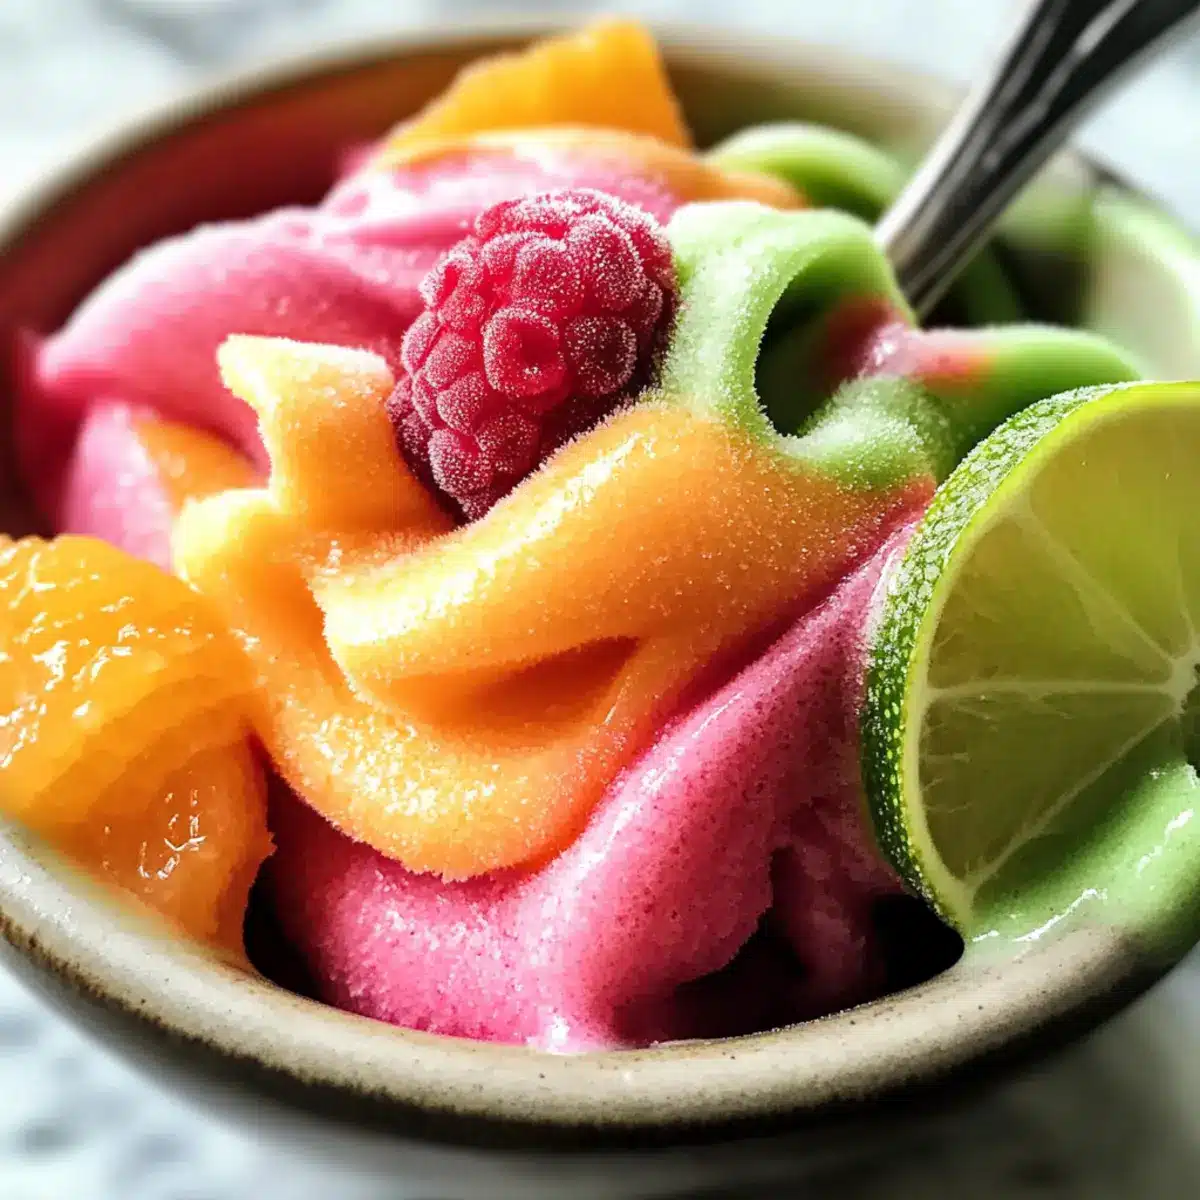
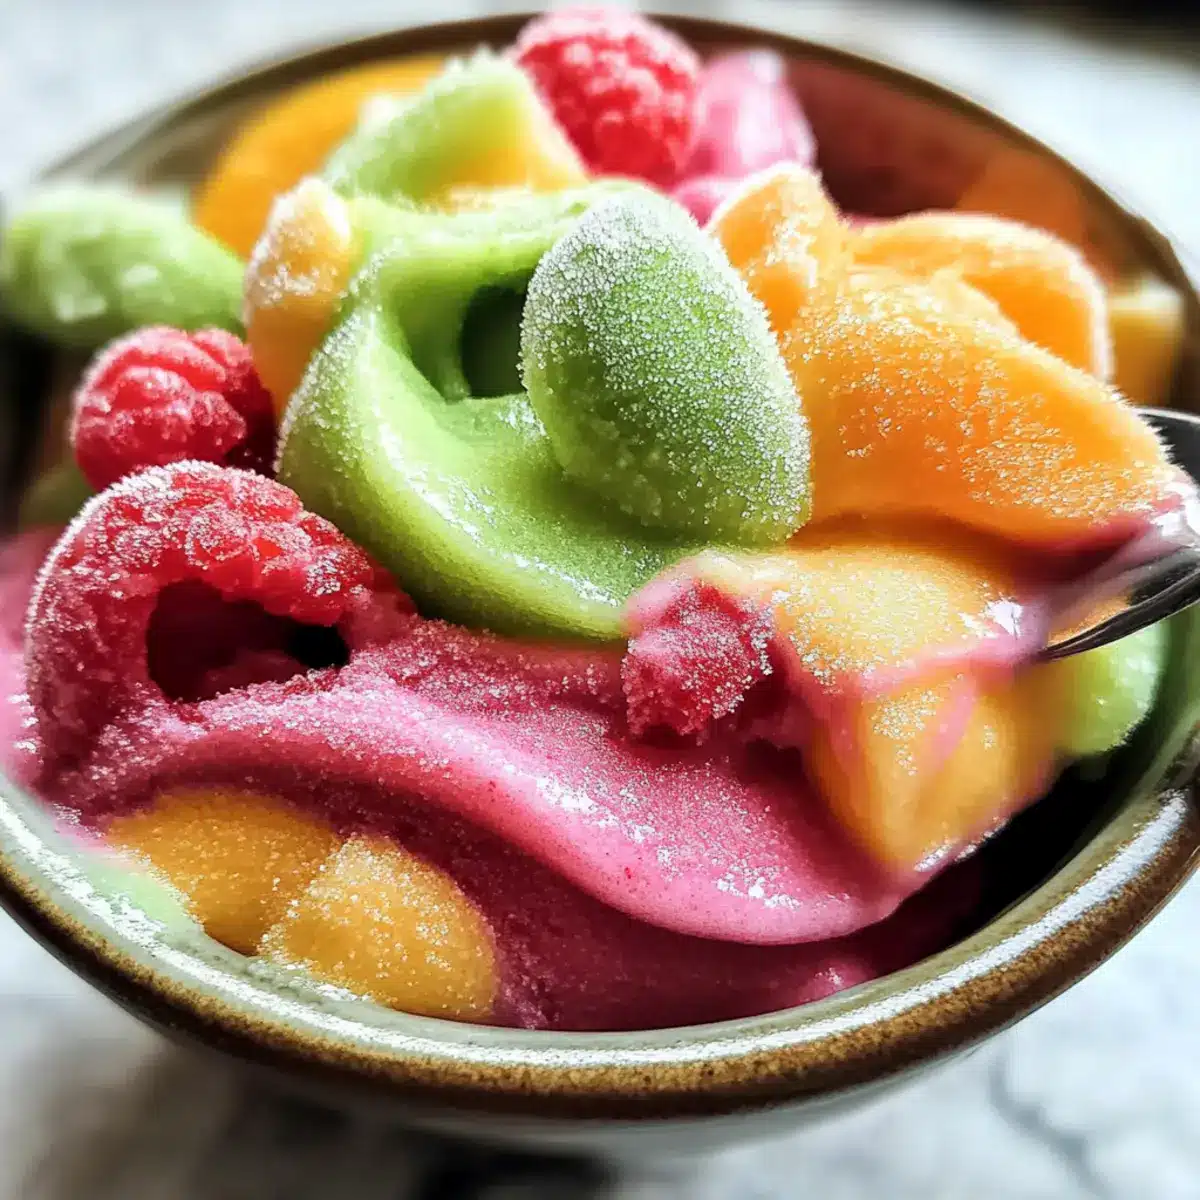
Vibrant Colors: This Homemade Rainbow Sherbet dazzles with its three colorful layers of raspberry, orange, and lime—perfect for eye-catching presentation at parties!
Refreshing Flavor: Bursting with real fruit juices, every scoop offers a refreshing taste that’s far superior to store-bought options.
Simple to Make: You don’t need to be a pro chef; the recipe is easy to follow and quick, making it a fun project for the whole family.
Versatile Dessert: Use it to top off a slice of cake or serve in cones—this sherbet makes any gathering more festive and enjoyable.
Healthy Twist: With fresh fruit as its star ingredient, this sherbet is a guilt-free indulgence suitable for summer gatherings. Consider making it dairy-free with coconut milk for a tropical twist! For more delightful recipes, check out my Homemade Jam Donut and Chicken Stroganoff options.
Homemade Rainbow Sherbet Ingredients
• Dive into a colorful explosion of flavors with this Homemade Rainbow Sherbet Recipe!
For the Base
- Cream – Provides a rich, creamy base for the sherbet; consider using half-and-half for a lighter twist.
- Milk – Adds a smooth texture; any milk, whether dairy or non-dairy, works perfectly as a substitute.
- Sugar – Sweetens the mixture beautifully; feel free to reduce the amount or opt for alternative sweeteners for a healthier choice.
- Vanilla Extract – Enhances the overall flavor; using pure vanilla extract will elevate your sherbet even more.
For the Raspberry Layer
- Raspberries – The fruit base for the raspberry flavor; swap with any favorite berries for a delightful variation.
For the Orange Layer
- Orange Juice – Infuses fruity sweetness; prefer fresh juice for the most vibrant flavor—don’t forget the optional zest!
For the Lime Layer
- Lime Juice – Adds a zesty tang; substitute with lemon juice if you desire a similar sharpness, and optional lime zest for an extra zing.
Optional Enhancements
- Food Coloring – Makes the sherbet visually stunning; natural alternatives like beet juice or turmeric can add color without artificial additives.
Step‑by‑Step Instructions for Homemade Rainbow Sherbet Recipe
Step 1: Combine Base Ingredients
In a medium saucepan, combine cream, milk, and sugar over medium heat. Stir gently until the sugar dissolves, which should take about 5–7 minutes. You’ll see small bubbles forming around the edges when it’s ready. Remove from heat and stir in vanilla extract, then allow the mixture to cool completely—this is crucial for a creamy texture.
Step 2: Prepare Raspberry Puree
While your base cools, wash 1 cup of fresh raspberries and add them to a blender with a bit of sugar. Blend until smooth, then strain through a fine mesh sieve to get a silky raspberry puree. This step infuses the vibrant red color and fresh taste into your Homemade Rainbow Sherbet Recipe. Set the raspberry puree aside to add later.
Step 3: Chill the Mixture
Once the base is completely cool, transfer it to an airtight container and place it in the refrigerator for at least 2 hours. This chilling phase is essential to ensure that the mixture achieves the right consistency when churned. After chilling, it should feel cool to the touch and have a slight thickness.
Step 4: Churn the Sherbet Base
After chilling, pour the base mixture into your ice cream maker, following the manufacturer’s instructions. Churn for about 20–25 minutes until it reaches a soft-serve consistency. The mixture should become thick and creamy, resembling soft ice cream. This step is key to achieving the wonderful texture of your Homemade Rainbow Sherbet.
Step 5: Flavor the Orange Layer
Divide the churned base into three equal parts. For the first portion, add freshly squeezed orange juice (and optional zest) to enhance the flavor. Churn this mixture again for about 5 minutes until fully incorporated. The bright orange hue will make your Homemade Rainbow Sherbet even more appealing.
Step 6: Create the Lime Layer
Next, take the second portion of the base and mix in lime juice and optional zest. Churn again for another 5 minutes. You’ll see the mixture transform into a refreshing green shade, contributing to the vibrant layers of your sherbet. This tangy layer beautifully complements the sweeter orange and raspberry flavors.
Step 7: Mix in the Raspberry Puree
For the final portion of the sherbet base, stir in the raspberry puree you prepared earlier. Churn for another 5 minutes until it’s smooth and the color is beautifully swirled. The rich raspberry layer is sure to be a favorite in your Homemade Rainbow Sherbet Recipe.
Step 8: Layer and Freeze
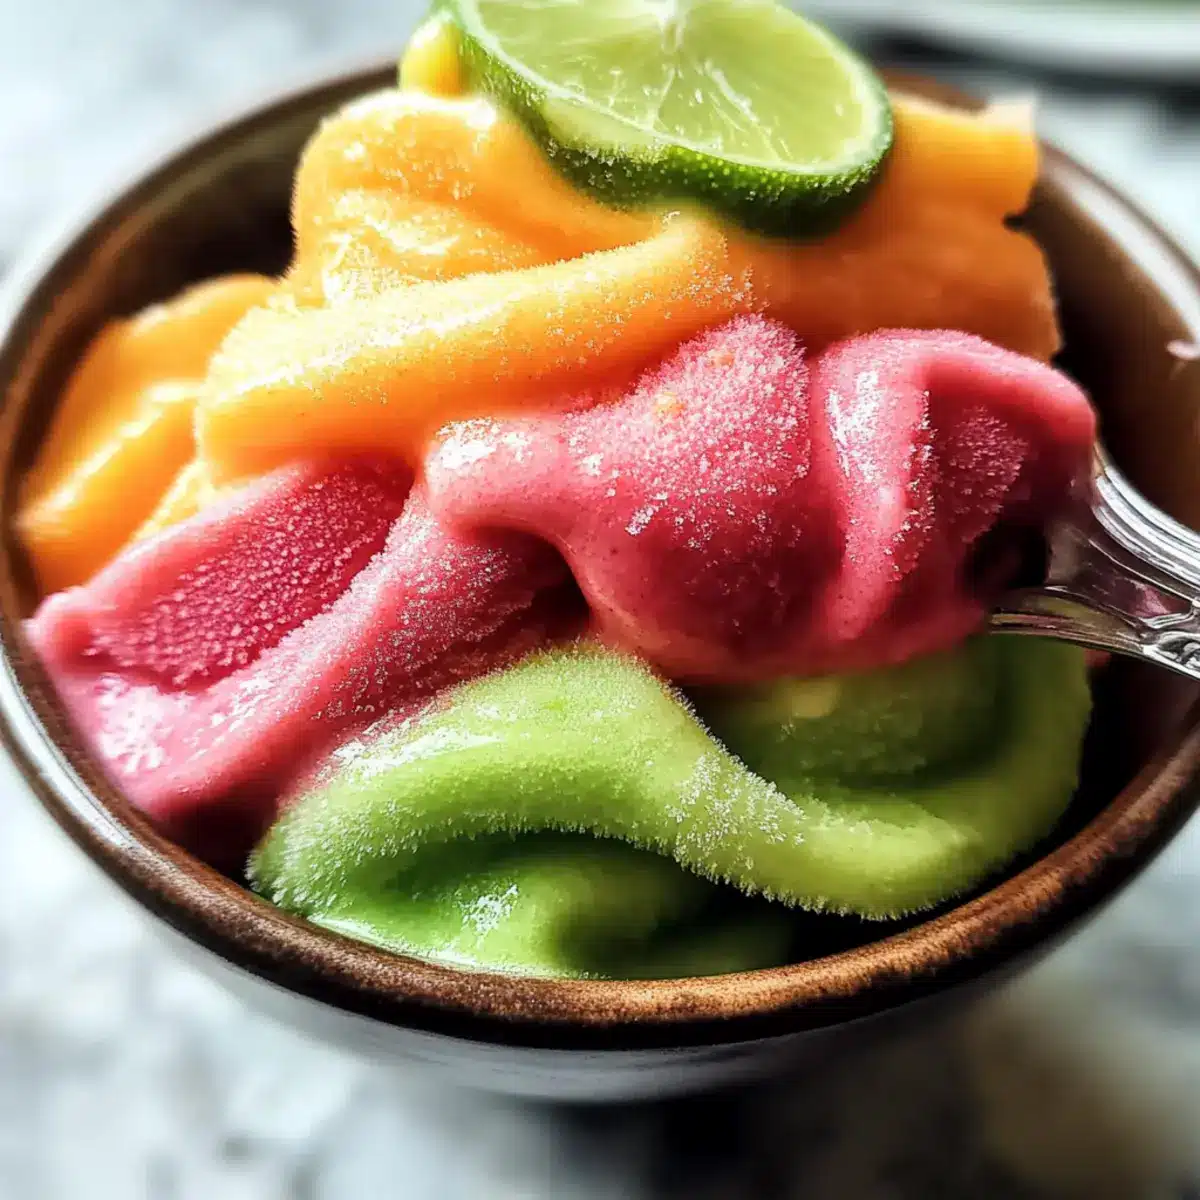
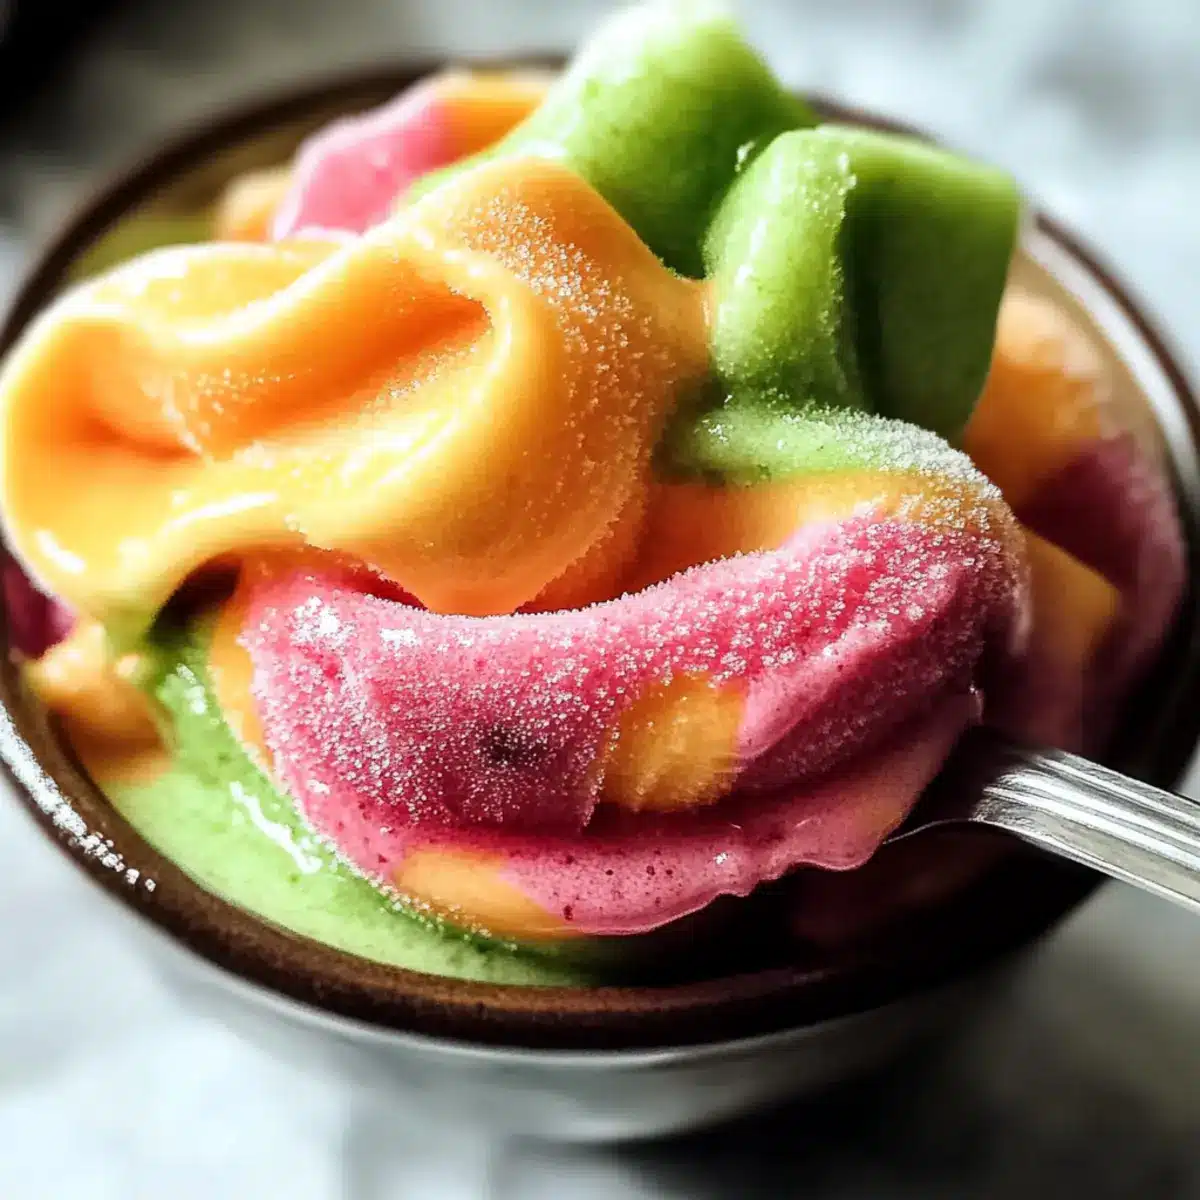
Now it’s time to layer the flavors! In a freezer-safe container, alternate between the orange, lime, and raspberry mixtures, creating a marbled effect as you go. Smooth the top with a spatula, ensuring an even surface. Cover tightly with a lid, and freeze for 4–6 hours or until firm, allowing the flavors to meld beautifully.
Step 9: Serve and Enjoy
Once your Homemade Rainbow Sherbet is fully frozen, scoop out colorful portions into bowls or cones. The vibrant layers will create a stunning presentation, and the creamy texture will leave everyone refreshed and delighted. Perfect for summer gatherings or a sweet treat any time!
Make Ahead Options
These Homemade Rainbow Sherbet layers are ideal for busy home cooks looking to streamline dessert preparation! You can prepare the base mixture and store it in the refrigerator for up to 24 hours before churning. Additionally, the raspberry puree can be made a day in advance and refrigerated to enhance its flavor. When you’re ready to finish, simply churn the base and add the fruit layers as instructed; this will yield just as creamy and refreshing results. To maintain quality, ensure the base is completely chilled before churning, and use an airtight container for freezing. Embrace the convenience of making this delightful treat ahead of time, making summer sweet moments even easier to enjoy!
Homemade Rainbow Sherbet Recipe Variations
Feel free to get creative and customize your Homemade Rainbow Sherbet with these fun and exciting twists!
-
Fruit Swaps: Try mango or blueberry instead of raspberry for a tropical flavor adventure. Each fruit brings a unique sweetness that can define your sherbet.
-
Dairy-Free Delight: Swap regular cream for coconut milk and use fruit purees for a dairy-free version that’s still wonderfully creamy. Coconut adds a delightful tropical flair without compromising flavor!
-
Herb Infusion: Add fresh mint or basil to the orange or lime layers for an aromatic twist. These herbs infuse an unexpected freshness that elevates your sherbet to gourmet status.
-
Low-Sugar Option: Replace granulated sugar with natural sweeteners like honey or agave syrup for a lighter take. This simple change keeps the flavors vibrant without the extra calories.
-
Zesty Lemon Layer: Substitute lime juice with lemon juice for a tangy twist that livens up the sherbet. The bright flavor pairs beautifully with the other fruity layers while maintaining that refreshing kick!
-
Colorful Food Dyes: If you love vibrant hues, use natural food colorings like beet juice for red or spirulina powder for green. These alternatives will beautify your sherbet without artificial additives.
-
Spicy Kick: Add a pinch of cayenne or ginger to the raspberry layer for a surprising kick that balances the sweetness. This touch of heat can take your sherbet to a whole new level!
-
Layered Parfaits: Use your sherbet as a vibrant layer in parfaits with yogurt and granola. This makes for a stunning dessert that enhances both flavor and presentation.
Experimenting with these variations not only offers a chance to personalize your dessert, but they also help create an unforgettable experience! For more delicious creations, check out my delightful recipes for Zebra Cookies and Peanut Butter Blossoms.
Storage Tips for Homemade Rainbow Sherbet
Room Temperature: Enjoy the vibrant flavors of your sherbet on the day of preparation. However, for best results, keep it chilled in the freezer.
Fridge: If you have leftovers, store your Homemade Rainbow Sherbet in an airtight container in the freezer to maintain its creamy texture for up to 2 months.
Freezer: Wrap the container with plastic wrap before sealing to prevent freezer burn; this way, each scoop remains beautifully smooth and colorful.
Reheating (Scoop Tips): Let the sherbet sit at room temperature for about 5 minutes before scooping to achieve the perfect serving consistency.
Expert Tips for Homemade Rainbow Sherbet
-
Cool Completely: Ensure the mixture cools fully before churning; this prevents ice crystals and ensures a creamy texture in your Homemade Rainbow Sherbet.
-
Quality Ingredients: Use fresh fruits and pure extracts for optimal flavor; overripe or low-quality ingredients can impact the overall taste of your sherbet.
-
Ice Cream Maker: An ice cream maker is essential for the best consistency; if you don’t have one, stir the mixture every 30 minutes while freezing to mimic churning.
-
Layering Technique: For a stunning presentation, layer the flavored mixtures gently in your container; this creates beautiful marbling and enhances visual appeal.
-
Storage Advice: Store your Homemade Rainbow Sherbet in an airtight container. Proper storage extends freshness for up to 2 months, keeping it just as delightful as the first scoop!
What to Serve with Homemade Rainbow Sherbet?
Delight your guests with colorful sides and drinks that enhance the vibrant experience of this creamy, refreshing dessert.
- Fresh Fruit Salad: A mix of seasonal fruits adds a refreshing crunch that complements the sweet and tangy flavors of the sherbet.
- Lightly Sweetened Whipped Cream: This airy topping enriches the creamy texture, providing a luscious contrast to each vibrant scoop.
Pairing the sherbet with whipped cream adds an indulgent twist, making every spoonful feel like a special treat at a summer gathering.
- Coconut Macaroons: Chewy, toasted coconut bites provide a delightful contrast to the smoothness of the sherbet, with a touch of tropical flair.
- Mint-Infused Lemonade: This refreshing drink balances the sweetness of the sherbet with a cool, herbal note, enhancing the overall experience.
Imagine sipping on cool mint lemonade while enjoying the sherbet; the mingling flavors will transport you to a sunlit patio.
- Chocolate Dipped Waffle Cones: Serve the sherbet in chocolate-covered cones for a fun, crunchy vessel that adds delightful richness and texture.
- Mini Cheesecake Bites: These creamy, tangy bites complement the fruity sherbet, creating a harmonious explosion of flavors sure to impress your guests.
Whether it’s a backyard party or a family dinner, these pairings will elevate your Homemade Rainbow Sherbet to new heights of enjoyment!
Homemade Rainbow Sherbet Recipe FAQs
How do I choose the best fruit for my sherbet?
Absolutely! The fruit you select is crucial to the flavor profile of your sherbet. For the raspberry layer, go for ripe, yet firm raspberries without any dark spots. For the orange and lime layers, fresh, juicy fruits yield the most vibrant flavors—aim for ones that are heavy for their size and free from blemishes. If you want to experiment, feel free to substitute with other berries or stone fruits as desired.
How should I store my Homemade Rainbow Sherbet?
To maintain its creamy texture, store your sherbet in an airtight container in the freezer. I recommend covering the container with plastic wrap before sealing it with a lid to prevent freezer burn. Your sherbet will stay delicious for up to 2 months, but keep in mind it’s best enjoyed fresh!
Can I freeze this sherbet for later enjoyment?
Yes, indeed! After churning, just follow the layering steps and once your sherbet is in an airtight container, you can freeze it for up to 2 months. To ensure the best consistency when taking it out for serving, let it sit at room temperature for about 5 minutes before scooping—this will help avoid those solid ice chunks.
What if my sherbet is too icy after freezing?
Very! If your sherbet turns out icy, it might be due to not cooling the mixture thoroughly before churning or not using an ice cream maker. If you notice this issue, try adding a little more cream to the base next time for a creamier texture. Additionally, make sure to churn the mixture long enough to incorporate air, which helps prevent ice crystals from forming.
Are there any dietary considerations for my sherbet?
Absolutely! This Homemade Rainbow Sherbet Recipe can be adapted for different dietary needs. For a dairy-free version, simply replace the cream and milk with coconut milk or a non-dairy milk of your choice. If allergies are a concern, check for any fruit allergies with your guests, and you can always swap ingredients as needed—blueberries or mango are great alternatives!
Can I use store-bought fruit juices instead of fresh juices?
Yes, you can absolutely use store-bought fruit juices, but I recommend fresh juices for the best flavor! If using bottled juices, try to choose 100% juice with no added sugars to keep the sherbet refreshing and naturally sweet. For even better results, feel free to taste your sherbet as you go, adjusting sweetness to your liking!
Homemade Rainbow Sherbet Recipe: Refreshing Summer Bliss
Ingredients
Equipment
Method
- In a medium saucepan, combine cream, milk, and sugar over medium heat. Stir until sugar dissolves for about 5–7 minutes. Remove from heat and stir in vanilla extract, then allow to cool completely.
- Wash raspberries and add them to a blender with a bit of sugar. Blend until smooth, strain through a fine mesh sieve for raspberry puree. Set aside.
- Transfer cooled base to an airtight container and refrigerate for at least 2 hours.
- Pour the cold base mixture into an ice cream maker and churn for about 20–25 minutes until soft-serve consistency.
- Divide churned base into three parts. To one part, add orange juice and optional zest, then churn for about 5 minutes.
- To the second part, mix lime juice and optional zest, then churn again for 5 minutes.
- To the final part, stir in the raspberry puree and churn for another 5 minutes.
- In a freezer-safe container, layer the orange, lime, and raspberry mixtures, smoothing the top. Cover tightly and freeze for 4–6 hours.
- Once frozen, scoop sherbet into bowls or cones and enjoy.
Leave a Reply