
As I flipped through my cookbook on a recent evening, I stumbled upon a modern twist on traditional sushi that instantly caught my eye. Enter the Canned Tuna Sushi Bowl—a delightful, quick dinner solution that’s not just about ease but also packed with protein and flavor. In only 20 minutes, you can whip up this vibrant dish brimming with crispy rice, creamy avocado, and zesty bang bang tuna. What I love most is its incredible versatility; you can customize it to your heart’s content, making it a hit for both kids and adults alike. Say goodbye to fast food and hello to a Japanese-inspired meal that you can throw together with pantry staples! Curious about how to bring this scrumptious bowl to your table?
Why is this sushi bowl so special?
Quick and Easy: This Canned Tuna Sushi Bowl comes together in just 20 minutes, making it a perfect choice for busy weeknight dinners.
Customizable Goodness: With options to swap in your favorite toppings or proteins, the ability to cater to picky eaters is a breeze!
Flavor Explosion: The combination of crispy rice, creamy avocado, and zesty bang bang tuna creates a mouthwatering dish that satisfies sushi cravings without the fuss.
Kid-Friendly Appeal: Your little ones will love the colorful presentation and hands-on nature of this bowl, encouraging them to enjoy nutritious ingredients.
Health-Conscious: Packed with protein and healthy fats, it’s a guilt-free indulgence that can support your wellness goals perfect for quick dinners.
Canned Tuna Sushi Bowl Ingredients
Get ready to dive into the delightful world of flavors!
For the Rice Base
- Cooked Sushi Rice – This seasoned rice provides the perfect foundation; any cooked white rice works great as a substitute.
- Olive Oil – Aids in pan-frying the rice to achieve that perfectly crispy texture; use less for a lighter option.
- Salt and Black Pepper – Essential seasonings to enhance flavor.
For the Tuna Mix
- Canned Tuna – This protein-packed star ingredient makes the bowl hearty; feel free to use canned salmon as a tasty alternative.
- Bang Bang Sauce – Adds a creamy, spicy kick; you can also opt for spicy mayo for a similar flavor profile.
- Sriracha Sauce – Adds an extra layer of heat; substitute with your favorite hot sauce if needed.
For the Fresh Toppings
- Avocado – Offers healthy fats and a creamy texture; slice or dice it just before serving for freshness.
- Spring Onions (Scallions) – Add a delightful crunch and fresh flavor; green onions can be used interchangeably.
- Furikake – Japanese rice seasoning that elevates the umami flavor; nori can serve as a simple substitute.
Curious to bring this Canned Tuna Sushi Bowl to life? Gather these ingredients and let’s get cooking!
Step‑by‑Step Instructions for Canned Tuna Sushi Bowl
Step 1: Cook Sushi Rice
Begin by cooking the sushi rice according to the package instructions, usually about 15-20 minutes. Once cooked, transfer the rice to a large bowl and while it’s still warm, gently mix in rice vinegar, sesame oil, and a pinch of sugar. This seasoning adds the perfect contrast of flavors to the rice base for your delicious Canned Tuna Sushi Bowl.
Step 2: Prepare the Tuna Mix
Drain the canned tuna and transfer it to a mixing bowl. Add the bang bang sauce and stir gently until the tuna is evenly coated. This zesty mixture not only enhances the flavor but also adds a creamy texture to the Canned Tuna Sushi Bowl. Set this mixture aside while you prepare the rice.
Step 3: Pan-Fry the Rice (Optional)
In a high-sided skillet, heat a tablespoon of olive oil over medium-high heat. Once hot, add the seasoned sushi rice, pressing it down gently with a spatula. Cook for about 3-5 minutes until the bottom is golden and crispy. Flip the rice and cook for another minute for a crunchy texture, making this a standout feature of your Canned Tuna Sushi Bowl.
Step 4: Assemble the Bowl
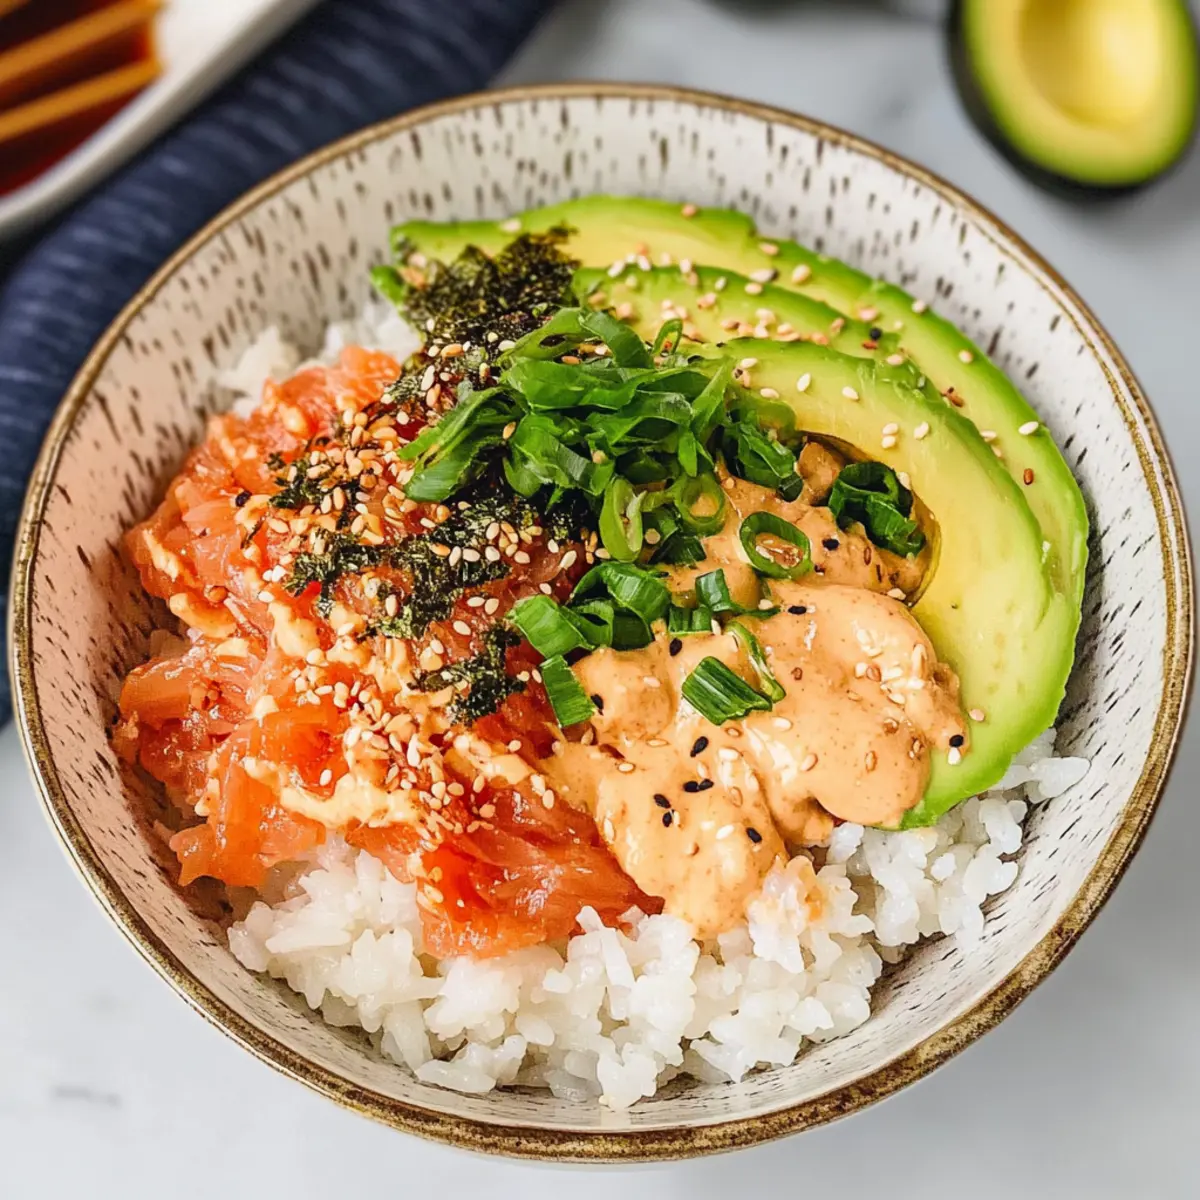
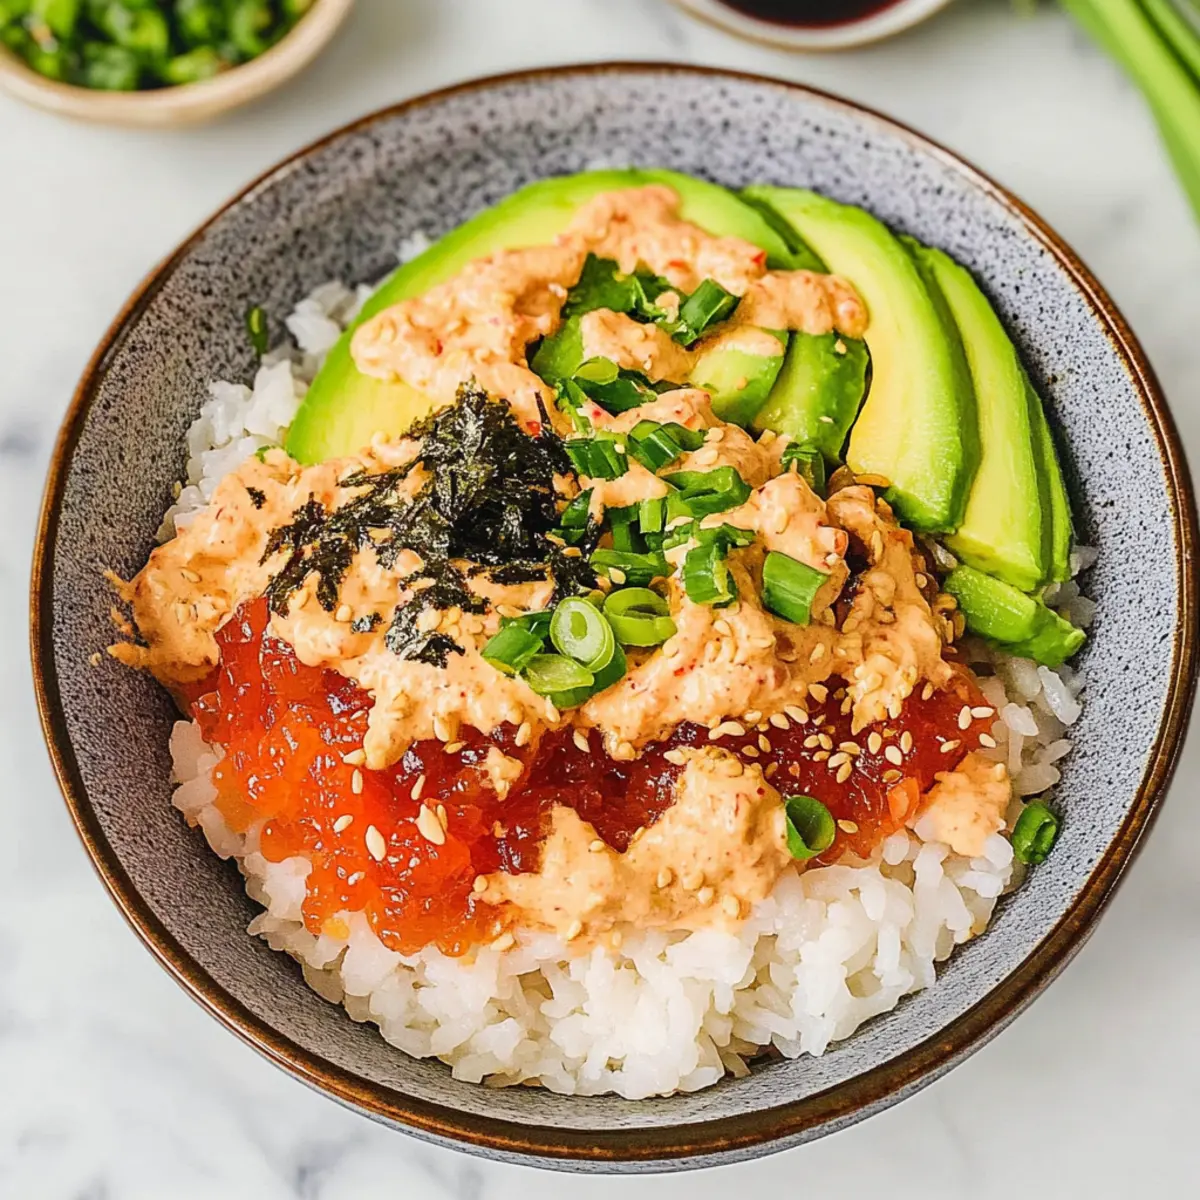
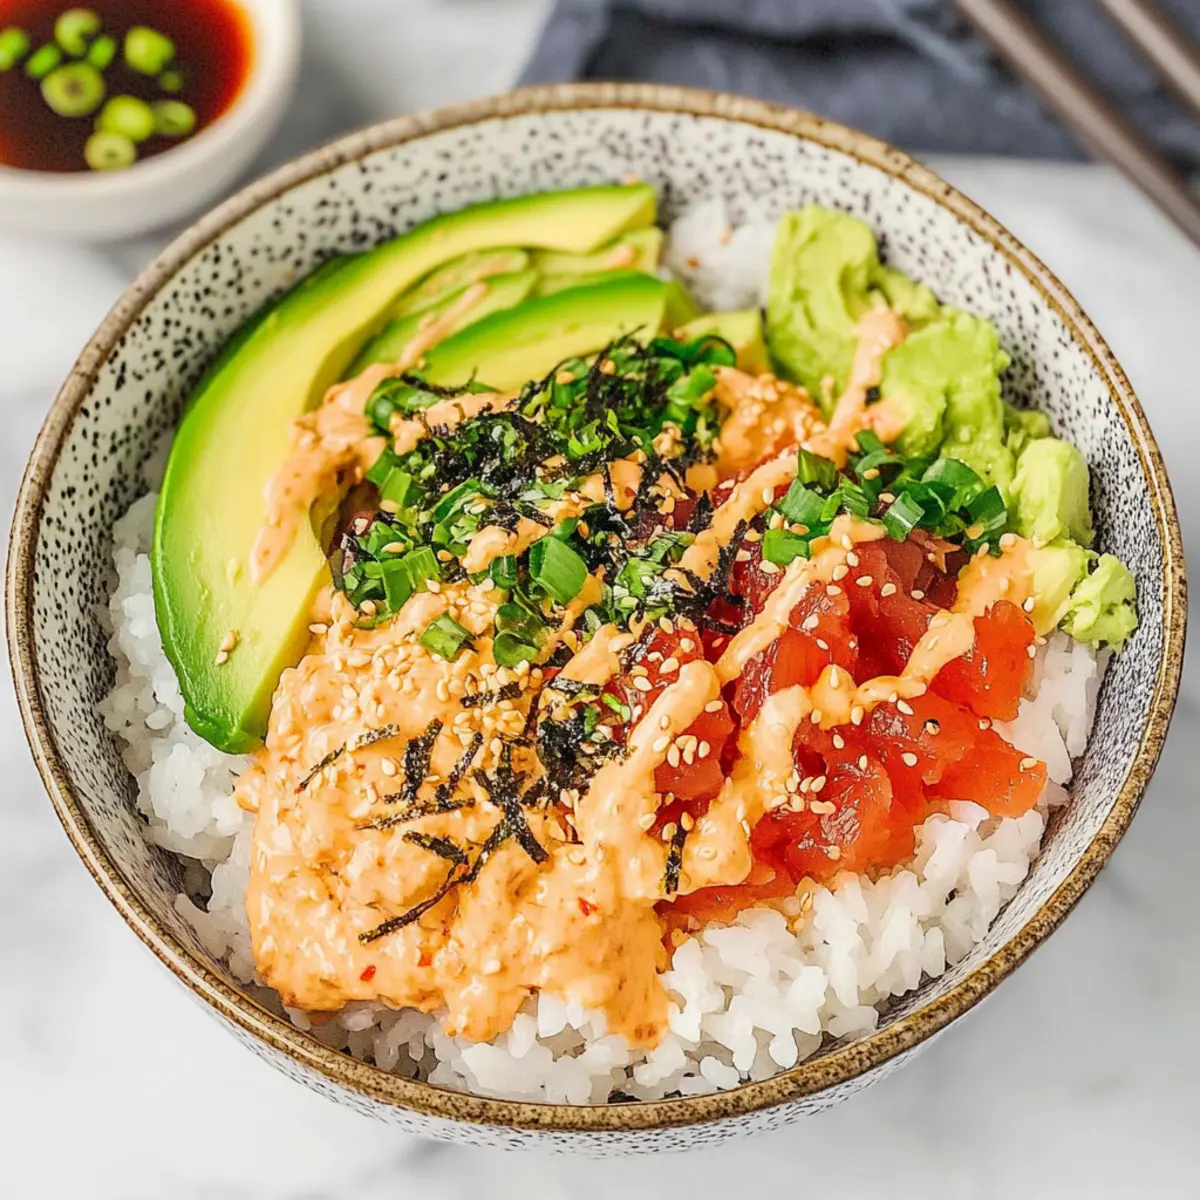
To build your Canned Tuna Sushi Bowl, scoop a generous portion of the crispy rice into a serving bowl. Add a hearty scoop of the bang bang tuna mix on top, followed by sliced avocado and a sprinkle of chopped spring onions. For an extra burst of flavor, garnish with furikake and a drizzle of sriracha or spicy mayo.
Step 5: Serve and Enjoy
Once assembled, your colorful Canned Tuna Sushi Bowl is ready to serve! Pair it with a side of edamame or a light miso soup for a complete meal. Let everyone dig in and enjoy a fun, hands-on dining experience packed with protein and flavor in every bite!
Make Ahead Options
These Canned Tuna Sushi Bowls are a dream for busy home cooks looking to save time! You can prepare the sushi rice and store it in an airtight container in the fridge for up to 3 days. To maintain its quality, refrigerate the rice immediately after cooking and reheat it briefly in the microwave or on the stovetop before assembling your bowl. Additionally, you can mix the canned tuna with the bang bang sauce and keep this mixture in the fridge for up to 24 hours, ensuring it’s ready to go when you need it. When you’re ready to serve, simply pan-fry the rice, add your toppings, and enjoy a delightful meal without the hassle!
Expert Tips for Canned Tuna Sushi Bowl
-
Texture Control: Ensure you don’t over-stir the rice when frying; it helps maintain that perfect crispy texture in the Canned Tuna Sushi Bowl.
-
Heat Management: If you prefer a milder dish, start with less Sriracha and adjust to taste; you can always add more but can’t take it away!
-
Prep Freshness: Slice your avocado just before assembling to keep it vibrant and fresh; this simple step elevates the overall dish.
-
Ingredient Substitutions: Don’t hesitate to switch up ingredients based on what you have on hand; canned salmon and spicy mayo make excellent alternatives.
-
Serving Style: Present the Canned Tuna Sushi Bowl with garnishes on the side so everyone can customize their own bowl, making it a fun family meal.
How to Store and Freeze Canned Tuna Sushi Bowl
Fridge: Store leftover ingredients in separate airtight containers for up to 2 days to maintain freshness and avoid sogginess. Reheat rice before assembling for the best experience.
Freezer: Freeze uncooked sushi rice in an airtight container for up to 3 months. Thaw in the fridge before reheating to retain texture.
Tuna Mix: The bang bang tuna mixture can be stored in the fridge for up to 1 day. Keep it separate from other ingredients to preserve the creamy texture.
Reheating: When ready to serve, reheat the rice in a microwave with a splash of water to restore moisture, then assemble your delicious Canned Tuna Sushi Bowl!
Canned Tuna Sushi Bowl Variations
Feel free to get creative with your Canned Tuna Sushi Bowl; the possibilities are endless!
- Dairy-Free: Substitute any dairy toppings or sauces with coconut cream or avocado for a creamy texture.
- Whole Grain Base: Opt for quinoa or brown rice for a more nutritious, fiber-packed foundation.
- Vegetarian Twist: Swap canned tuna with marinated tofu or chickpeas for a plant-based protein boost.
- Extra Crunch: Add sliced radishes or toasted sesame seeds for a delightful crunch and burst of flavor.
- Zesty Citrus: Squeeze fresh lime or lemon juice over the bowl before serving for a refreshing zing.
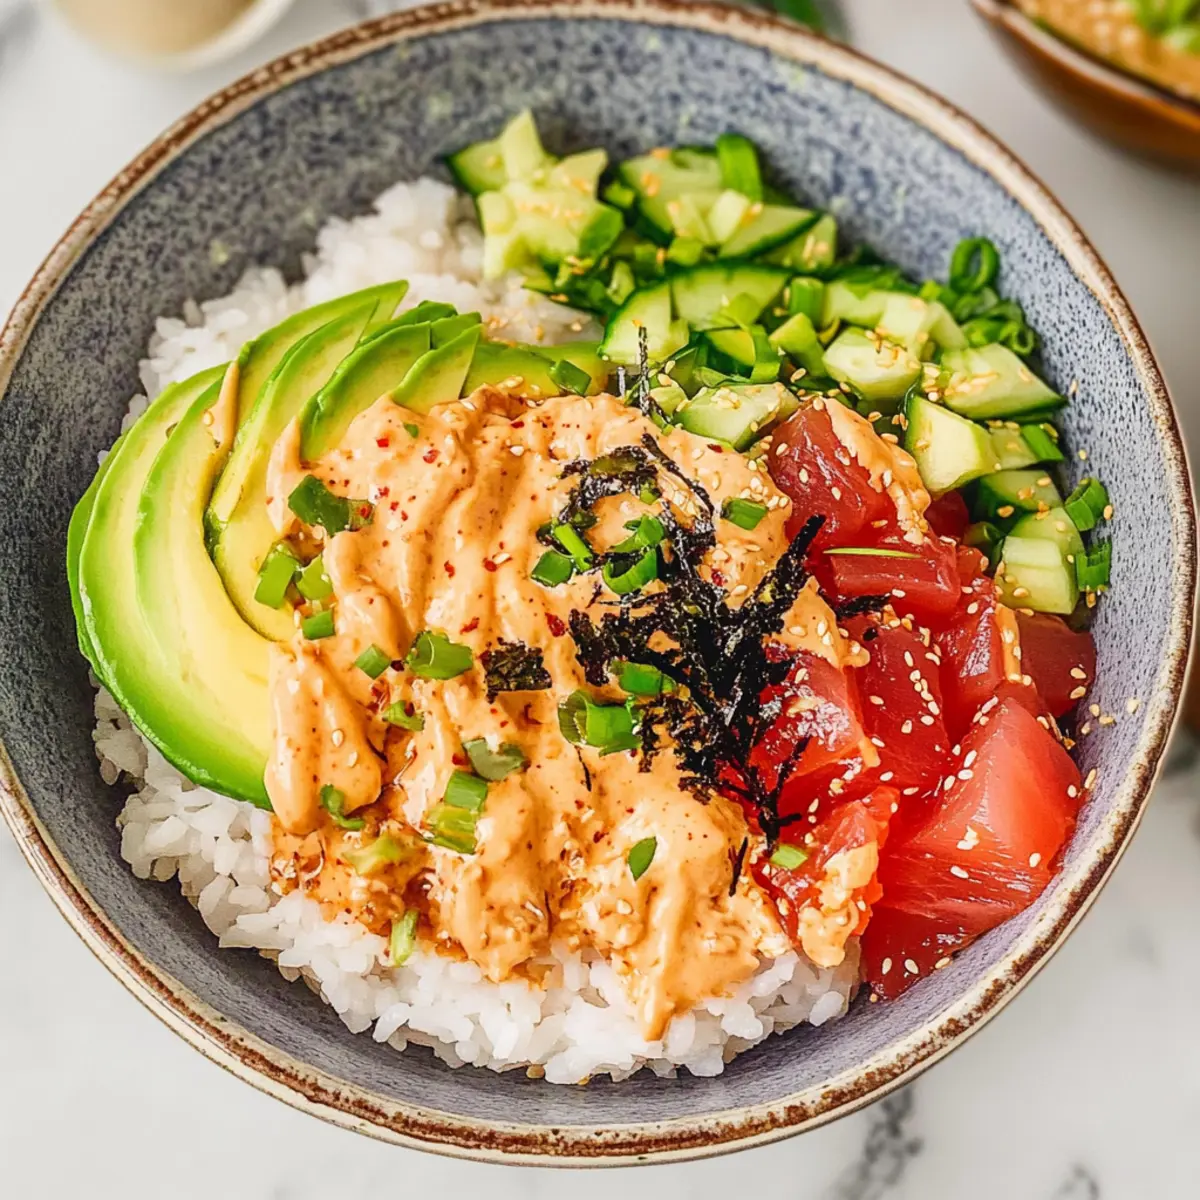
Mix and match toppings like sliced cucumbers or pickled ginger to elevate your experience. Don’t forget to check out our guide on quick dinners for more inspired meals!
What to Serve with Canned Tuna Sushi Bowl?
This delightful meal deserves a stellar lineup of sides and complements for a truly satisfying dining experience!
-
Edamame: These vibrant green soybeans provide a protein-rich, crunchy companion that adds a lovely color to your table. Perfect for snacking while waiting for your main dish!
-
Miso Soup: A warm, savory bowl of miso soup complements the sushi bowl beautifully, adding a gentle umami flavor that deepens the dining experience. It’s a classic combination that feels comforting and familiar.
-
Seaweed Salad: Bright and tangy, a seaweed salad offers a chewy texture and refreshing taste that contrasts nicely with the rich flavors of the tuna bowl. It’s an excellent way to incorporate more greens into your meal!
-
Pickled Ginger: A small dish of pickled ginger not only serves as a palate cleanser between bites, but its zesty sweetness pairs perfectly with the creamy avocado and spicy tuna.
-
Sushi Rolls: For those looking to enhance the meal, some simple sushi rolls filled with cucumber or crab could be a fun addition, creating a full sushi night at home!
-
Crispy Tempura Vegetables: These light and crispy vegetables add a delightful crunch, offering a contrast to the soft textures in your bowl while adding layers of flavor.
-
Iced Green Tea: To drink, a chilled glass of green tea refreshes and balances the meal while providing a slight caffeine boost. Its subtle flavors won’t overpower the star of the show.
Each of these options brings its own unique flair, creating a memorable meal that’s both satisfying and full of flavor! Enjoy your culinary adventure!
Canned Tuna Sushi Bowl Recipe FAQs
What kind of rice is best for my Canned Tuna Sushi Bowl?
Absolutely! For the best flavor and texture, I recommend using cooked sushi rice, which is sticky and holds together beautifully. However, if you don’t have sushi rice on hand, any type of cooked white rice will work just fine.
How should I store leftovers from the Canned Tuna Sushi Bowl?
To keep your leftovers fresh, store the sushi rice, tuna mix, and toppings in separate airtight containers. This way, the rice won’t get soggy. The components can last in the fridge for up to 2 days. Just reheat the rice before assembling your bowl for the best experience!
Can I freeze any part of the Canned Tuna Sushi Bowl?
Certainly! If you have uncooked sushi rice, you can freeze it in an airtight container for up to 3 months. When you’re ready to use it, simply thaw the rice in the fridge overnight. If you’ve made the bang bang tuna mixture, it can also be stored in the fridge for up to 1 day, but I wouldn’t recommend freezing that for best flavor and texture.
How can I make the Canned Tuna Sushi Bowl more kid-friendly?
Very! To make it more appealing for kids, consider letting them customize their bowls with toppings they enjoy, such as diced cucumbers or shredded carrots. You can also reduce the amount of Sriracha, or use a mild sauce like creamy mayo to cater to their taste buds.
What should I do if I burn the rice while pan-frying?
No worries! If the rice gets too crispy or even slightly burnt, you can salvage it by carefully scraping off the burnt bits and mixing in some freshly cooked rice. This way, you can still enjoy that crunchy texture without the bitterness of burnt rice.
Is this recipe suitable for people with allergies?
Very! The Canned Tuna Sushi Bowl can be made allergy-friendly by swapping ingredients. For example, if someone has a fish allergy, consider using canned chickpeas or a similar protein. Additionally, if you’re avoiding gluten, ensure that any sauces you use, like bang bang sauce or Sriracha, are gluten-free. Always check labels to be sure!
Canned Tuna Sushi Bowl: Quick, Healthy Delight in 20 Minutes
Ingredients
Equipment
Method
- Cook sushi rice according to package instructions, about 15-20 minutes. Mix in rice vinegar, sesame oil, and sugar while warm.
- Drain canned tuna and mix with bang bang sauce until evenly coated. Set aside.
- Heat a tablespoon of olive oil in a skillet. Add seasoned sushi rice, pressing down. Cook for 3-5 minutes until golden, then flip and cook for another minute.
- Scoop crispy rice into a serving bowl, top with bang bang tuna mix, sliced avocado, scallions, and garnish with furikake and sriracha.
- Serve and enjoy with edamame or miso soup for a complete meal.
Leave a Reply