
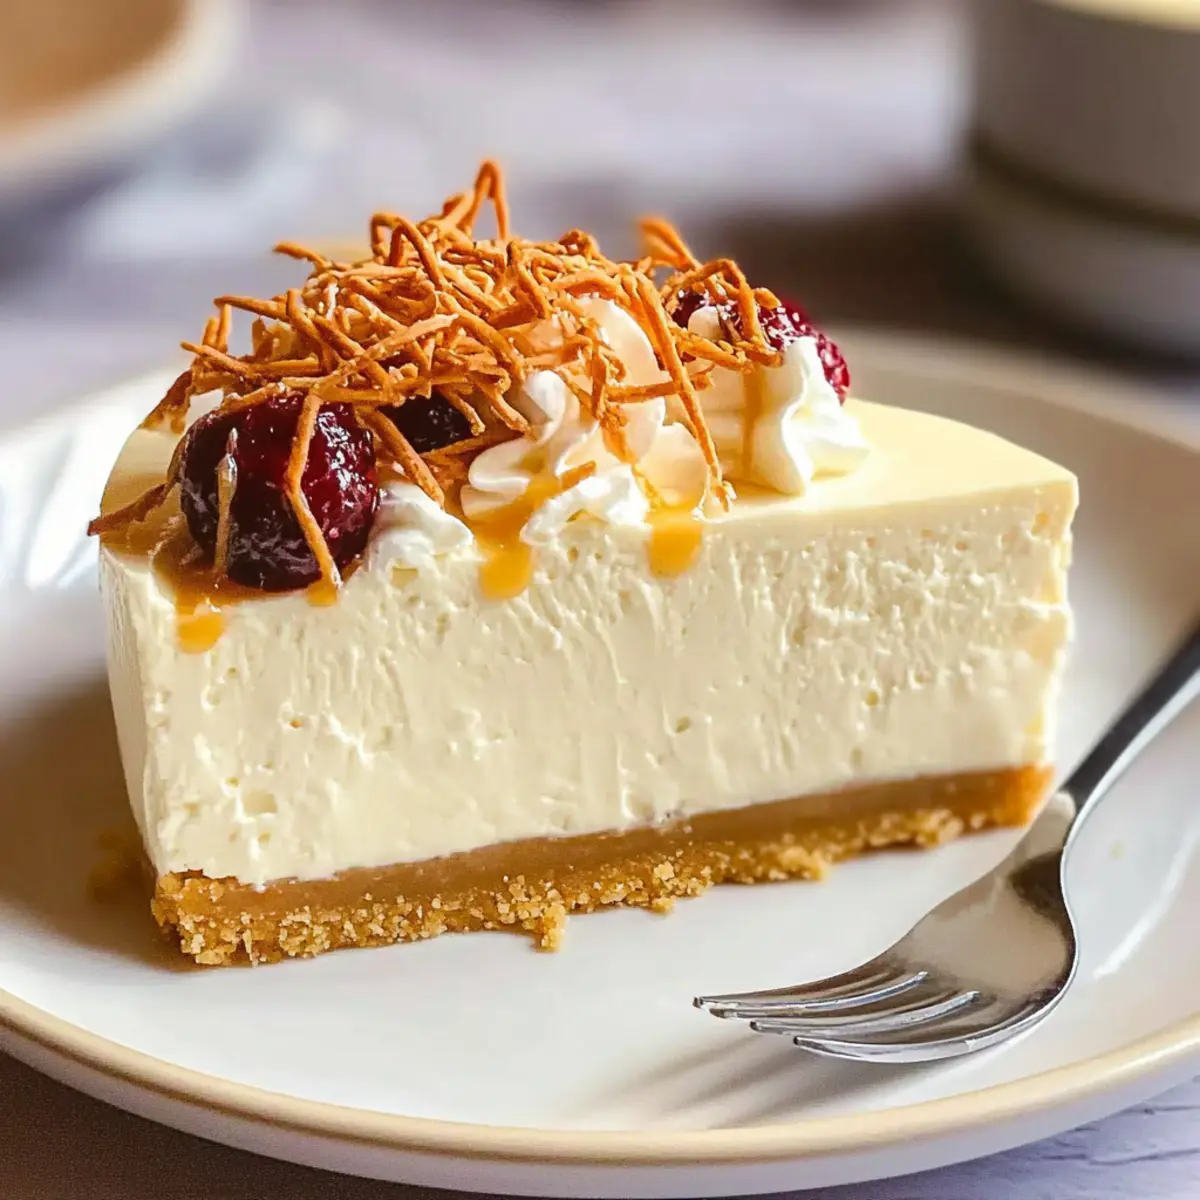
As I pulled my latest creation from the oven, the kitchen filled with an enchanting aroma that perfectly blended sweet and creamy notes. The star of the show? A dreamy Creamy White Chocolate Cheesecake Bliss that captivates both the senses and the heart. This dessert isn’t just about indulging; it’s an experience to cherish during birthdays, holidays, or family get-togethers. With its straightforward preparation, you’ll delight in how this cheesecake transforms ordinary moments into unforgettable celebrations. Plus, it’s a crowd-pleaser that never fails to impress, making it an absolute must-have in your dessert repertoire. Curious about how to create this heavenly treat that melts in your mouth? Let’s dive into the recipe!
Why Is This Cheesecake So Irresistible?
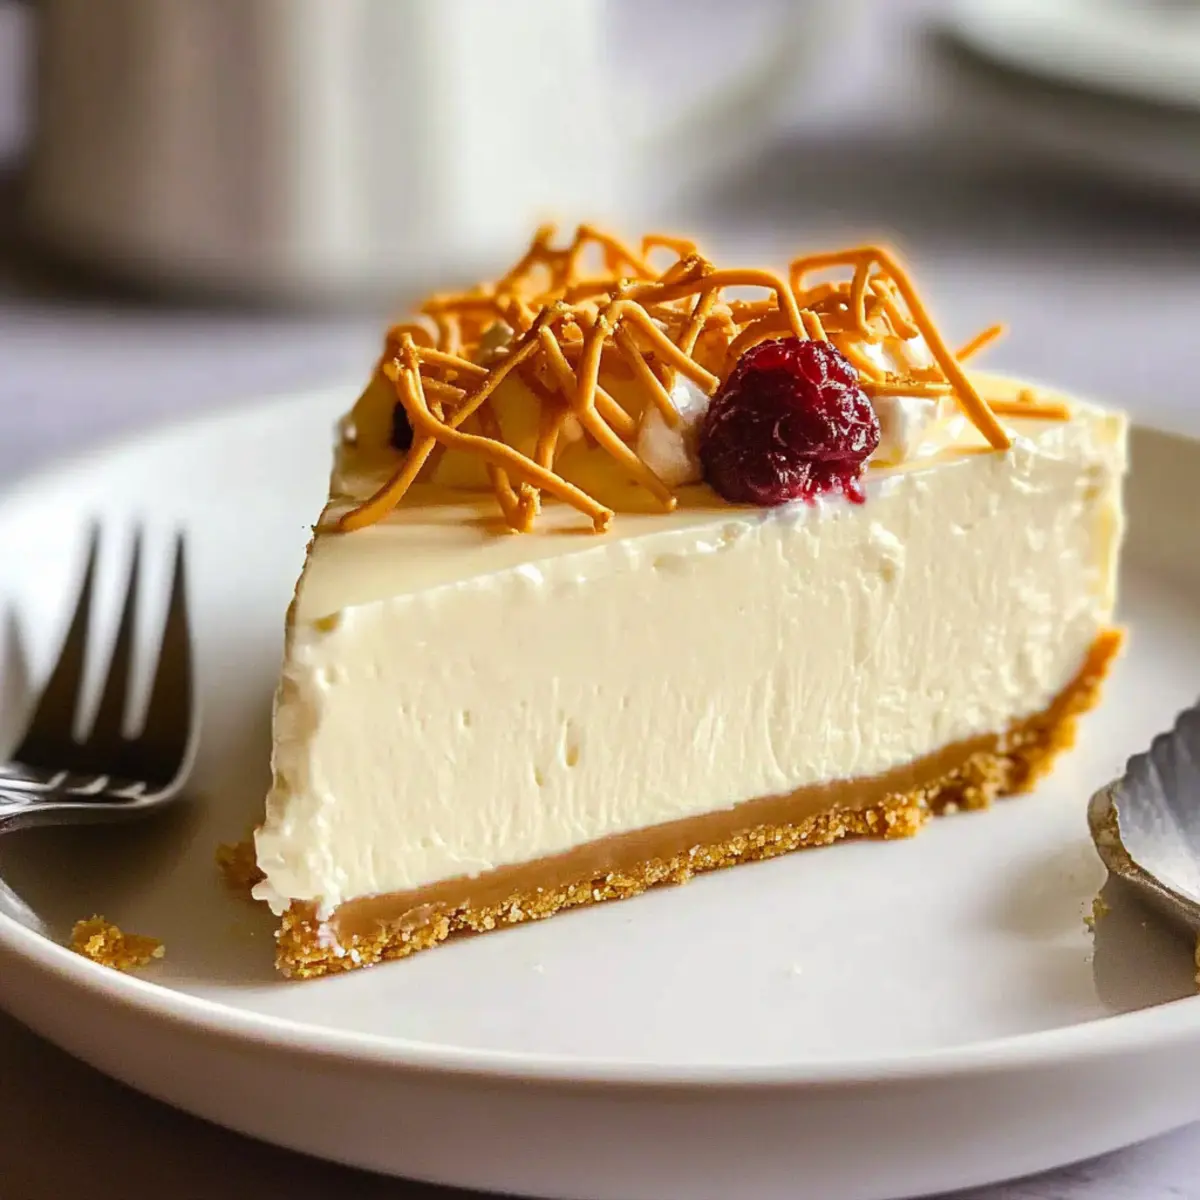
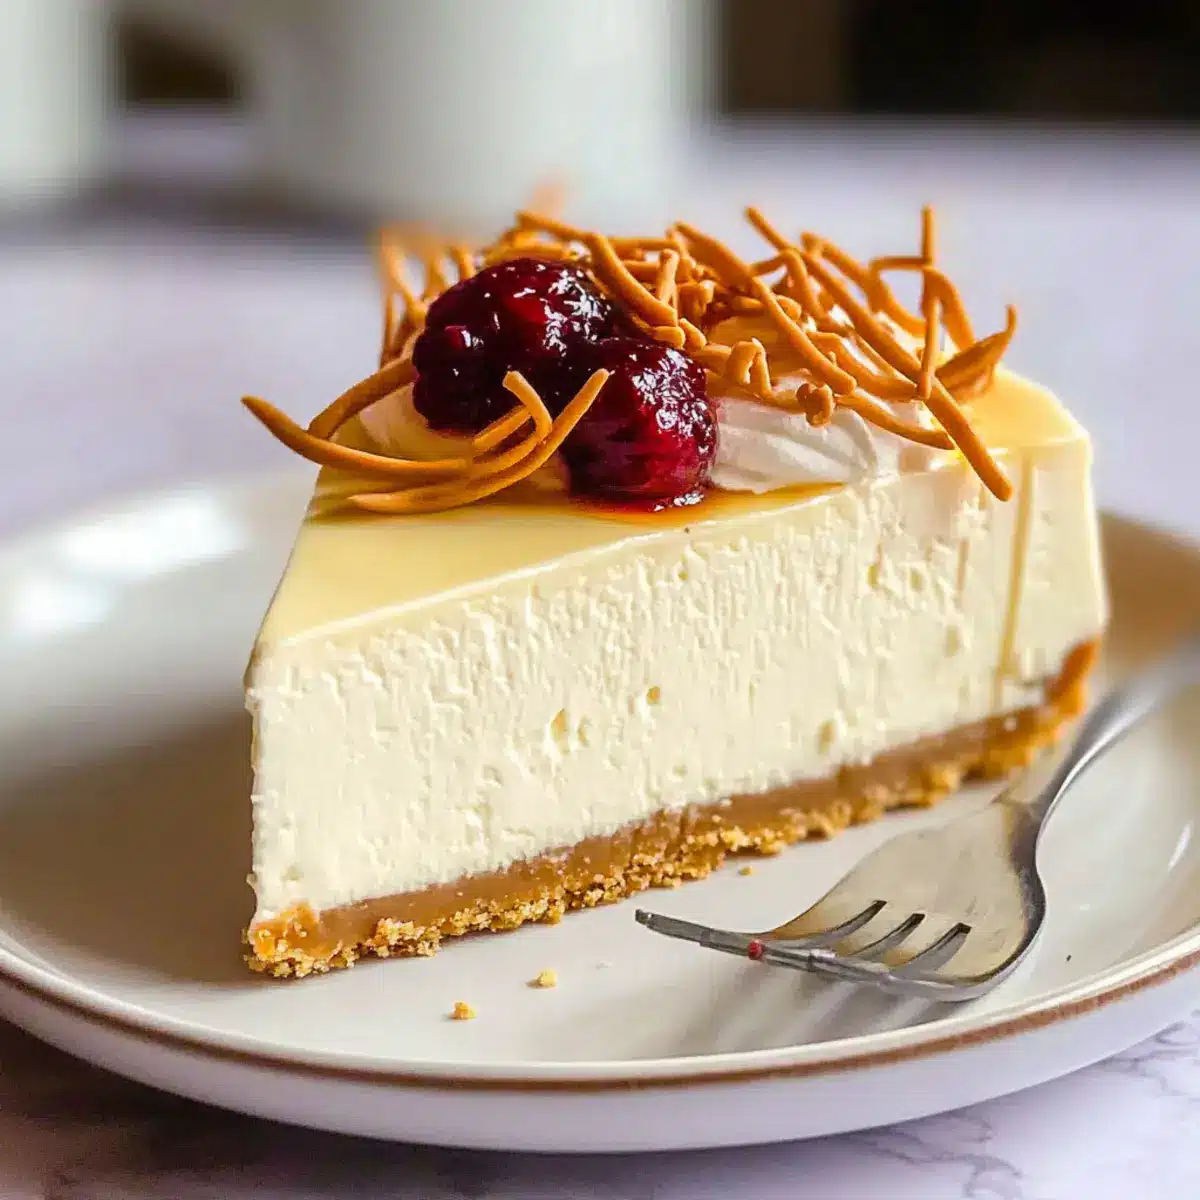
Luxurious in every bite, this Creamy White Chocolate Cheesecake Bliss guarantees a smooth, velvety finish that melts in your mouth. Effortless to prepare, it requires minimal baking skills while delivering maximum flavor. Versatile enough for any occasion, consider topping it with fresh berries or a drizzle of caramel for an elegant twist. Crowd-pleasing, your friends and family will be coming back for seconds! If you’re in the mood for more creamy delights, why not try a White Hot Chocolate or a rich York Style Cheesecake? Each dessert brings its own unique charm to the table!
Creamy White Chocolate Cheesecake Ingredients
• Get ready to create a blissful dessert!
For the Crust
- Graham Cracker Crumbs – A perfect base that adds an irresistible crunch to your cheesecake.
- Unsalted Butter – Melted to bind your crust and enhance its richness; don’t skip this step for that dreamy texture!
For the Filling
- White Chocolate – The star ingredient that adds creaminess and depth; opt for high-quality chocolate for the best results.
- Cream Cheese – The essential component for a smooth filling; always soften it to room temperature to avoid lumps!
- Sour Cream – Enhances flavor with a touch of tanginess. It helps balance out the sweetness beautifully!
- Granulated Sugar – Sweetens your cheesecake to perfection; feel free to adjust according to your taste preference.
- Vanilla Extract – Elevates the flavor profile; choose pure vanilla for a richer taste.
- Eggs – Vital for achieving a creamy texture; remember to use room-temperature eggs to ensure fluffiness.
This luscious Creamy White Chocolate Cheesecake is the highlight of any gathering, and once you try it, you’ll understand why!
Step‑by‑Step Instructions for Creamy White Chocolate Cheesecake Bliss
Step 1: Preheat Oven
Begin your culinary adventure by preheating your oven to 325°F (163°C). This crucial step ensures that your cheesecake bakes evenly and achieves that desired creamy texture. While the oven warms up, you can prepare your crust and filling components.
Step 2: Prepare Crust
In a mixing bowl, combine finely crushed graham cracker crumbs with melted unsalted butter until everything is well combined. Press this mixture firmly into the bottom of a greased springform pan, creating a compact crust. Aim for an even layer, as this will provide a satisfying crunch beneath your creamy white chocolate cheesecake bliss.
Step 3: Melt White Chocolate
In a microwave-safe bowl, chop high-quality white chocolate into smaller pieces for faster melting. Heat in 30-second intervals, stirring in between, until the chocolate is completely smooth and glossy. This melted chocolate adds the creamy heart of the cheesecake, so be patient and ensure it doesn’t burn.
Step 4: Mix Filling
In a large mixing bowl, beat softened cream cheese and granulated sugar together until you achieve a soft, creamy consistency. Gradually incorporate the sour cream, vanilla extract, and melted white chocolate, mixing thoroughly. The filling should be smooth and luscious, ready to envelop your crust in the luxurious Creamy White Chocolate Cheesecake Bliss.
Step 5: Incorporate Eggs
Next, add the room-temperature eggs one at a time, mixing gently after each addition to maintain a light texture. Be cautious not to overmix, as this could lead to cracks in your cheesecake once baked. The filling should remain velvety and cohesive, inviting everyone to indulge.
Step 6: Bake
Carefully pour the cheesecake filling over your prepared crust, smoothing out the top with a spatula. Bake in the preheated oven for 50-60 minutes, or until the edges are set but the center still has a gentle jiggle. This careful baking ensures your cheesecake emerges perfectly creamy and dreamy.
Step 7: Cool & Chill
Once baking is complete, turn off the oven and crack the door open slightly to allow the cheesecake to cool slowly over about an hour. This gradual cooling process helps prevent cracks. Afterward, refrigerate the cheesecake for at least four hours, allowing the flavors to meld and achieve that impeccable creamy bliss you’re craving.
Expert Tips for Creamy White Chocolate Cheesecake
-
Room Temperature Ingredients: Always bring your cream cheese and eggs to room temperature for a smooth filling. Cold ingredients can lead to lumps and a denser texture.
-
Mixing Technique: Mix gently once you add the eggs. Overmixing can introduce air into the batter, which may cause your cheesecake to crack during baking.
-
Jiggle Test: Don’t worry if the center looks slightly jiggly when you take it out; it’ll set more as it cools. A firm center means it’s overbaked!
-
Use a Water Bath: For a more even bake and to reduce cracking, consider baking your cheesecake in a water bath. Place your springform pan in a larger pan with hot water while baking.
-
Chill Completely: Make sure to chill your Creamy White Chocolate Cheesecake for at least four hours, or overnight if possible. This allows the flavors to deepen and the texture to set perfectly.
Storage Tips for Creamy White Chocolate Cheesecake Bliss
- Fridge: Store any leftovers in an airtight container for up to 5 days. This helps keep your cheesecake fresh and delicious, ready for those late-night cravings!
- Freezer: For longer storage, wrap individual slices tightly in plastic wrap, then place them in a freezer-safe container. They will stay flavorful for up to 3 months.
- Thawing: To enjoy frozen cheesecake, simply transfer it to the fridge the night before serving. This gentle thawing method preserves the creamy texture of your cheesecake.
- Reheating: If desired, warm individual slices in the microwave for a few seconds to enhance the creamy experience, but avoid overheating to keep the ideal texture.
Creamy White Chocolate Cheesecake Variations
Ready to make this dessert your own? Customize your cheesecake bliss with these delightful twists!
-
Dark Chocolate: Swap out white chocolate for rich dark chocolate to give your cheesecake a deeper, more intense flavor. This change creates a decadent experience that chocolate lovers will cherish.
-
Citrus Zest: Add a burst of brightness by folding in lemon or orange zest. This refreshing twist will elevate the flavors beautifully, making each bite feel like a sunny escape.
-
Fruit Puree Swirl: Fold in a fruit puree like raspberry or strawberry into the filling for a colorful and flavorful surprise. This not only enhances the aesthetic but also adds a delightful tartness to the creamy sweetness.
-
Oreo Crust: Replace graham cracker crumbs with crushed Oreo cookies for a chocolatey crust that adds a unique crunch and flavor combination. It’s an irresistible twist that brings together two iconic desserts.
-
Nutty Flavor: Mix in some finely chopped nuts, such as pecans or walnuts, into your crust for added texture and a rich, nutty note. Their crunch complements the creamy filling perfectly, creating a delightful contrast in every bite.
-
Spiced Up: Sprinkle in some cinnamon or nutmeg into your filling for a warm, cozy flavor. This subtle addition can transform your cheesecake into a comforting, seasonal treat that’s perfect for gatherings.
-
Caramel Drizzle: Elevate your dessert by drizzling homemade or store-bought caramel sauce over the finished cheesecake. This sweet addition brings a lovely interplay of flavors that is simply to die for.
-
Make It Mini: Create individual cheesecakes in muffin tins for convenient, single-serving portions. These charming mini desserts are perfect for a gathering or enjoying a treat without the guilt of slicing a large cake.
If you’re seeking additional creamy delights, try pairing your cheesecake with a luscious Chocolate Peppermint Fudge or indulge in a decadent Chocolate Orange Shortbread. Each dessert offers its own unique charm, adding variety to your indulgent celebrations!
What to Serve with Creamy White Chocolate Cheesecake Bliss
To elevate your dessert experience, consider these delightful pairings that complement the cheesecake’s rich, velvety goodness.
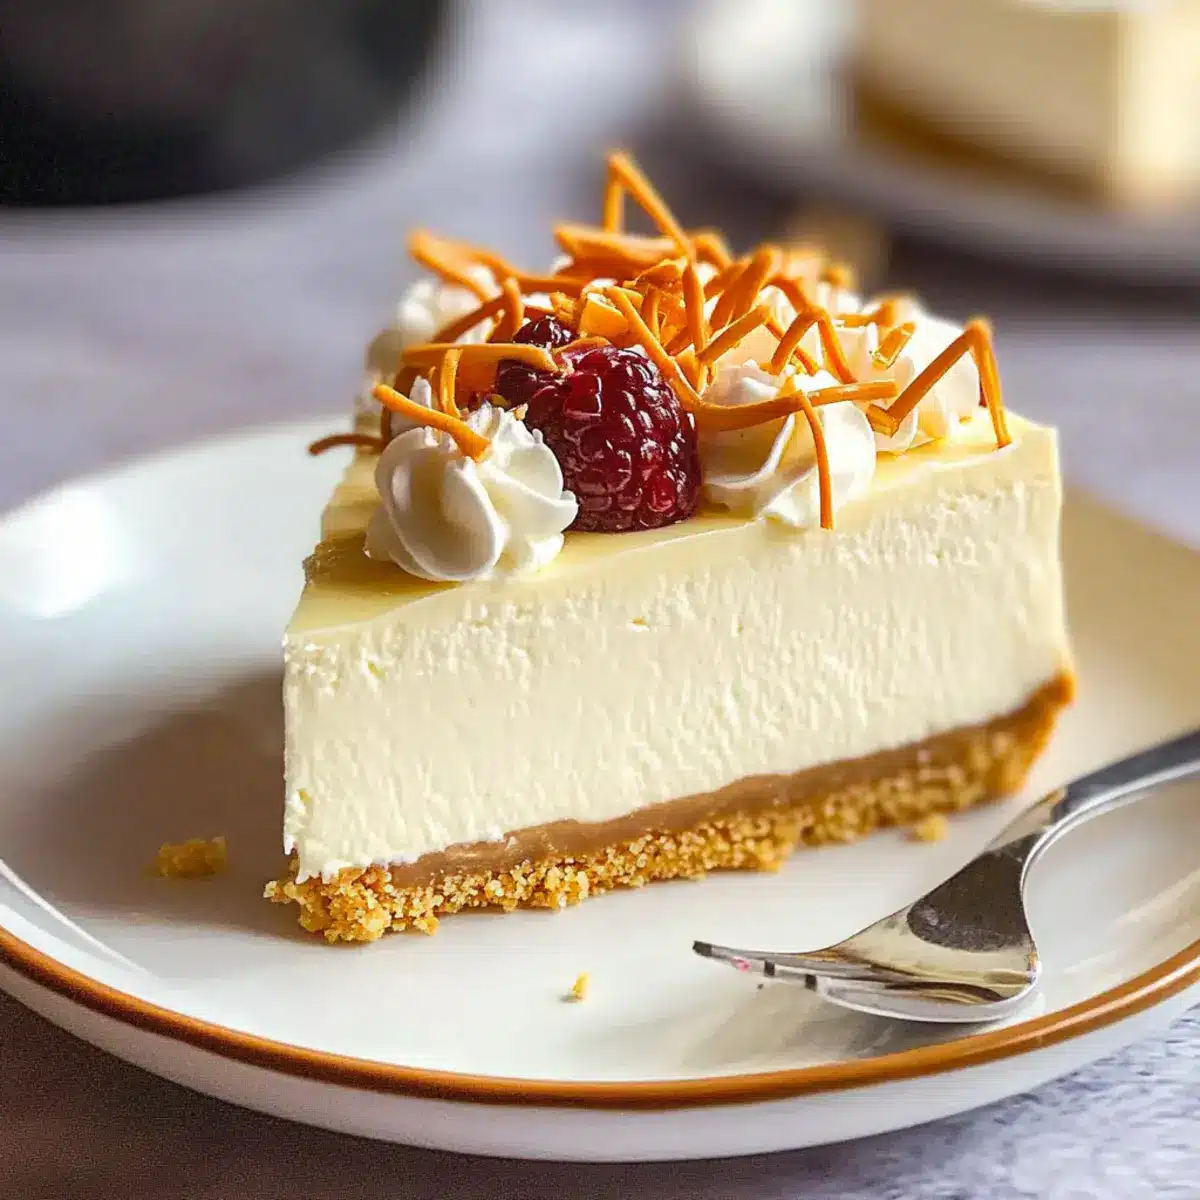
- Fresh Berries: The tartness of raspberries or strawberries perfectly contrasts the sweetness of the cheesecake, adding a refreshing burst of flavor.
- Whipped Cream: Light and fluffy, a dollop of homemade whipped cream enhances the creamy delight, making each bite feel indulgent.
- Chocolate Ganache: A rich, decadent chocolate ganache drizzled on top or served on the side adds a luxurious touch. The bittersweet flavors will beautifully balance the cheesecake’s sweetness.
- Mint Leaves: A sprinkle of fresh mint leaves not only adds color but also offers a refreshing element that cuts through the richness of the dessert.
- Caramel Sauce: Drizzling warm caramel over your slice provides a gooey sweetness that enhances the smooth texture of the cheesecake. It’s a classic combination that guests will love!
- Coffee or Espresso: A cup of bold coffee or espresso pairs wonderfully, as its robust flavor complements the creamy cheesecake, making for a sophisticated dessert experience.
- Vanilla Ice Cream: For those who love a little extra chill, a scoop of vanilla bean ice cream brings a delightful creaminess that pairs splendidly with the cheesecake.
Enhancing your Creamy White Chocolate Cheesecake Bliss with these delightful additions will not only complete the meal but also create lasting memories around your table!
Make Ahead Options
These Creamy White Chocolate Cheesecake Bliss desserts are perfect for meal prep, making your life easier on busy weeknights! You can prepare the crust and filling up to 24 hours in advance. Simply make the graham cracker crust and press it into the springform pan, then store it in the refrigerator covered with plastic wrap. The filling can also be made ahead; mix and chill it in an airtight container. When you’re ready to bake, simply pour the chilled filling over the crust and proceed with baking. This way, your cheesecake will turn out just as delightful and creamy, saving you time while maintaining its rich flavor and smooth texture!
Creamy White Chocolate Cheesecake Bliss Recipe FAQs
How do I choose high-quality white chocolate for my cheesecake?
Absolutely! Look for white chocolate that lists cocoa butter as the first ingredient, as this ensures maximum creaminess and flavor. Brands like Ghirardelli or Callebaut are excellent choices. Avoid products labeled as “white chocolate coating” or “white chocolate flavor,” as these often contain fillers that affect taste and texture.
How should I store leftover cheesecake?
Very! To keep your Creamy White Chocolate Cheesecake Bliss fresh, store leftovers in an airtight container in the fridge for up to 5 days. Make sure it’s well sealed to avoid absorbing any fridge odors. For longer-term storage, wrap individual slices tightly in plastic wrap, then place them in a freezer-safe container, where they can be kept for around 3 months.
What is the best way to freeze cheesecake?
Absolutely, freezing cheesecake is straightforward! First, cool your cheesecake completely. Then, slice it into portions or keep it whole. Wrap each slice tightly in plastic wrap, ensuring there are no air pockets, and place them into a freezer-safe container or a heavy-duty freezer bag. For a whole cheesecake, same wrapping applies. Label it with the date for reference, and it should be good for up to 3 months! When ready to enjoy, pop it in the fridge overnight to thaw, preserving that creamy texture beautifully.
What if my cheesecake cracks while baking?
The more the merrier, and don’t worry—cracks can be common! If you notice cracks, it often means you’ve overmixed the filling or baked it at too high a temperature. To help prevent this, mix your eggs in gently, add a water bath during baking, and make sure to keep an eye on your cheesecake towards the end of the baking time. Aim for a slightly jiggly center; it will continue to set as it cools!
Can I make this cheesecake gluten-free?
Absolutely! To make your Creamy White Chocolate Cheesecake Bliss gluten-free, simply substitute regular graham cracker crumbs with gluten-free varieties. There are many brands available that offer delicious crumb options made from gluten-free ingredients, allowing you to enjoy this delightful dessert without worry!
Is it safe for pets to have cheesecake?
Very! While it may be tempting to share a bite of cheesecake with furry friends, it’s best to avoid giving them any. The ingredients, especially cream cheese and sugar, can upset their digestive systems. Stick to pet-friendly treats and let them watch you indulge instead!
Creamy White Chocolate Cheesecake Bliss You’ll Love to Indulge
Ingredients
Equipment
Method
- Preheat your oven to 325°F (163°C).
- In a mixing bowl, combine finely crushed graham cracker crumbs with melted unsalted butter until well combined. Press this mixture firmly into the bottom of a greased springform pan.
- In a microwave-safe bowl, chop white chocolate into smaller pieces. Heat in 30-second intervals, stirring in between, until smooth and glossy.
- In a large mixing bowl, beat softened cream cheese and granulated sugar until creamy. Incorporate sour cream, vanilla extract, and melted white chocolate, mixing thoroughly.
- Add room-temperature eggs one at a time, mixing gently after each addition.
- Pour the cheesecake filling over the prepared crust and smooth out the top. Bake for 50-60 minutes, until edges are set and center has a gentle jiggle.
- Turn off the oven and crack the door open slightly, allowing the cheesecake to cool for about an hour. Refrigerate for at least four hours before serving.
Leave a Reply