
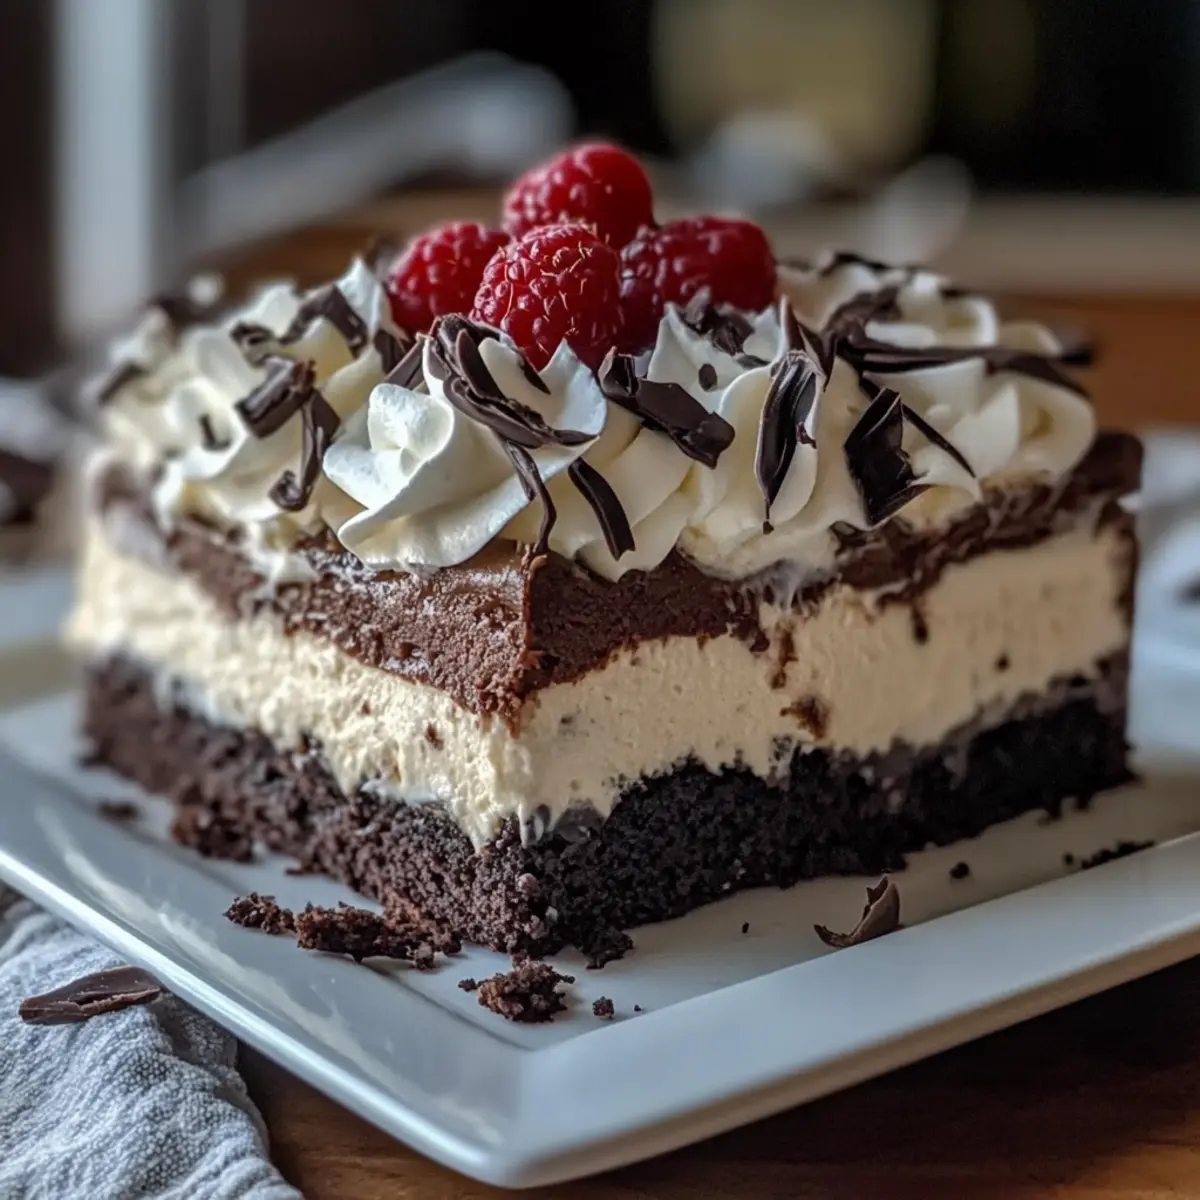
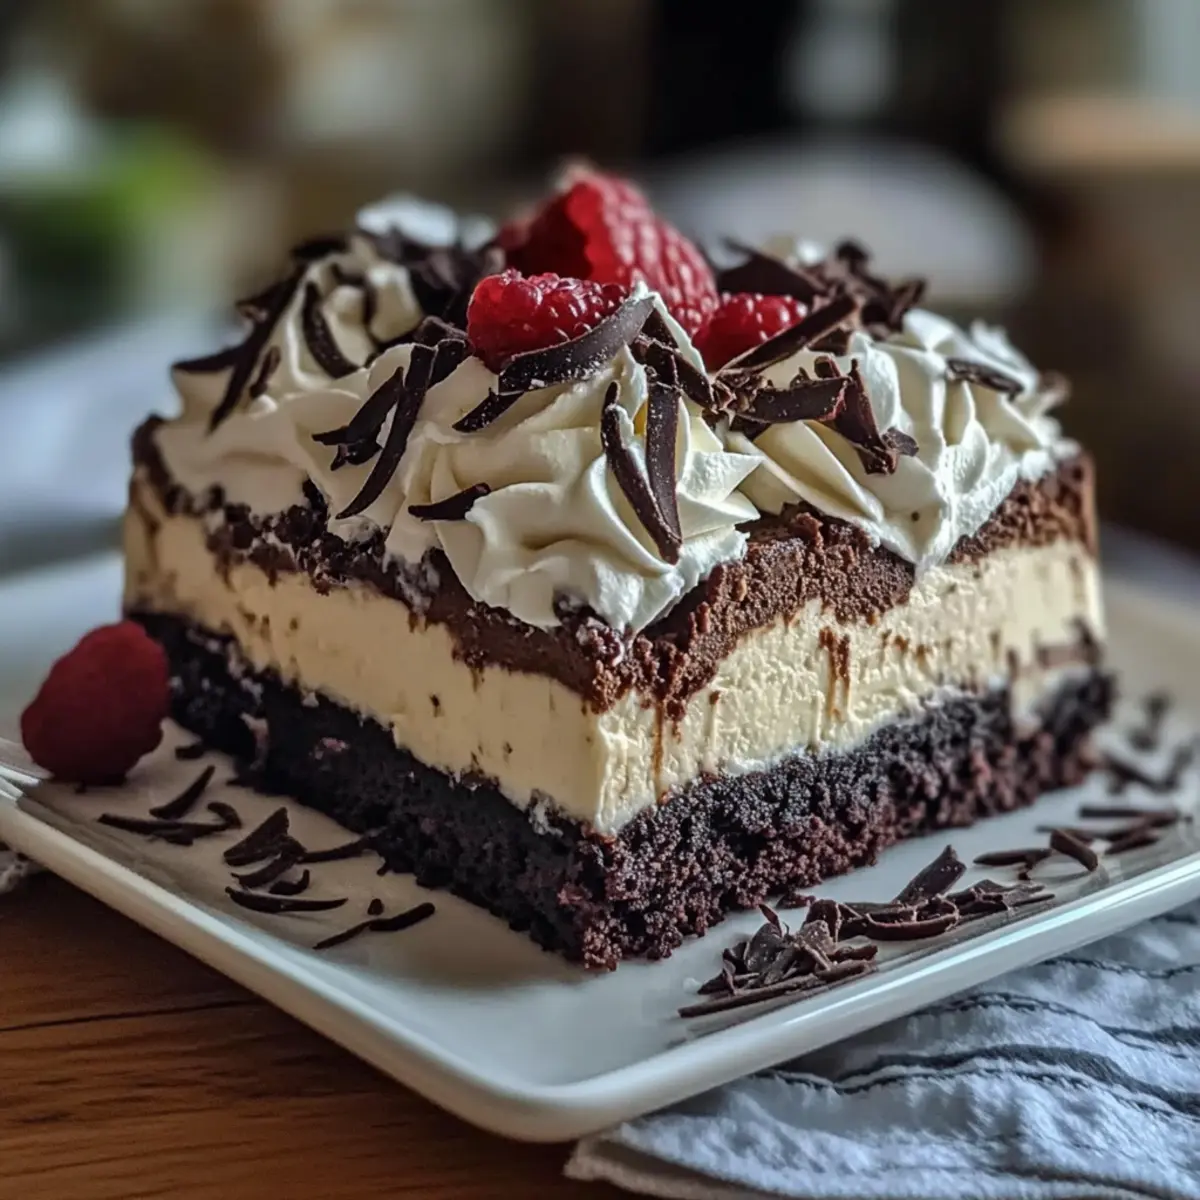
As the summer sun blazes outside, there’s nothing quite like the relief of a cool, creamy dessert to beat the heat. Enter my Decadent No-Bake Brownie Refrigerator Cake, a delightful layered dessert that brings together the rich, fudgy goodness of brownies, a luscious cream cheese layer, and smooth pudding, all topped off with light whipped cream. Not only is this recipe a fantastic make-ahead treat that saves you time in the kitchen, but it also gets better as it chills, allowing the flavors to meld into a sweet sensation that’s perfect for any gathering. If you’re looking for a crowd-pleaser that’s easily customizable with gluten-free or dairy-free options, you’re in the right place. Ready to dive into an indulgent dessert experience that doesn’t require turning on the oven? Keep scrolling to discover how to make this irresistible treat!
Why Is This Dessert a Game-Changer?
Versatile Layers: The flexibility of flavors is incredible! Customize it with your choice of pudding and toppings, making it truly your own.
No-Bake Convenience: Enjoy effortless preparation without the hassle of baking. Perfect for hot summer days or when time is tight.
Crowd-Pleasing Delight: With its rich layers and creamy texture, this dish is sure to impress guests at any gathering. Consider it a party favorite!
Make-Ahead Magic: Simply assemble ahead of time, and let the fridge work its magic, allowing flavors to deepen and giving you stress-free entertaining.
Diet-Friendly Options: Easily create a gluten-free or dairy-free version to cater to various dietary needs. You won’t sacrifice taste for inclusivity!
So, if you’re in the mood for something really special, give this Decadent No-Bake Brownie Refrigerator Cake a try! You won’t regret treating yourself!
Brownie Refrigerator Cake Ingredients
For the Brownie Base
• Brownie Mix – Use a store-bought or homemade mix for a quick and easy foundation.
• Eggs – Bind the ingredients together and give structure; substitute with flax eggs for a vegan option.
• Oil or Butter – Adds moisture; coconut oil can be used for a dairy-free alternative.
For the Cream Cheese Layer
• Cream Cheese – Provides rich creaminess; opt for dairy-free cream cheese for a lactose-free version.
• Whipped Topping – Lightens the layer; dairy-free whipped topping works for a non-dairy choice.
For the Pudding Layer
• Instant Pudding Mix (Chocolate or Vanilla) – Creates a rich layer; pick gluten-free varieties if needed.
• Milk – Binds the pudding; almond or oat milk are excellent dairy-free substitutes.
Optional Toppings
• Fresh Berries – Adds a pop of tartness that complements the sweetness beautifully.
• Crushed Nuts – Provide a satisfying crunch; choose your favorite kind for variation.
• Caramel Sauce – Drizzle over the top for an extra touch of indulgence.
By gathering these ingredients, you’ll be well on your way to creating your very own Brownie Refrigerator Cake that’s sure to delight everyone!
Step‑by‑Step Instructions for Brownie Refrigerator Cake
Step 1: Prepare Brownie Base
Start by baking your brownies according to the package instructions. Preheat your oven to the temperature specified on the box, usually around 350°F (175°C). Once baked, let the brownies cool completely in the pan before carefully removing them. This fudgy foundation serves as the perfect base for your Brownie Refrigerator Cake.
Step 2: Mix Cream Cheese Layer
In a mixing bowl, beat the room temperature cream cheese until it reaches a smooth, creamy consistency. This should take about 2-3 minutes with an electric mixer. Gradually fold in half of your whipped topping until fully blended, creating a light and airy cream cheese layer. This mixture will add a delightful richness to your Brownie Refrigerator Cake.
Step 3: Prepare Pudding
In another bowl, whisk together the instant pudding mix and milk until the mixture thickens, which should take about 2 minutes. Make sure there are no lumps, as the creamy pudding layer is essential for your dessert’s texture. This luscious pudding will soon sit beautifully atop the cream cheese layer of your Brownie Refrigerator Cake.
Step 4: Layer Dessert
Once your brownies have cooled and your layers are ready, spread the cream cheese mixture evenly over the cooled brownie base. Next, pour the prepared pudding layer over the cream cheese, smoothing it out with a spatula. Finally, top this decadent stack with the remaining whipped topping, creating a luxurious finish for your Brownie Refrigerator Cake.
Step 5: Chill
Cover the assembled cake tightly with plastic wrap and place it in the refrigerator. Let it chill for at least 2 hours, although overnight is preferable to allow all flavors to meld beautifully. As it chills, the layers will set, making it easier to slice and enhancing the overall flavor of the Brownie Refrigerator Cake.
Step 6: Serve
After chilling, use a sharp knife to cut the dessert into squares for serving. For neat slices, wipe the knife clean between cuts. Serve chilled, and feel free to add optional toppings like fresh berries or a drizzle of caramel sauce for an extra touch of indulgence. Enjoy your delightful Brownie Refrigerator Cake!
Expert Tips for Brownie Refrigerator Cake
- Cool Completely: Ensure your brownies are fully cooled before layering to prevent the cream cheese from melting. This will help maintain the structure of your Brownie Refrigerator Cake.
- Don’t Over-Whisk: Mix the pudding just until thickened to avoid a grainy texture. This creates a smooth, creamy pudding layer essential for your dessert’s success.
- Chill Overnight: For the best flavor and texture, refrigerate your cake overnight. This allows all the flavors to meld beautifully, making every bite a delight.
- Knife Technique: Clean your knife after each cut to preserve neat layers when slicing the Brownie Refrigerator Cake. This will make for an appealing presentation!
- Experiment with Toppings: Feel free to get creative with toppings! Fresh berries, nuts, or drizzles can enhance both the flavor and visual appeal of your dessert.
Brownie Refrigerator Cake Variations
You can easily make this delicious dessert your own by exploring these exciting variations!
-
Gluten-Free: Swap the brownie base for a gluten-free brownie mix to make this dessert accessible for everyone. You won’t lose any flavor—just pure enjoyment!
-
Dairy-Free: Use dairy-free cream cheese and whipped topping for a luscious dessert that caters to lactose sensitivities. This way, everyone can indulge!
-
Flavor Boost: Try using butterscotch or caramel pudding in place of chocolate for a fun twist. Each layer will bring a delightful surprise that your guests will love!
-
Crunchy Additions: Layer crushed cookies or graham crackers between the pudding and cream cheese layers for an added crunch. It’s a simple touch that amps up the texture beautifully.
-
Fruit Flavors: Incorporate fresh fruit like sliced bananas or strawberries into the layers for a burst of natural sweetness. It’s refreshing and visually stunning!
-
Nutty Goodness: Add chopped walnuts or pecans in the cream cheese layer for a delightful crunch and extra depth of flavor. Nuts always bring a warming charm to decadent desserts.
-
Zesty Twist: Mixing in some lemon or orange zest into your cream cheese layer can brighten up this rich dessert, creating a wonderful contrast that’s both surprising and delightful.
-
Spicy Kick: For those who enjoy heat, sprinkle a dash of cayenne pepper or a smidge of cinnamon into the cream cheese layer for a surprisingly delicious kick! It adds a whole new dimension to your Decadent No-Bake Brownie Refrigerator Cake.
With these variations, your Brownie Refrigerator Cake can be a unique and cherished experience every time!
What to Serve with Decadent No-Bake Brownie Refrigerator Cake
Imagine the taste of rich chocolate mingling with smooth cream, creating the perfect finish to your meal.
- Vanilla Ice Cream: The classic pairing of creamy vanilla ice cream contrasts wonderfully with the rich brownie layers, adding a delightful chill.
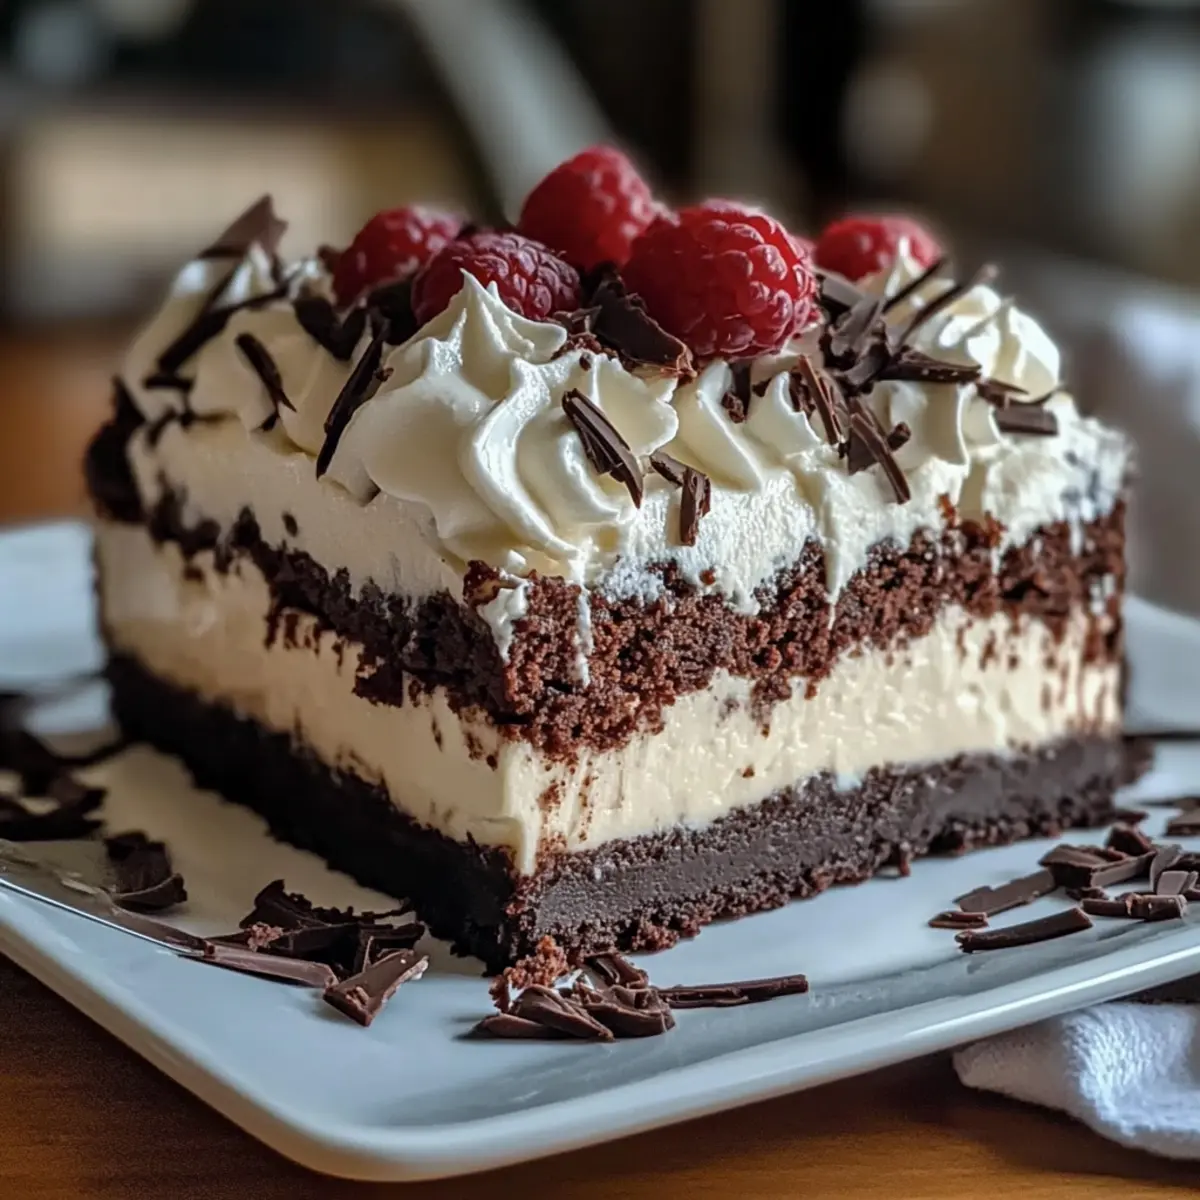
- Fresh Berries: A medley of tart berries like raspberries or strawberries provides a refreshing balance and beautiful presentation to this decadent dessert.
- Whipped Cream: Extra whipped cream on top enhances the lightness and creaminess, making each bite even more indulgent and fluffy.
- Chocolate Sauce: A drizzle of chocolate sauce intensifies the chocolate flavor, creating an even richer dessert experience that chocolate lovers will adore.
- Mint Tea: This aromatic beverage offers a refreshing palate cleanse, perfectly complementing the sweet aspects of the brownie refrigerator cake.
- Espresso: A shot of strong espresso provides a pleasant coffee contrast to the sweetness, making it an ideal companion for dessert enthusiasts.
- Caramel Sauce: Drizzling caramel over the top brings a delightful sweetness and complexity; it’s the perfect touch for those who enjoy layering flavors.
- Nut Brittle: Crushed nut brittle introduces a satisfying crunch and nutty flavor that enhances the overall dessert experience.
- Seltzer or Sparkling Water: Refresh your palate between bites with a crisp, bubbly drink that adds excitement without overwhelming the sweetness.
How to Store and Freeze Brownie Refrigerator Cake
Fridge: Store your Brownie Refrigerator Cake covered in the refrigerator for up to 3 days. This will keep it fresh while allowing flavors to meld beautifully.
Freezer: If you want to keep it longer, freeze the cake for up to 2 months. Wrap it tightly in plastic wrap and then in aluminum foil to prevent freezer burn.
Thawing: To enjoy your frozen Brownie Refrigerator Cake, transfer it to the refrigerator overnight to thaw slowly. This preserves its creamy texture and flavor.
Reheating: Serve the cake chilled or at room temperature. If desired, add fresh toppings just before serving for an extra burst of flavor and texture!
Make Ahead Options
Preparing this Decadent No-Bake Brownie Refrigerator Cake in advance is a breeze! You can bake the brownie base and layer it with the cream cheese mixture and pudding up to 24 hours in advance. Simply cover the assembled cake tightly with plastic wrap and refrigerate. For optimal flavor and texture, allow it to chill for at least 2 hours, but overnight is best. To ensure the whipped topping stays light and fluffy, add it right before serving to maintain that delightful airy quality. This way, you’ll have an indulgent dessert ready to impress your guests with minimal last-minute effort!

Brownie Refrigerator Cake Recipe FAQs
How do I choose the right brownies for the base?
Absolutely! For the best brownie base, I recommend using a high-quality store-bought mix or your favorite homemade recipe. Look for a mix that is fudge-like rather than cake-like since it provides a denser, richer foundation. If you’re aiming for gluten-free options, many brands offer gluten-free brownie mixes that taste just as delicious.
How should I store the Brownie Refrigerator Cake?
You should store your Brownie Refrigerator Cake covered in the refrigerator for up to 3 days. This helps keep the layers fresh while allowing the flavors to meld beautifully. If you expect it to last longer, wrapping it tightly in plastic wrap or placing it in an airtight container will maintain its taste and texture.
Can I freeze the Brownie Refrigerator Cake?
Very much! To freeze your Brownie Refrigerator Cake, first, wrap it tightly in plastic wrap and then in aluminum foil to prevent freezer burn. It can be stored in the freezer for up to 2 months. Just remember, when you’re ready to enjoy it again, transfer it to the refrigerator overnight to thaw slowly, which helps preserve its creamy texture.
What if the layers don’t set properly?
If your layers don’t set properly, it could be that the brownies weren’t completely cooled before layering, or the pudding was mixed too extensively. Always let the brownies cool completely, and only mix the pudding until it thickens. If the problem arises post-chill, you might be able to gently re-layer the dessert and return it to the fridge for additional time to allow proper setting.
Are there any dietary considerations with this recipe?
Yes! This Brownie Refrigerator Cake can easily accommodate various dietary restrictions. For a gluten-free version, use a gluten-free brownie mix and check that your pudding mix is gluten-free as well. You can also swap regular cream cheese and whipped topping for dairy-free alternatives to make it suitable for those with lactose intolerance. Always double-check the ingredient labels to avoid potential allergens!
Indulge in Creamy Brownie Refrigerator Cake Bliss
Ingredients
Equipment
Method
- Prepare Brownie Base: Bake brownies according to package instructions and let cool completely.
- Mix Cream Cheese Layer: Beat cream cheese until smooth, then fold in half of the whipped topping.
- Prepare Pudding: Whisk instant pudding mix with milk until thickened and creamy.
- Layer Dessert: Spread cream cheese mixture over brownies, then add pudding layer, topped with remaining whipped topping.
- Chill: Cover with plastic wrap and refrigerate for at least 2 hours, preferably overnight.
- Serve: Cut into squares and serve chilled, optionally adding fresh toppings.
Leave a Reply