
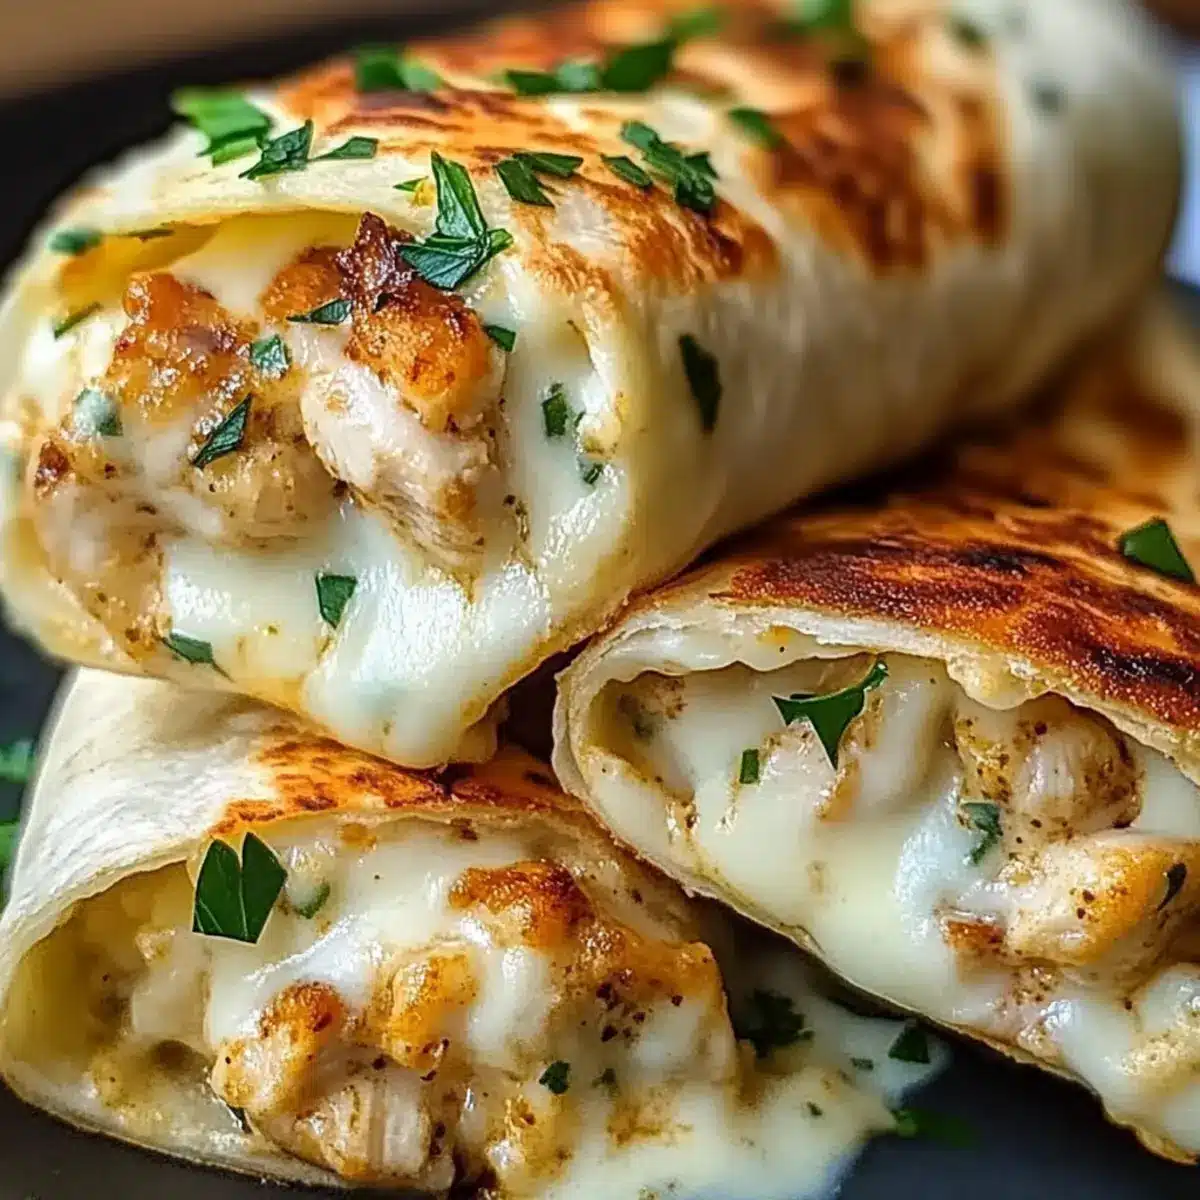
As I was rummaging through my fridge one evening, I found myself facing a common dilemma: how to whip up something delightful from scattered ingredients without sacrificing the taste. Enter my Low Carb Cheesy Garlic Chicken Wraps! The perfect answer for those busy nights when you crave comfort without the carb overload. This recipe is not only quick to prepare but also offers flexibility with ingredient substitutions—whether you want it spicy or dairy-free, I’ve got you covered. Each wrap becomes a warm, cheesy hug that everyone will adore, making them ideal for family meals or meal prepping. Ready to indulge in this savory delight that won’t weigh you down? Let’s get cooking!
Why are These Wraps a Must-Try?
Flavorful and satisfying: The mouthwatering blend of cheese and garlic elevates every bite.
Quick Preparation: Perfect for those busy weeknights when you need something delicious in a flash.
Versatile Ingredients: Customize with your favorite proteins or herbs, or make them dairy-free—it’s all up to you!
Healthy Alternative: With low-carb wraps, you can satisfy your cravings without the guilt.
Family-Friendly: Even picky eaters will enjoy this cheesy delight! Pair it with a refreshing salad or some Chicken Caesar Wraps for a complete meal that everyone will love.
Cheesy Garlic Chicken Wraps Ingredients
For the Filling
• Cooked Chicken Breast – A primary protein source; substitute with turkey or any leftover meat for versatility.
• Shredded Mozzarella Cheese – Provides a creamy stretch; feel free to swap with other melting cheeses like Monterey Jack.
• Shredded Cheddar Cheese – Delivers a sharp flavor; use dairy-free cheese alternatives if you’re going for a dairy-free option.
• Minced Garlic – This aromatic addition enhances flavor; fresh garlic is preferred, but garlic powder works in a pinch.
• Cream Cheese – Adds a creamy texture to the filling; opt for vegan cream cheese to make the wraps dairy-free.
• Fresh Parsley – Lends color and freshness; other herbs like cilantro or basil can substitute easily.
• Salt and Pepper – Essential seasonings to personalize flavor to taste.
For the Wraps
• Low-Carb Tortillas or Wraps – These serve as the wrap base; consider collard greens or lettuce leaves for a gluten-free option.
• Olive Oil – Used for cooking and enhancing richness; avocado oil can be a suitable replacement.
Step‑by‑Step Instructions for Cheesy Garlic Chicken Wraps
Step 1: Preheat Your Skillet
Begin by preheating a non-stick skillet or grill pan over medium heat. Add a drizzle of olive oil to the pan, allowing it to warm for about 1-2 minutes until shimmering. This step ensures a nice golden-brown crust on your Cheesy Garlic Chicken Wraps, creating a satisfying texture.
Step 2: Mix the Filling
In a large mixing bowl, combine the cooked chicken, shredded mozzarella, cheddar, cream cheese, minced garlic, fresh parsley, salt, and pepper. Stir thoroughly until the ingredients are evenly mixed and creamy. The combination should be well-blended, showcasing the rich, cheesy goodness that awaits in every bite of the wraps.
Step 3: Assemble the Wraps
Take your low-carb tortillas and evenly distribute the cheesy filling mixture along the center of each wrap. Carefully roll the tortillas tightly, tucking in the sides as you go to prevent spillage. The result should be snug rolls packed with flavor, keeping all that cheesy goodness securely inside.
Step 4: Cook the Wraps
Place the wrapped tortillas seam-side down in your preheated skillet. Cook each side for 2-3 minutes, listening for the satisfying sizzle and checking for a golden-brown color. The cheese should start melting, creating a delightful gooey interior that makes these Cheesy Garlic Chicken Wraps irresistible.
Step 5: Slice and Serve
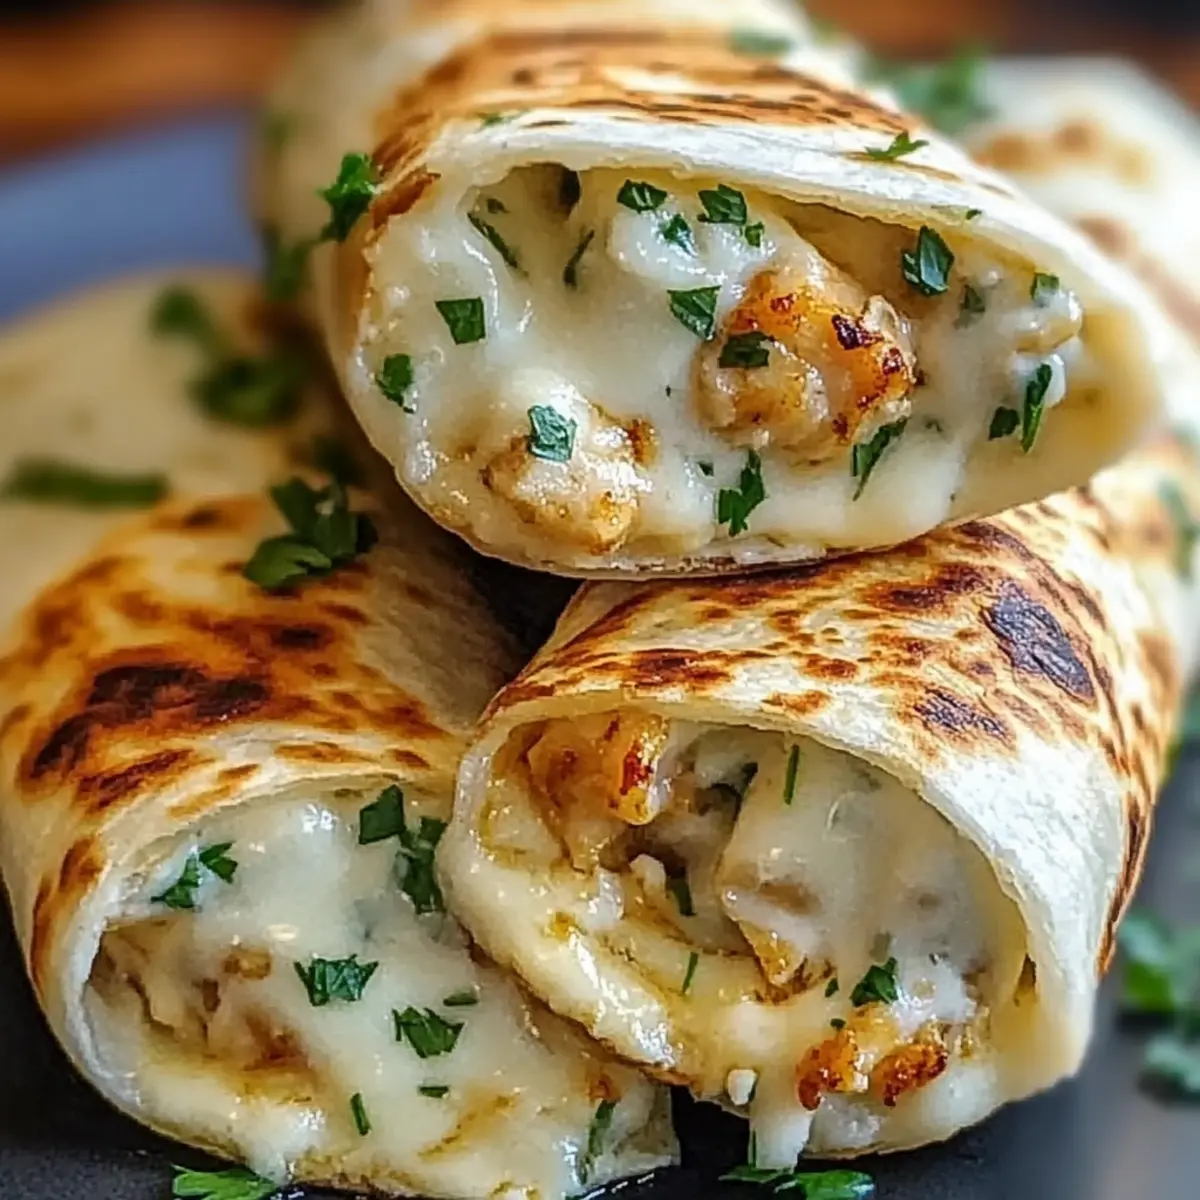
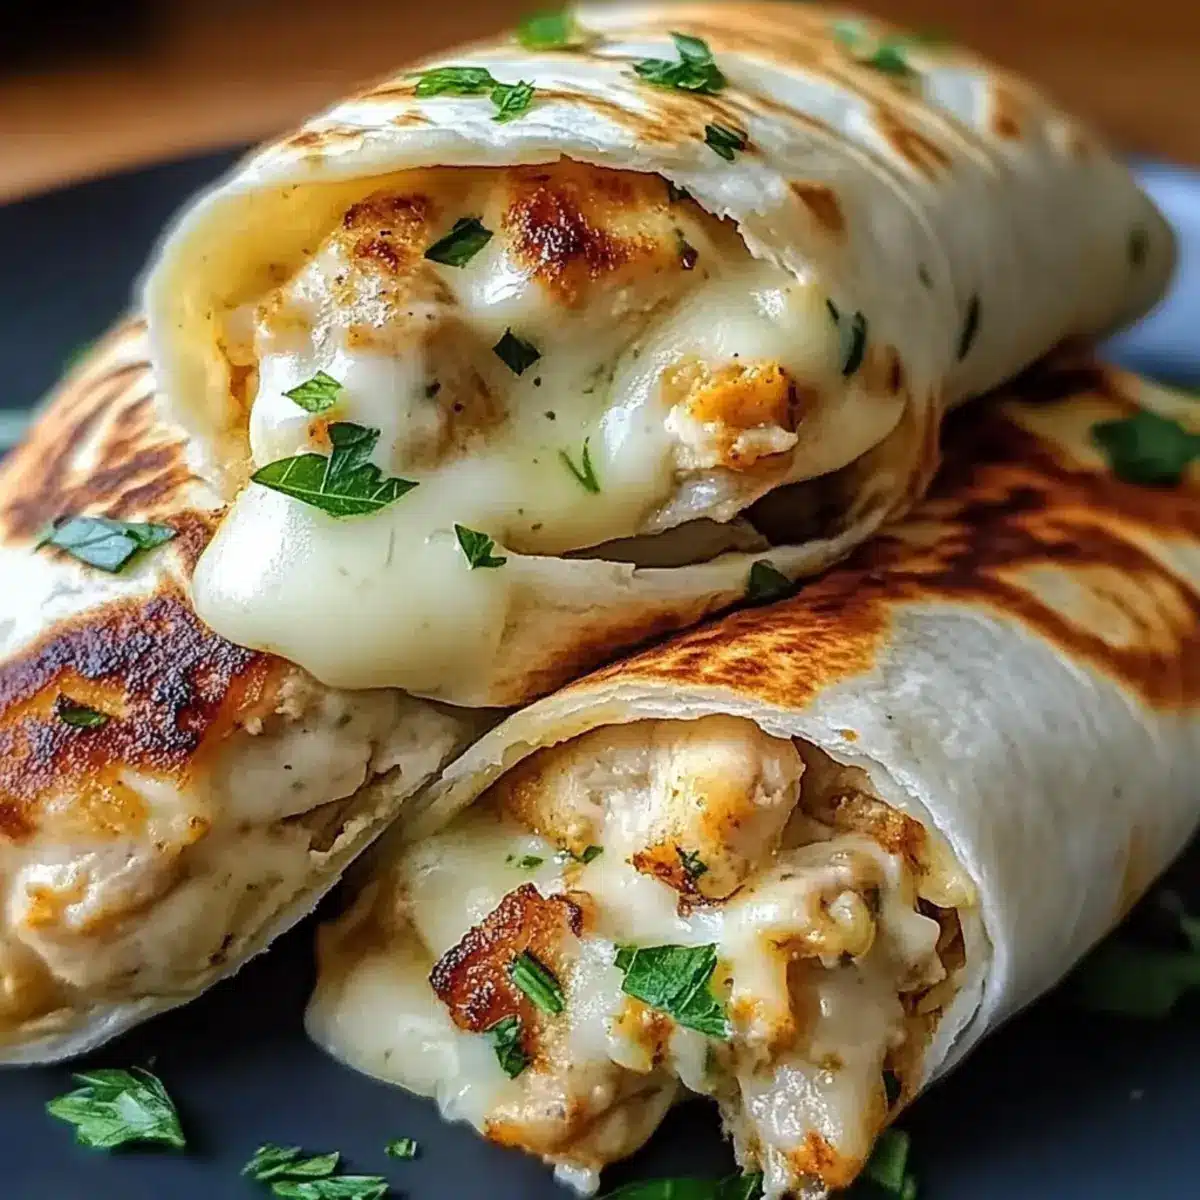
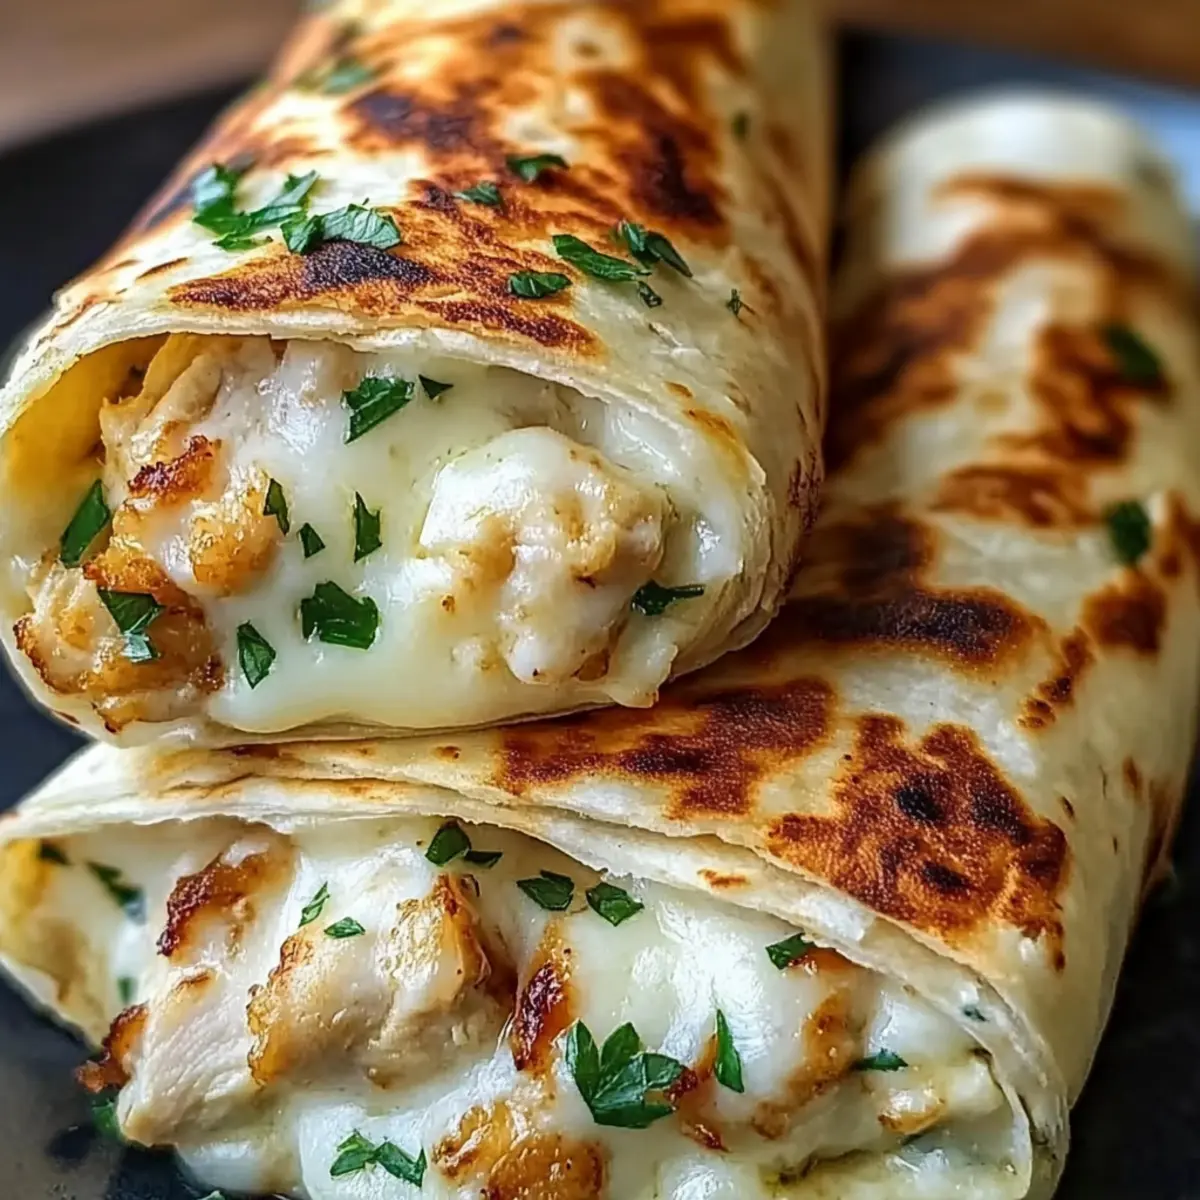
Once cooked, carefully remove the wraps from the skillet; let them cool for a brief moment. Using a sharp knife, slice them diagonally to showcase the lovely filling. Feel free to garnish with additional parsley for a pop of color, then serve hot to enjoy the melty comfort of your homemade wraps.
Cheesy Garlic Chicken Wraps Variations
Feel free to get creative with these wraps—each variation offers a delightful twist that brings new flavors and textures!
-
Dairy-Free: Substitute cream cheese and shredded cheeses with vegan alternatives for a comforting, guilt-free wrap.
Using dairy-free cheese allows you to savor all the deliciousness without sacrificing your dietary needs. -
Spicy Kick: Add sriracha or your favorite hot sauce to the filling for an extra zing!
Transform your mild wraps into a fiery delight that spice lovers will adore, igniting taste buds with every bite. -
Herb Boost: Swap fresh parsley for basil or cilantro to freshen things up.
Changing the herbs can take the flavor profile in a different direction, adding a refreshing twist that surprises the palate. -
Tortilla Alternatives: Use collard greens, lettuce leaves, or egg wraps as substitutes for low-carb tortillas.
This approach not only lightens the wraps but also offers a fun way to experiment with different textures while wrapping up the flavors! -
Vegetarian Delight: Replace shredded chicken with sautéed mushrooms or zucchini for a hearty vegetarian twist!
Embrace the earthy flavors of mushrooms or the freshness of zucchini, creating a fulfilling meal that even meat-lovers might appreciate. -
Crunch Factor: Add chopped bell peppers or cucumbers into the filling for a satisfying crunch.
This touch not only enhances the texture but also adds layers of flavor, making your wraps even more delightful! -
Flavor Infusion: Mix in a teaspoon of Italian seasoning or Cajun spice for an added flavor boost.
A sprinkling of these spices transforms your wraps into a culinary adventure, elevating an ordinary meal into something extraordinary! -
Meal Prep Perfection: Prepare a large batch and freeze individually wrapped for an easy, quick meal later on.
This makes weekday dinners a breeze, offering a comforting meal without the hassle—simply reheat and enjoy!
For more chicken-themed ideas, don’t forget to check out my Greek Chicken Tenders or if you’re in the mood for something saucy, try my Chicken Stroganoff Cozy for a hearty twist!
Make Ahead Options
These Cheesy Garlic Chicken Wraps are an excellent choice for meal prep enthusiasts! You can prepare the filling (cooked chicken, cheeses, garlic, and spices) up to 24 hours in advance and store it in an airtight container in the refrigerator to keep it fresh. The low-carb tortillas can also be pre-rolled with the filling; however, for best results, wait to roll them until just before cooking to maintain their crispiness. When you’re ready to enjoy, simply heat a skillet and cook the wraps for about 2-3 minutes on each side until golden brown and gooey. This way, you’ll have a delicious, homemade meal ready in minutes, providing comforting flavors without the last-minute rush!
What to Serve with Low Carb Cheesy Garlic Chicken Wraps
Pairing your wraps with delightful sides can elevate your meal to new heights, creating a harmonious dining experience.
-
Fresh Garden Salad: A crisp, refreshing salad balances the warm, cheesy wraps with a burst of freshness. Toss in colorful veggies for added crunch.
-
Creamy Avocado Dip: This velvety, rich dip adds healthy fats while enhancing the cheesy flavors of the wraps. A perfect creamy complement that everyone will love!
-
Zesty Salsa: The acidity of a zesty salsa brightens up your meal and provides a delightful contrast to the cheesy goodness. Perfect for scooping or drizzling on top.
-
Roasted Veggies: Savory roasted vegetables bring a caramelized sweetness that pairs beautifully with the richness of the wraps. They add a heartiness that transforms your meal.
-
Garlic Butter Green Beans: These tender green beans sautéed in garlic butter carry echoes of the wrap’s flavor. A delicious, vibrant side ready to please any palate.
-
Sparkling Water with Lime: A refreshing drink that cleanses your palate while complementing the savory flavors. This fizzy option adds a fun twist to your dining table.
-
Creamy Coleslaw: The crunch and creaminess of coleslaw are great for balancing the warm wraps, allowing for a delightful textural experience.
-
Chocolate Avocado Mousse: Indulge your sweet tooth with a rich chocolate dessert that seems decadent but keeps things light and healthy—an unexpected yet delightful finish!
Expert Tips for Cheesy Garlic Chicken Wraps
- Chicken Prep: Keep it simple: Use rotisserie chicken to save time or batch-cook chicken ahead for quick meal assembly.
- Seasoning Boost: For added flavor, don’t hesitate to sprinkle in a pinch of chili flakes or fresh herbs into your cheesy filling mix.
- Watch the Heat: Avoid overcooking wraps; they should be golden brown on the outside but still soft inside to hold the cheesy goodness.
- Freezing Made Easy: Wrap your leftover Cheesy Garlic Chicken Wraps tightly in parchment paper before freezing to prevent freezer burn.
- Creative Substitutions: Experiment with different low-carb tortilla alternatives or try egg wraps for a fun twist on the recipe.
Storage Tips for Cheesy Garlic Chicken Wraps
Fridge: Store leftover wraps in an airtight container in the refrigerator for up to 2 days to maintain their freshness.
Freezer: Wrap Cheesy Garlic Chicken Wraps tightly in parchment paper and then place in a zip-top bag. They can be frozen for up to 3 months.
Reheating: To restore crispness, reheat frozen wraps in the oven at 375°F (190°C) for about 15-20 minutes, or until heated through.
Room Temperature: For best taste, consume the wraps within 2 hours if left at room temperature.
Cheesy Garlic Chicken Wraps Recipe FAQs
What’s the best way to select ripe ingredients?
Absolutely! When choosing your ingredients, especially cheese, you want them to be fresh. For the shredded cheeses, look for packages without any dark spots or dryness, as this indicates staleness. For the garlic, choose bulbs that are firm and have a tight skin. Fresh parsley should be bright green with no wilting or browning.
How do I store leftover Cheesy Garlic Chicken Wraps?
Very! Store your leftover wraps in an airtight container in the refrigerator for up to 2 days. To maintain their chewy texture, simply reheat them in the oven rather than the microwave, which can cause them to dry out.
Can I freeze these wraps for later?
Sure thing! To freeze, wrap the Cheesy Garlic Chicken Wraps tightly in parchment paper to avoid freezer burn, then place them in a zip-top bag. They’ll stay fresh for up to 3 months. When you’re ready to enjoy, reheat from frozen in an oven preheated to 375°F (190°C) for about 15-20 minutes until heated through and crispy again.
What should I do if my wraps are too crispy when cooked?
Oh no! If you find your wraps are getting too crispy, try cooking them on a lower heat setting. Cooking them at a medium-low heat for about 3-4 minutes on each side instead of higher heat will help keep them golden on the outside while ensuring the cheese inside remains gooey. If they’re already too crispy, consider serving them with a side dip, like a garlicky yogurt sauce, to add moisture back into each bite.
Are these wraps suitable for my gluten-sensitive friends?
Yes, indeed! To make these Cheesy Garlic Chicken Wraps gluten-free, simply swap the low-carb tortillas for collard greens, lettuce leaves, or gluten-free wraps. Just be sure to check the labels of the wraps you choose to avoid any hidden gluten.
My family has a cheese allergy; what can I use instead?
You can absolutely make this recipe dairy-free! Use vegan cream cheese and dairy-free shredded cheeses made from nuts or soy. These alternatives provide a similar creamy texture while ensuring everyone can enjoy the deliciousness of your Cheesy Garlic Chicken Wraps!
Cheesy Garlic Chicken Wraps: Quick, Low-Carb Delight
Ingredients
Equipment
Method
- Preheat a non-stick skillet or grill pan over medium heat. Add olive oil and let warm for 1-2 minutes until shimmering.
- In a large mixing bowl, combine cooked chicken, mozzarella, cheddar, cream cheese, minced garlic, parsley, salt, and pepper. Stir thoroughly until well-blended.
- Distribute the filling mixture evenly along the center of each tortilla, then roll tightly, tucking in the sides.
- Place the rolled tortillas seam-side down in the preheated skillet. Cook for 2-3 minutes on each side until golden brown.
- Once cooked, remove from skillet, let cool briefly, then slice diagonally to serve.
Leave a Reply