
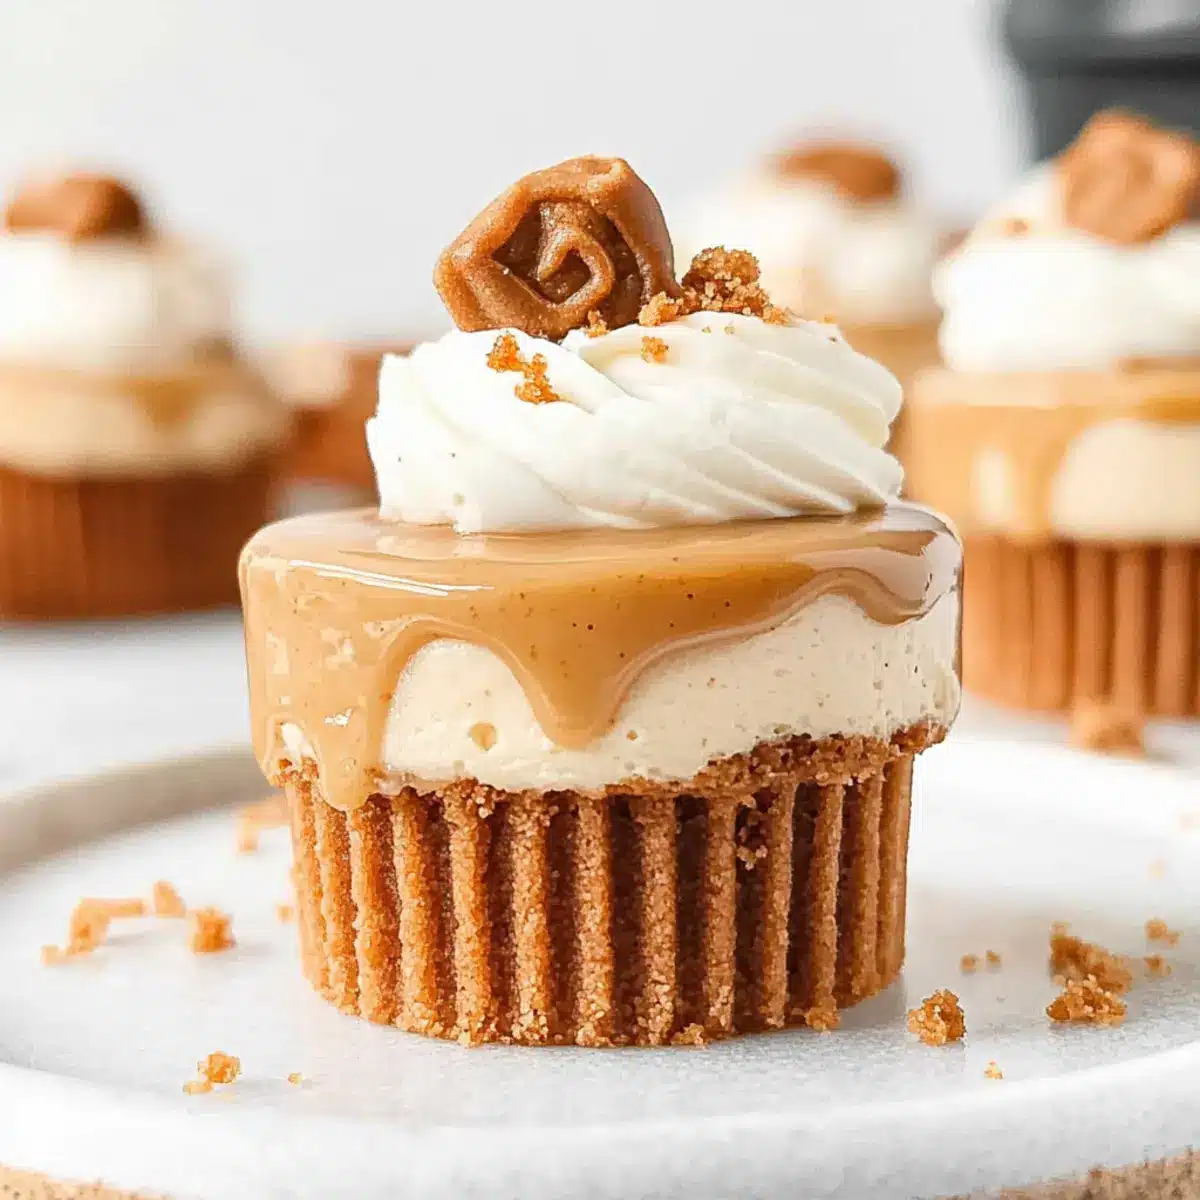
As I stood in my kitchen, the warm scent of caramelized spices wafted through the air, instantly transporting me to the cozy corners of a quaint café. Those Mini Biscoff Cheesecakes I was about to assemble promised to blend rich flavors with creamy textures in a way that felt both festive and indulgent. These no-bake delights, with their scrumptious cookie crust and airy Biscoff whipped cream topping, are tailor-made for creating sweet memories—perfect for serving at parties or simply treating yourself after a long day. Not only are they a show-stopping dessert, but they also come together effortlessly for busy home chefs. So, are you ready to take a bite out of a miniature slice of heaven? Let’s dive into this delightful recipe together!
Why are these cheesecakes so irresistible?
Decadent Flavor: Mini Biscoff Cheesecakes are a delightful explosion of rich Biscoff and caramelized spice flavors, creating a dessert that’s simply irresistible.
Easy to Make: No-bake preparation means you can whip up these treats with minimal fuss, perfect for busy weeknights or last-minute gatherings.
Versatile Options: Customize your toppings with alternatives like chocolate ganache or fresh fruit for a personal touch that suits any occasion!
Crowd Pleaser: These bite-sized delights are sure to impress guests at parties, making them the perfect dessert to share or enjoy all on your own.
Chill Factor: Chill them in advance for a refreshing dessert option that’s ready when you are—a true time saver!
By the way, if you’re looking for something with similar vibes, don’t forget to check out these Mini Mushroom Gruyere delights for another crowd-pleaser!
Mini Biscoff Cheesecake Ingredients
• Here’s what you need to create these delightful Mini Biscoff Cheesecakes with all their creamy, rich goodness!
For the Crust
- Unsalted Butter – Adds richness and depth; for a salty kick, use salted butter but reduce any additional salt.
- Biscoff Cookies – Forms a flavorful, sweet crust; can also be substituted with any speculoos or gingersnap cookie.
For the Filling
- Cream Cheese – The creamy base of the cheesecake, which should be softened to room temperature for the smoothest blend.
- Sour Cream – Enhances creaminess while adding a slight tang; Greek yogurt is a great lower-fat alternative.
- Biscoff Spread – Imparts that distinct Biscoff flavor throughout; swap for any cookie butter spread if necessary.
- Brown Sugar – Sweetens the filling and enriches caramel flavors; granulated sugar works as a substitute.
- Speculoos Spices – Brings a warm, spiced profile; if unavailable, mix cinnamon and nutmeg as an alternative.
- Eggs – Provide essential structure and stability; remember to use large eggs at room temperature for best results.
For the Whipped Topping
- Heavy Cream – Essential for creating a light and fluffy whipped topping; whipping cream with similar fat content is a suitable substitute.
- Biscoff Spread for Topping – Adds a flavorful glaze over the cheesecakes; make sure it’s warm and pourable for easy application.
For Garnishing
- Biscoff Cookies for Garnish – Perfect for adding a crunchy texture and decorative touch; feel free to skip if desired.
Gather these ingredients, and you’re on your way to making a delightful dessert that’s sure to impress!
Step‑by‑Step Instructions for Mini Biscoff Cheesecakes
Step 1: Prepare the Crust
Begin by melting unsalted butter in a microwave-safe bowl. While the butter melts, crush Biscoff cookies into fine crumbs using a food processor or a zip-top bag. Once the butter has cooled slightly, mix it with the cookie crumbs until combined. Line a muffin tin with paper liners and evenly press the mixture into the bottom of each liner. Chill them in the refrigerator for at least 30 minutes.
Step 2: Preheat the Oven
While the crust is chilling, preheat your oven to 140°C (285°F). This gentle temperature will ensure our Mini Biscoff Cheesecakes bake slowly and evenly, maintaining their creamy texture. Prepare for the next steps by gathering your mixing bowls and electric mixer, ensuring you have everything ready for a smooth cheesecake filling.
Step 3: Mix the Filling
In a large mixing bowl, beat softened cream cheese and sour cream together until the mixture is creamy and smooth, about 2 minutes. Gradually add the melted Biscoff spread, brown sugar, and speculoos spices while continuing to mix. You want a well-blended and rich filling for your Mini Biscoff Cheesecakes, which should have a luscious texture with no lumps.
Step 4: Incorporate the Eggs
Add room temperature eggs to the filling mixture one at a time, mixing gently for just a few seconds after each addition. Be careful not to overmix, as this can create air bubbles that lead to cracking during baking. Your goal is a creamy filling with a silky texture that embodies the delightful essence of Biscoff.
Step 5: Fill and Bake
Spoon the cheesecake filling evenly into the chilled crusts, filling each muffin liner nearly to the top. Place the muffin tin in the preheated oven and bake for 20-25 minutes, or until the centers are slightly wobbly. They will firm up as they cool, giving you that perfect creamy texture without overcooking.
Step 6: Cool and Chill
Once baked, turn off the oven and crack the door open slightly. Allow the Mini Biscoff Cheesecakes to cool slowly in the oven for 10-15 minutes. This gentle cooling process helps prevent the cheesecakes from cracking. Afterward, transfer them to a cooling rack to reach room temperature, then refrigerate for at least 1 hour to firm up.
Step 7: Prepare the Glaze
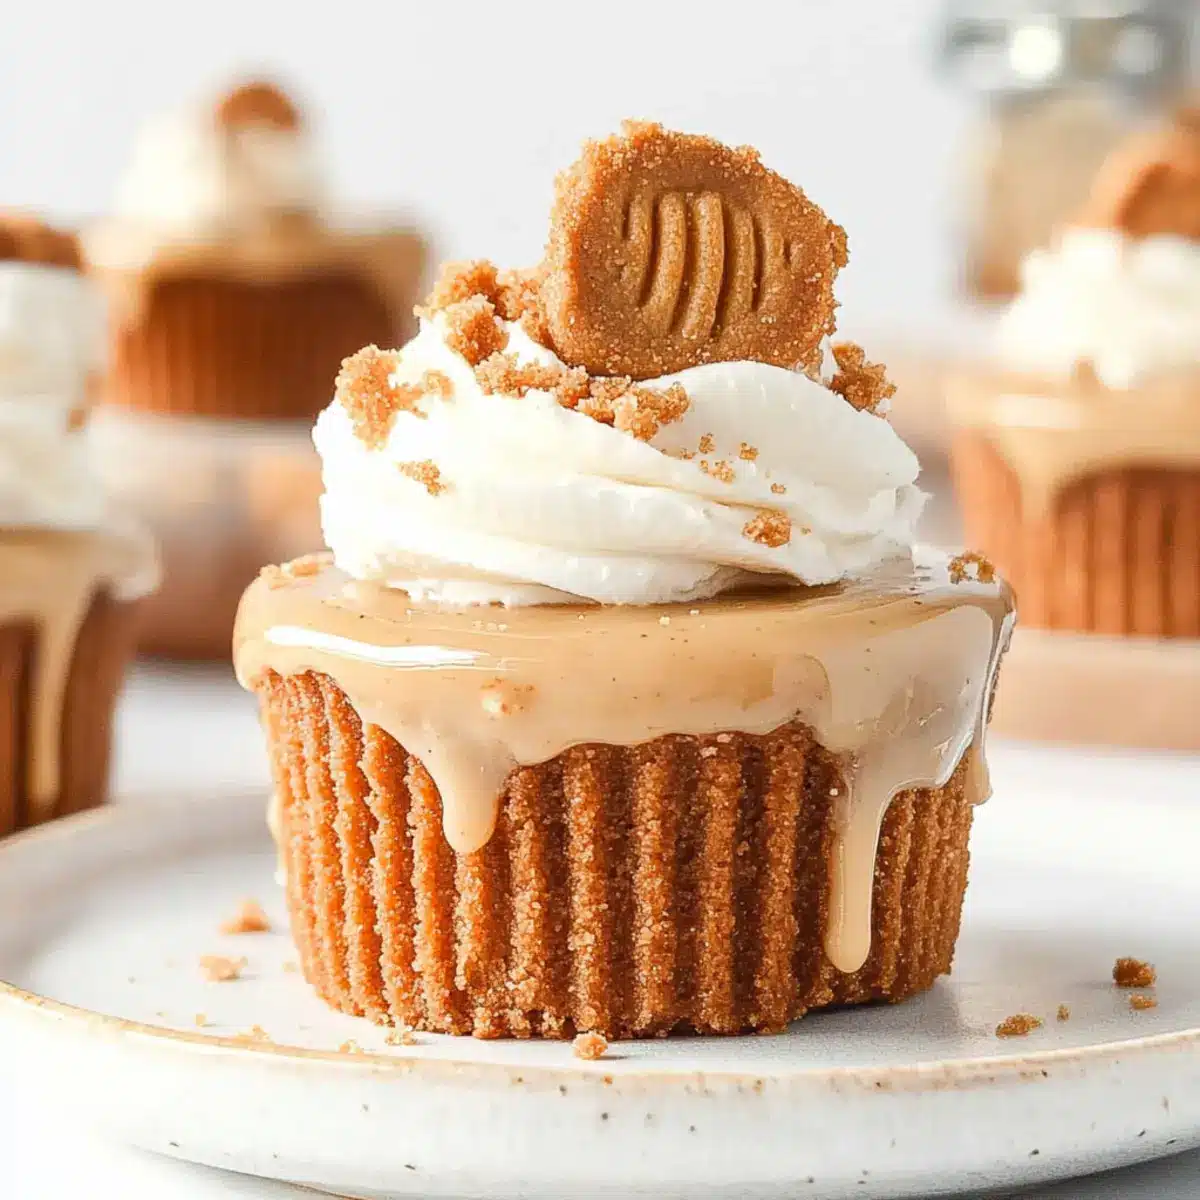
For the Biscoff glaze, warm additional Biscoff spread until it becomes pourable, about 10-15 seconds in the microwave. Once the cheesecakes have chilled, carefully pour the warm glaze over the top of each cheesecake, allowing it to cover the surface beautifully. Refrigerate again to set.
Step 8: Create the Whipped Topping
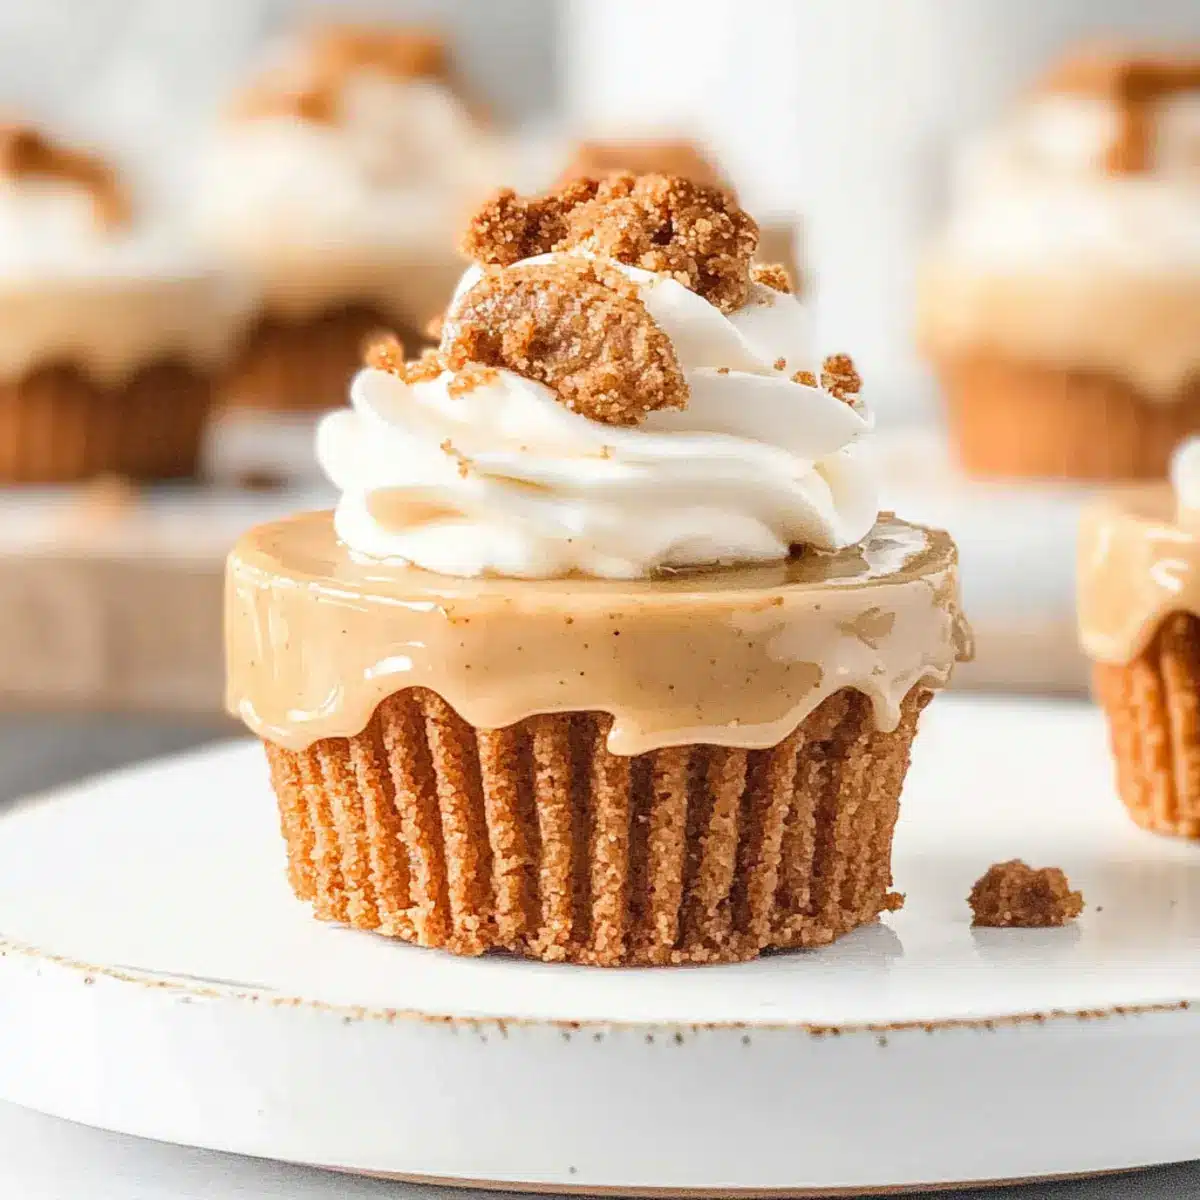
In a clean mixing bowl, whip heavy cream until soft peaks form. Gradually add in a bit of melted Biscoff spread, continuing to beat until stiff peaks form. This will create a fluffy, delicious topping. Use a piping bag to adorn each Mini Biscoff Cheesecake with the whipped cream, adding a touch of elegance.
Step 9: Garnish and Serve
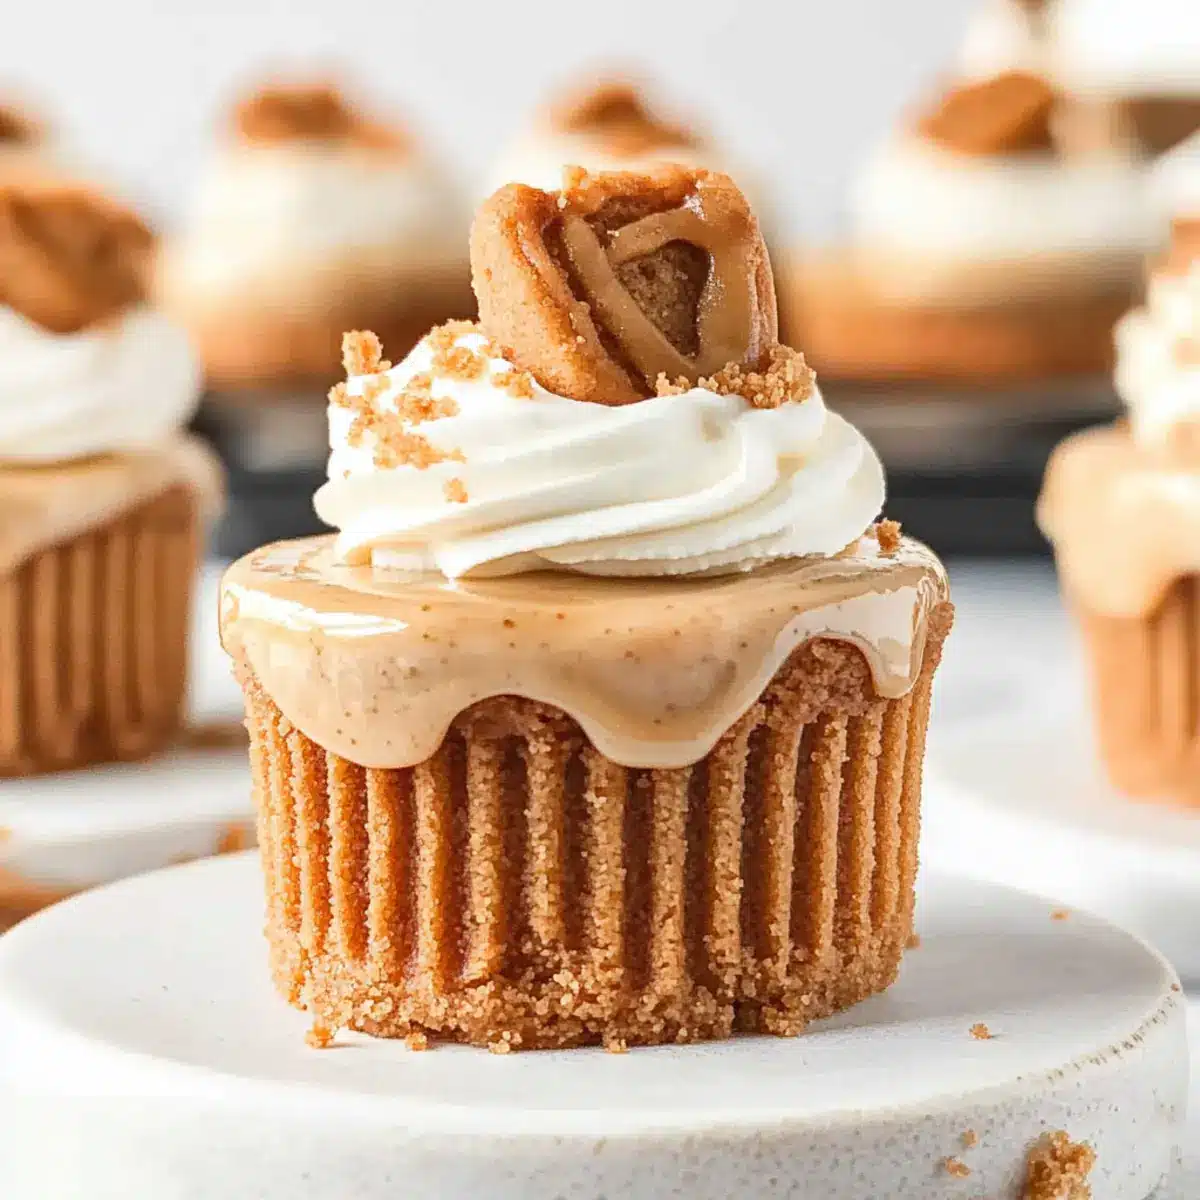
Finally, crush some Biscoff cookies into small pieces and sprinkle them over the whipped cream topping for added crunch and visual appeal. Your Mini Biscoff Cheesecakes are now ready to be served! Keep them chilled until you’re ready to share this rich, creamy treat that’s sure to impress your family and friends.
Mini Biscoff Cheesecakes: Fun Variations
Feel free to customize these delightful Mini Biscoff Cheesecakes and make them your own with these exciting options!
-
Chocolate Ganache: Replace the Biscoff topping with a rich chocolate ganache for a luxurious twist. Just melt dark chocolate with heavy cream and pour over the cheesecakes for a decadent finish.
-
Fruit Compote: Add a layer of fresh fruit compote, such as raspberry or strawberry, atop the cheesecakes for a refreshing tartness that beautifully contrasts with the creamy sweetness.
-
Full-Sized Cheesecake: Use the same recipe to make a larger cheesecake. Just adjust the baking time to around 40-50 minutes; keep an eye on it to catch that perfect wobbly center!
-
Nutty Crunch: For added texture, mix in chopped nuts, like hazelnuts or walnuts, into the crust. This will elevate the flavor profile while providing a delightful crunch.
-
Spiced Pumpkin: Incorporate pumpkin puree and a pinch of fall spices for a seasonal twist. Swirl pumpkin filling into your cheesecake mixture before baking for an autumn-inspired treat.
-
Maple Drizzle: Swap the Biscoff topping with a warm maple syrup drizzle right before serving. This complements the caramel notes and adds a delightful autumn feel.
-
Vegan Option: Replace cream cheese with vegan cream cheese, and use coconut cream for the topping. Utilize a vegan cookie for the crust, making this dessert inclusive for all diets.
-
Lemon Zest: Add a touch of lemon zest to the filling for a citrusy kick that cuts through the richness. It’s a refreshing addition that brightens every bite!
Whichever route you take, these variations can elevate your Mini Mushroom Gruyere experience and keep your dessert table exciting! Enjoy your kitchen adventures!
How to Store and Freeze Mini Biscoff Cheesecakes
Fridge: Store your Mini Biscoff Cheesecakes in an airtight container in the refrigerator for up to 3 days to maintain their creamy texture and freshness.
Freezer: If you need to freeze them, wrap each cheesecake in plastic wrap and place them in a freezer-safe container for up to 2 months. Thaw in the fridge before serving.
Reheating: There’s no need to reheat; simply enjoy them chilled straight from the fridge, allowing the flavors to sing!
Serving Tip: If you’ve frozen them, consider garnishing with fresh whipped cream and crushed Biscoff cookies right before serving for an extra touch of decadence.
Make Ahead Options
These Mini Biscoff Cheesecakes are perfect for meal prep enthusiasts! You can prepare the crust and filling up to 24 hours in advance, which is a great time-saver for busy weeknights or special occasions. Simply make the crust and press it into the muffin liners, then chill in the fridge. For the filling, prepare it using room temperature ingredients, then refrigerate it separately. When you’re ready to bake, simply fill the prepared crusts and bake. After cooling, pour the Biscoff glaze and whip the cream topping right before serving for that freshly made taste. With these make-ahead tips, your Mini Biscoff Cheesecakes will be just as delicious!
Expert Tips for Mini Biscoff Cheesecakes
-
Room Temperature Dairy: Ensure all dairy ingredients are at room temperature before mixing to achieve a smooth, lump-free batter for the Mini Biscoff Cheesecakes.
-
Avoid Overmixing: Mix the egg gently into the filling; overmixing can create air bubbles, leading to cracks. A gentle fold is all you need!
-
Cool Gradually: After baking, let the cheesecakes cool in the oven with the door ajar. This helps prevent cracks by avoiding sudden temperature changes.
-
Chill Thoroughly: Allow your cheesecakes to chill for at least one hour before serving. This step ensures a firmer texture that’s easier to slice and enjoy.
-
Make Ahead Whipped Cream: Prepare the Biscoff whipped cream a day in advance. Store it in the fridge to save time and keep it fresh until serving!
What to Serve with Mini Biscoff Cheesecakes
Elevate your dessert experience with delightful pairings perfect for any occasion.
- Fresh Berries: Juicy strawberries or raspberries bring a bright, tangy contrast to the rich, creamy cheesecakes, enhancing both flavor and presentation.
- Coffee or Espresso: A bold cup of coffee complements the decadent sweetness, creating a perfect balance for those cozy evenings at home.
- Chocolate Ganache: Drizzling warm ganache over the cheesecakes adds a rich layer, intensifying the flavor while introducing an alluring sheen.
- Mint Leaves: Fresh mint not only livens up the plate visually but provides a refreshing note that balances the sweetness of the cheesecakes.
- Whipped Cream: A dollop of plain or flavored whipped cream adds lightness and enhances the dessert’s creamy texture with every bite.
- Caramel Sauce: Drizzling homemade caramel adds a sweet, buttery layer that elevates the indulgence of each bite, creating a luxurious experience.
These pairings are designed to create more than just a sweet conclusion; they promise a beautifully crafted experience that will leave everyone wanting more!
Mini Biscoff Cheesecakes Recipe FAQs
How do I choose ripe ingredients for this recipe?
Absolutely! For the best results, ensure your cream cheese and sour cream are at room temperature before starting. This helps achieve a smooth filling without lumps, enhancing the creamy texture of your Mini Biscoff Cheesecakes.
How long can I store Mini Biscoff Cheesecakes in the fridge?
You can store these delicious treats in an airtight container in the refrigerator for up to 3 days. They taste best when consumed within 24 hours for optimal freshness, but they’ll still be delightful for a few days if properly stored.
Can I freeze Mini Biscoff Cheesecakes?
Yes! To freeze, wrap each cheesecake tightly in plastic wrap to prevent freezer burn, then place them in a freezer-safe container. They can be frozen for up to 2 months. When you’re ready to enjoy them, simply thaw in the refrigerator overnight for a creamy, delicious dessert.
What if my cheesecakes crack after baking?
If your cheesecakes crack, don’t worry—it happens! To prevent this, be sure to mix the egg gently into the filling, and ensure the cheesecakes cool gradually in the oven with the door slightly ajar after baking. This gradual cooling helps avoid sudden shifts in temperature, which can lead to cracking.
Are Mini Biscoff Cheesecakes safe for people with allergies?
Great question! These cheesecakes contain key allergens like dairy (from cream cheese and heavy cream) and eggs. Always check for specific allergies with guests. If you’re concerned about dietary restrictions, consider using dairy-free alternatives, like coconut cream and plant-based cream cheese, though the flavor profile will change.
Can I adjust the sweetness in the recipe?
Absolutely! If you prefer a less sweet dessert, feel free to reduce the brown sugar by half. You can also use a substitute like coconut sugar, which offers similar flavors with a slightly different sweetness. Just remember that adjusting sugar may alter the texture a bit, but your Mini Biscoff Cheesecakes will still be delicious!
Mini Biscoff Cheesecakes: Creamy Delights for Every Occasion
Ingredients
Equipment
Method
- Melt unsalted butter and crush Biscoff cookies into fine crumbs. Mix them and press into muffin tin liners. Chill for at least 30 minutes.
- Preheat the oven to 140°C (285°F). Gather mixing bowls and electric mixer for the filling.
- Beat cream cheese and sour cream until creamy. Gradually add Biscoff spread, brown sugar, and speculoos spices while mixing.
- Add room temperature eggs one at a time, mixing gently to avoid air bubbles.
- Spoon the filling into crusts and bake for 20-25 minutes until centers are slightly wobbly.
- Cool in the oven for 10-15 minutes, then reach room temperature and refrigerate for at least 1 hour.
- Warm Biscoff spread for the glaze and pour over chilled cheesecakes. Refrigerate to set.
- Whip heavy cream until soft peaks form, add melted Biscoff spread, then decorate each cheesecake with whipped topping.
- Garnish with crushed Biscoff cookies before serving.
Leave a Reply