
As I stood in my kitchen, the sweet scent of spring filled the air, transporting me to a world of pastel colors and festive gatherings. That’s when I decided it was time to whip up these delightful Mini No-Bake Easter Cheesecake Jars! With a creamy filling set atop a buttery cookie crumb base, each jar is not only a visual treat but also a portion-controlled indulgence perfect for sharing. What makes this recipe truly irresistible is its no-bake nature, allowing you to prep these delightful desserts ahead of time without the stress of an oven. Plus, kid-friendly toppings like mini chocolate eggs and sprinkles bring playful joy to every bite. Are you ready to create a dessert that will brighten up your Easter table and keep everyone coming back for more? Let’s dive into this simple, delicious journey!
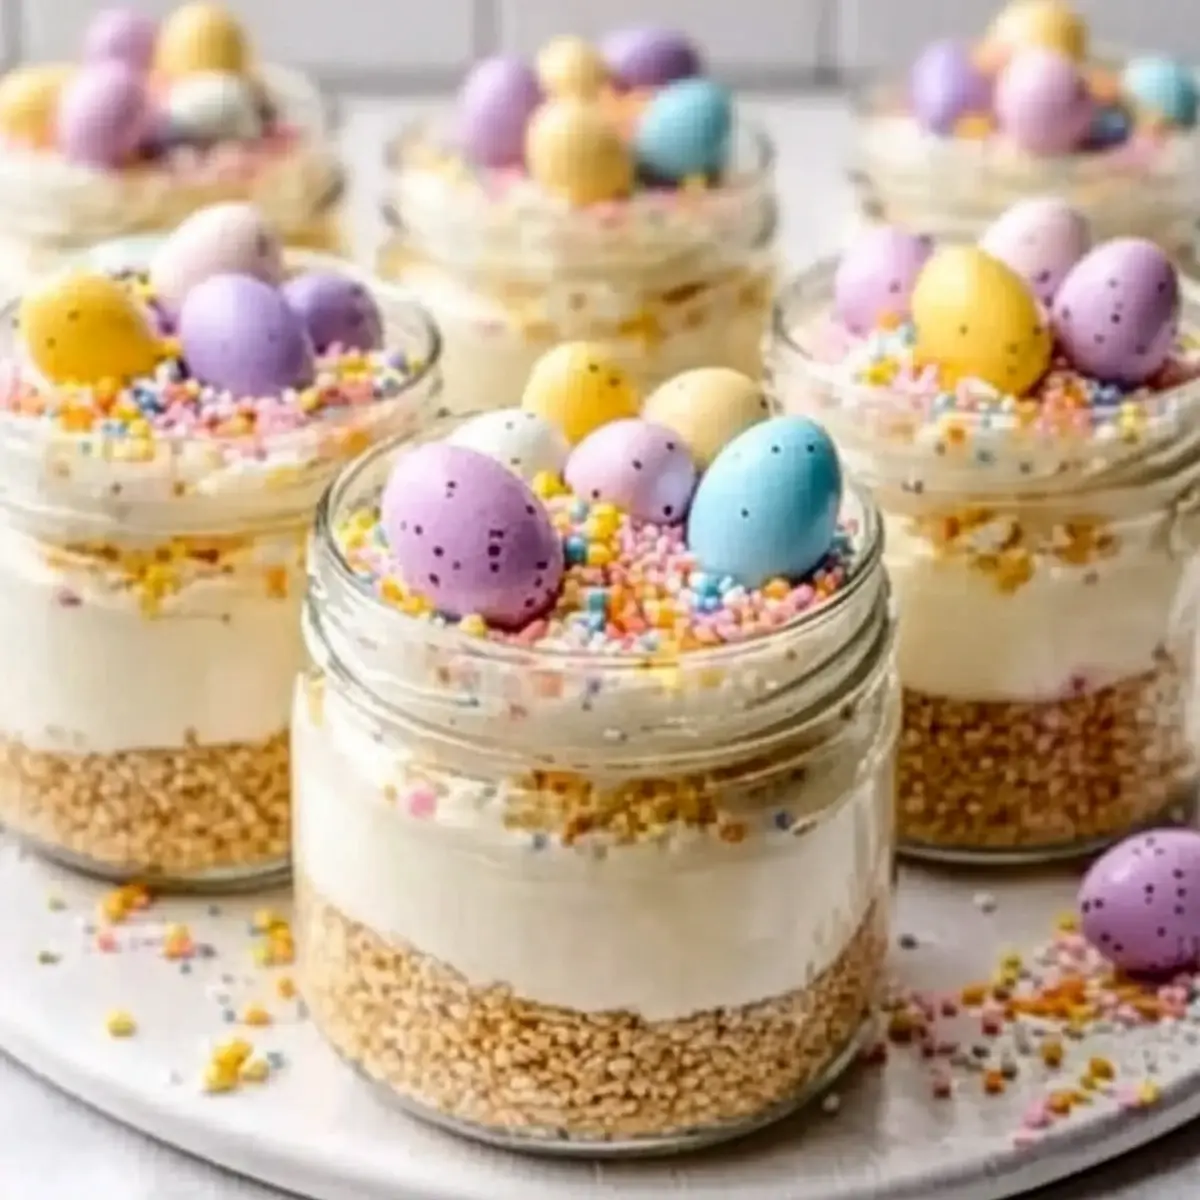
Why Are These Cheesecake Jars a Must-Try?
No-Bake Delight: These Mini Easter Cheesecake Jars offer the luxury of dessert without the hassle of baking, making them perfect for any home chef looking to impress guests!
Customizable Treat: With options for colorful toppings and different flavor profiles, you can easily tailor each jar to personal preferences or dietary needs.
Kid-Friendly Fun: Engaging little hands in decorating these jars will bring smiles and laughter to the kitchen, making it an ideal family activity.
Make-Ahead Magic: Prepare them 24 hours in advance and simply chill until serving—stress-free dessert planning at its finest!
Festive Presentation: Their charming, vibrant layers are as pleasing to the eyes as they are to the palate, making them a standout at spring gatherings or Easter brunches.
For more cheesecake inspiration, be sure to check out these Lemon Blueberry Cheesecake cookies and Apple Cheesecake Buns!
Mini Easter Cheesecake Jars Ingredients
For the Crust
- Graham Cracker Crumbs – Provides the essential base structure; feel free to substitute with digestive biscuits for a similar texture.
- Unsalted Butter – Binds the crust together; make sure it’s melted for optimal mixing.
- Sugar – Sweetens up the crust perfectly; granulated sugar works best!
- Salt – A small pinch enhances the crust’s flavor beautifully.
For the Filling
- Cream Cheese – The star of your filling, offering that rich and creamy texture—ensure it’s softened (not overly warm) for the best results.
- Powdered Sugar – Sweetens the filling; consider reducing to balance sweetness if desired.
- Vanilla Extract – A flavor enhancer that elevates the filling; almond extract can make a lovely alternative.
- Lemon Juice – Offers brightness and balances out the sweetness nicely.
- Cold Heavy Whipping Cream – Crucial for a light, airy texture; whipping it to medium-stiff peaks is key!
- Gel Food Coloring – Optional but fun for adding vibrant, colorful touches to your filling.
For the Decoration
- Mini Chocolate Eggs or Jelly Beans – Ideal for a playful topping; pastel colors add to the festive Easter theme!
- Pastel Sprinkles – Optional, but give a delightful touch of whimsy to your jars.
- Shredded Coconut – Adds texture and can be dyed green for a lovely ‘grass’ effect!
These Mini Easter Cheesecake Jars are not just a treat for the taste buds but also a feast for the eyes—perfect for celebrating the season!
Step‑by‑Step Instructions for Mini Easter Cheesecake Jars
Step 1: Make the Crust
In a medium bowl, combine graham cracker crumbs, sugar, and a pinch of salt. Pour in the melted unsalted butter, mixing until the texture resembles wet sand. Divide this mixture evenly among the jars, pressing it firmly to form a solid base. The crust should be compact and hold its shape once set.
Step 2: Whip the Cream
Chill a mixing bowl and beaters for best results. In the cold bowl, pour in the cold heavy whipping cream and beat on medium-high speed until medium-stiff peaks form, which should take about 3-5 minutes. The cream should hold its shape without being overly stiff, ensuring a light texture for your Mini Easter Cheesecake Jars.
Step 3: Beat Cream Cheese Mixture
In a separate bowl, beat the softened cream cheese with powdered sugar, vanilla extract, and freshly squeezed lemon juice until the mixture is smooth and creamy. This should take about 2-3 minutes on medium speed. Scrape down the sides as necessary, ensuring all ingredients are fully combined for a rich filling packed with flavor.
Step 4: Fold Cream
Gently fold the whipped cream into the cream cheese mixture using a spatula. Be careful to combine the two mixtures until no streaks remain; this should take about 1-2 minutes. The goal is to create a fluffy and airy filling for your Mini Easter Cheesecake Jars without deflating the whipped cream.
Step 5: Divide and Tint
If you’d like to add a pop of color, divide the filling into separate bowls. Add a few drops of gel food coloring to each bowl, using a spatula to gently mix until the desired colors are achieved. This will make your cheesecake filling more festive and visually appealing, perfect for Mini Easter Cheesecake Jars.
Step 6: Fill the Jars
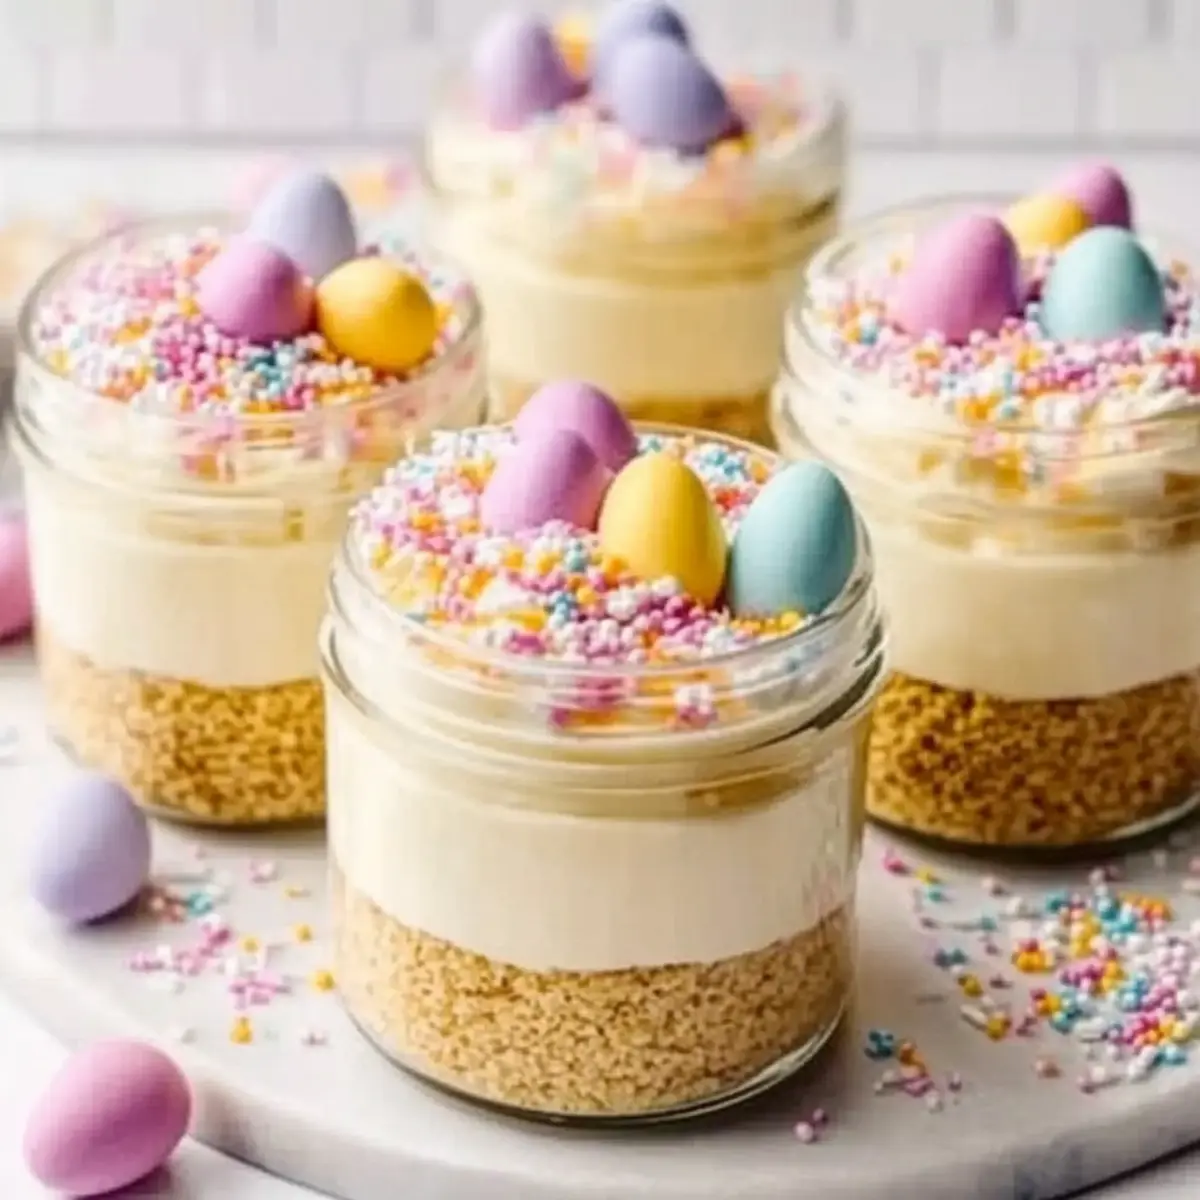
Using a piping bag or spoon, carefully fill each jar with the cheesecake mixture, leaving a little space at the top for the toppings. Aim for a decorative layered look if you’ve colored the fillings. The jars should be filled smoothly, allowing for a visually stunning presentation once decorated.
Step 7: Chill
Cover each jar with plastic wrap or a lid and refrigerate for at least 2 hours, or up to 24 hours. This chilling time allows the flavors to meld and the cheesecake filling to set properly. Your Mini Easter Cheesecake Jars should be firm but creamy when ready to serve.
Step 8: Decorate
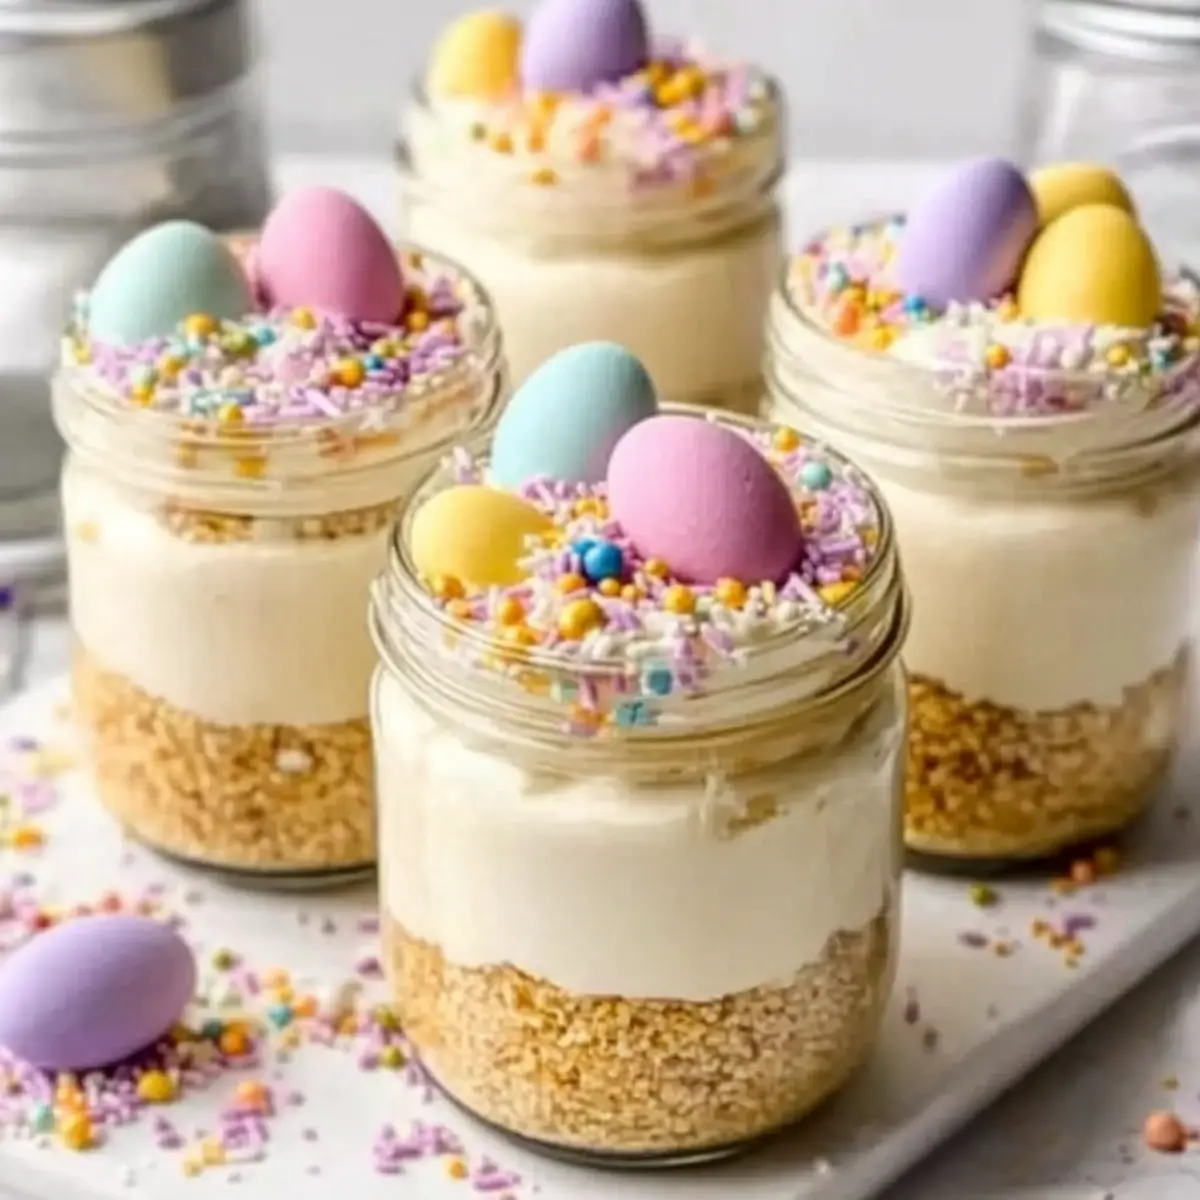
Just before serving, add a festive touch by decorating each Mini Easter Cheesecake Jar with shredded coconut, pastel sprinkles, and mini chocolate eggs or jelly beans. This adds fun, color, and texture, making your jars truly festive and inviting for spring gatherings.
Step 9: Serve Cold
Using small spoons, serve the Mini Easter Cheesecake Jars directly from the fridge. The chilly, creamy filling combined with the crunchy crust and vibrant toppings will create a delightful dessert experience that’s perfect for sharing at Easter brunch or other celebrations.
Expert Tips for Mini Easter Cheesecake Jars
- Soften Cream Cheese: Ensure your cream cheese is softened before mixing; too warm can lead to a runny filling, ruining the texture of your Mini Easter Cheesecake Jars.
- Perfect Cream Peaks: Whip the heavy cream to medium-stiff peaks. Whipping too long can turn it into butter, while not enough will make the filling too dense.
- Gentle Folding: Carefully fold the whipped cream into the cream cheese mixture to maintain airiness; over-mixing will deflate your delicious filling.
- Press the Crust: Pack the crust mixture firmly into the jars. A well-pressed crust will hold together beautifully, avoiding crumbles when you dig in!
- Add Toppings Later: Decorate your jars just before serving to keep toppings like sprinkles and coconut fresh and crispy, enhancing both flavor and presentation.
What to Serve with Mini No-Bake Easter Cheesecake Jars
Looking to create a delightful spread alongside your Mini No-Bake Easter Cheesecake Jars? Here are some harmonious pairings to elevate your dessert experience!
-
Fresh Berries: Bright, juicy strawberries or raspberries provide a tart counterbalance to the creamy sweetness of the cheesecake jars, enhancing the overall flavor experience.
-
Whipped Cream: A dollop of freshly whipped cream adds an extra layer of indulgence and a light, airy texture that complements the cheesecake filling perfectly.
-
Easter Themed Cookies: Fun, pastel-colored sugar cookies decorated with icing are not only visually appealing but also offer a delightful crunch alongside the creamy jars.
-
Fruit Salad: A light salad of seasonal fruits adds freshness and a burst of flavors, beautifully contrasting the rich cheesecake. Include mint for an extra refreshing element!
-
Chocolate-Covered Strawberries: These elegant sweets bring a touch of indulgence, melding the flavors of fruit and chocolate with the cheesecakes for a luxurious bite.
-
Iced Tea or Lemonade: Refreshing beverages like homemade iced tea or lemonade with a hint of mint keep the vibe light and cheerful, offering the perfect sip between bites.
-
Pistachio Topping: A sprinkle of crushed pistachios on top of the jars introduces a delightful crunch and a vibrant green color, reminiscent of blooming spring.
-
Mini Donuts: Light and fluffy mini donuts dusted with powdered sugar make for a festive, playful addition to your dessert table, echoing the fun of Easter celebrations!
-
Coffee or Espresso: A small cup of coffee or espresso provides a lovely contrast to the sweet dessert, rounding out your meal beautifully with rich flavors.
How to Store and Freeze Mini Easter Cheesecake Jars
Fridge: Store covered Mini Easter Cheesecake Jars in the refrigerator for up to 3 days. This keeps the jars fresh and creamy, ready for your next sweet craving.
Make-Ahead: You can assemble the cheesecake jars up to 24 hours in advance. Just add the toppings right before serving to ensure they maintain their crunch and vibrant appearance.
Freezer: If you have leftovers, you can freeze the jars without toppings for up to 1 month. To serve, let them thaw in the fridge overnight, and add toppings just before enjoying.
Reheating: These no-bake treats are best served cold. Simply take them straight from the fridge to the table; no reheating is necessary!
Mini Easter Cheesecake Jars Variations
Feel free to customize these delightful jars to match your taste and dietary preferences!
- Chocolate Base: Swap out graham cracker crumbs for chocolate cookie crumbs to create a rich, chocolatey foundation. This adds a fun twist and pairs beautifully with the creamy filling.
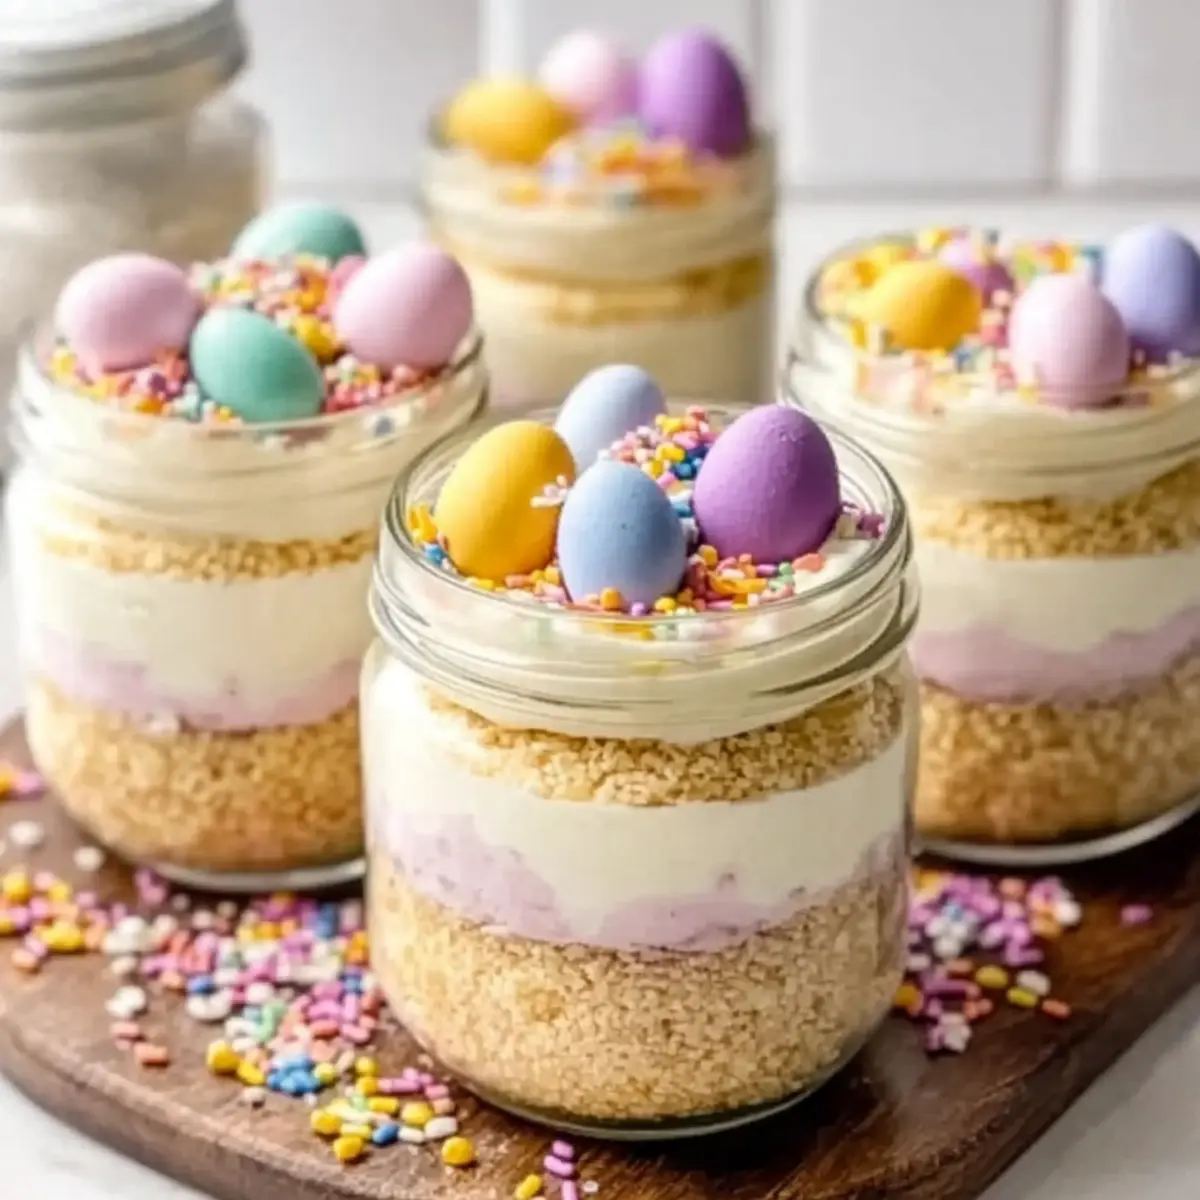
- Fruit Purees: Layer in your favorite fruit puree, like raspberry or strawberry, between the cheesecake filling for a burst of flavor and color. These fruity layers will elevate your jars to a new level of deliciousness!
- Flavored Extracts: Instead of lemon juice, try using different extracts, such as almond or coconut, to offer a unique flavor twist. Each option brings its own delightful profile that can surprise and please your guests.
- Dairy-Free Delight: Use non-dairy cream cheese and whipped coconut cream for a dairy-free version of these jars. They’ll remain just as creamy and satisfying while accommodating dietary restrictions.
- Nutty Crunch: Mix in crushed nuts, like almonds or pecans, into the crust for an added layer of texture and nuttiness. This unexpected crunch can complement the creamy filling beautifully!
- Spiced Cream: Add cinnamon or nutmeg into the whipped cream for a warm, spiced flavor that matches the cozy springtime vibe. It’s a simple tweak that can make your jars feel extra special.
- Colorful Layers: Create stunning rainbow layers by dividing the filling into sections and tinting with various gel colors. This visual treat will delight everyone and amp up the fun factor!
- Seasonal Additions: Incorporate seasonal spices like pumpkin spice or nutmeg for an unusual yet festive twist that still tastes delicious. These additions playfully nod to seasonal flavors while keeping the essence of spring.
For more delightful cheesecake ideas, don’t miss these Snow Globe Cheesecake bites and Creamy New York Style Cheesecake. Enjoy the creative journey in your home kitchen!
Make Ahead Options
These Mini Easter Cheesecake Jars are a fantastic choice for meal prep! You can prepare the crust and cheesecake filling up to 24 hours in advance; simply press the crust into the jars and store them in the refrigerator. The filling can also be made a day ahead and kept covered to maintain its freshness. When you’re ready to serve, just layer the filling into the crusts, refrigerate for an additional hour if needed, and then add your fun toppings just before enjoying. This approach saves you precious time on busy days while ensuring your cheesecake jars remain just as delicious and creamy!
Mini No-Bake Easter Cheesecake Jars Recipe FAQs
How do I choose ripe ingredients for this recipe?
Absolutely! For the best flavor, use fresh, high-quality ingredients. Ensure your cream cheese is at room temperature, so it blends smoothly. Also, use fresh lemon juice instead of bottled for optimal brightness.
How should I store Mini No-Bake Easter Cheesecake Jars?
Store your cheesecake jars covered in the refrigerator for up to 3 days. Just ensure they’re sealed well to maintain their freshness. If you’re prepping for an event, you can assemble them 24 hours in advance for stress-free serving!
Can I freeze Mini No-Bake Easter Cheesecake Jars?
Yes! To freeze, prepare the jars without toppings and cover them tightly. They can be stored in the freezer for up to 1 month. When you’re ready to enjoy them, transfer the jars to the fridge to thaw overnight, and add your fun toppings just before serving.
What if my cheesecake filling is too runny?
If you find your filling is too runny, it could be due to overly soft cream cheese or not whipping the cream to stiff peaks. To fix this, you can return the mixture to the fridge for about 30 minutes to firm up. Then, carefully fold in a bit more whipped cream until you achieve the desired texture.
Are there any dietary considerations to keep in mind?
Very! If you’re making these jars for someone with gluten sensitivities, simply use certified gluten-free graham crackers or digestive biscuits for the crust. Additionally, if you’re serving this dessert to kids or pets, be mindful of the mini chocolate eggs and possible choking hazards.
How can I customize the flavors?
You can simply swap out the lemon juice for different extracts like almond or orange to create various flavor profiles! Mix in some fruit purees into the filling or even use flavored whipped cream for an extra twist. The more the merrier!
Mini Easter Cheesecake Jars: No-Bake Delights for Spring Fun
Ingredients
Equipment
Method
- In a medium bowl, combine graham cracker crumbs, sugar, and salt. Pour in melted unsalted butter and mix until it resembles wet sand. Divide among jars and press to form the crust.
- Chill a mixing bowl and beaters, then pour in the cold heavy whipping cream and beat until medium-stiff peaks form, about 3-5 minutes.
- In a separate bowl, beat cream cheese with powdered sugar, vanilla extract, and lemon juice until smooth, about 2-3 minutes.
- Gently fold the whipped cream into the cream cheese mixture until no streaks remain.
- Divide filling into separate bowls, add gel food coloring, and mix to achieve desired colors.
- Fill each jar with the cheesecake mixture, leaving space for toppings.
- Cover jars and refrigerate for at least 2 hours.
- Before serving, decorate each jar with shredded coconut, pastel sprinkles, and mini chocolate eggs.
- Serve cold directly from the fridge using small spoons.
Leave a Reply