
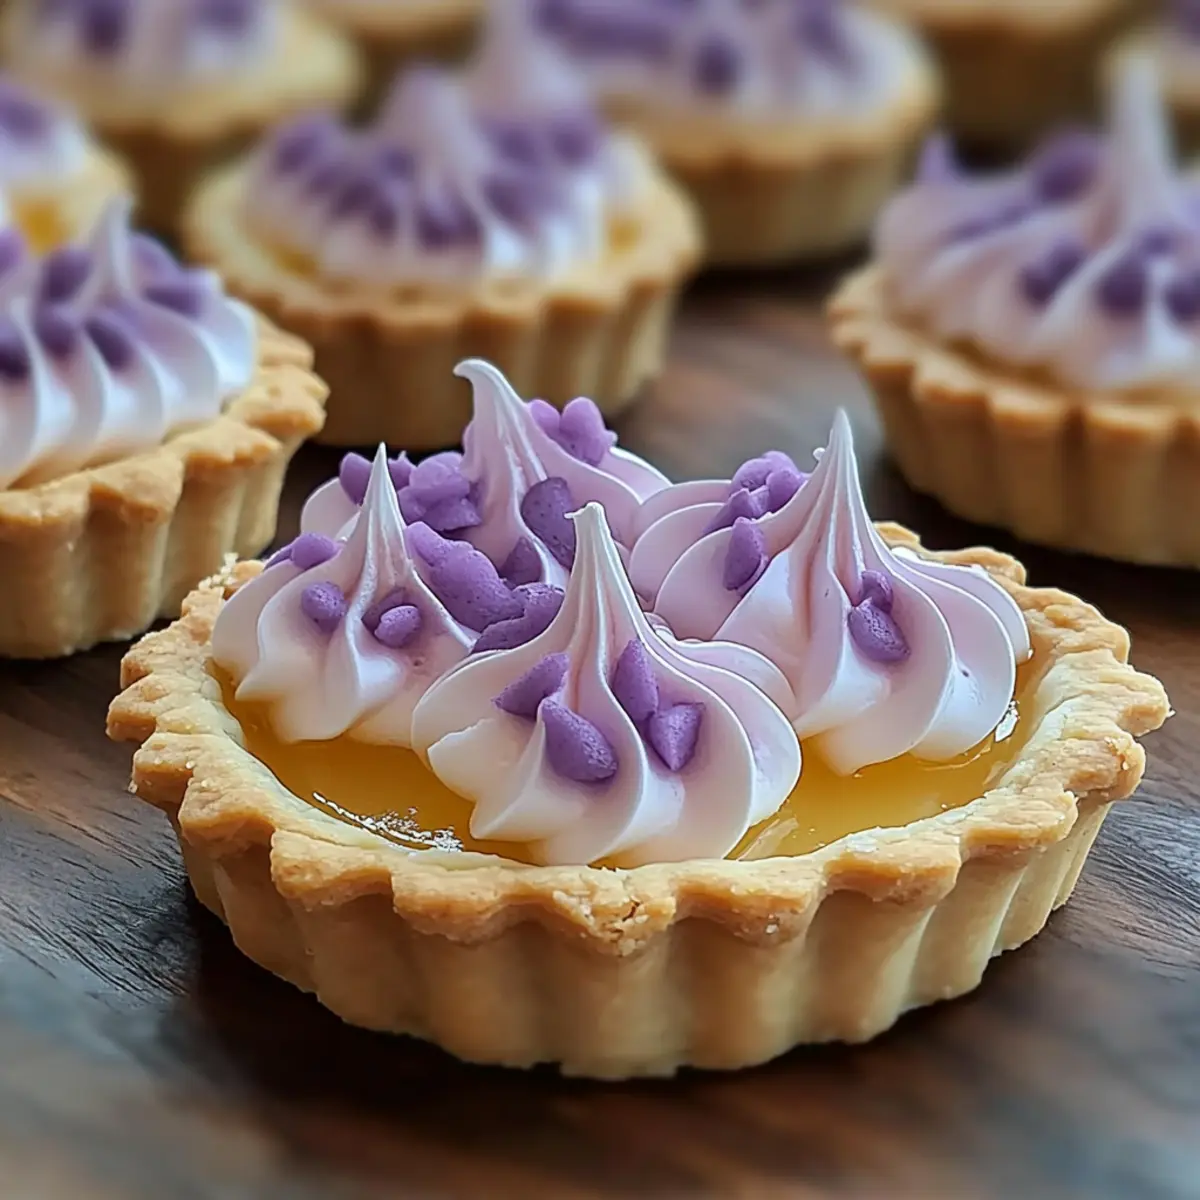
As I whisked the egg whites for the meringue, I couldn’t help but think of springtime gatherings bursting with laughter and sunshine. These Mini Lemon Tarts with Lilac Meringue capture that joyful essence perfectly. With a buttery, flaky shell encasing a luscious lemon curd, each tart delivers a refreshing balance of tangy sweetness, topped off with a whimsical lilac-hued meringue. Not only are they a feast for the eyes, but they also make for an effortless yet stunning centerpiece at any brunch or tea party. Plus, they’re the kind of dessert that can be prepped in advance, allowing you to enjoy precious moments with friends and family. Are you ready to elevate your dessert game and impress your guests with this delightful spring treat?
Why Try Mini Lemon Tarts?
Charming Presentation: These Mini Lemon Tarts are visually stunning, featuring a soft lilac meringue that brings a pop of color to your dessert table.
Springtime Vibes: Evoking the essence of spring, each bite combines tangy lemon curd and air-light meringue, making them the perfect treat for seasonal gatherings.
Effortless Preparation: With simple ingredients and easy steps, this recipe is friendly for both novice and seasoned bakers. Enjoy making them ahead of time, like you would with a hearty meatloaf with mashed potatoes.
Versatile and Customizable: Feel free to experiment with flavors; try swapping the meringue for a rose infusion or add a hint of lavender to the curd for a personalized twist.
Crowd-Pleasing Delight: Whether it’s a brunch gathering or a cozy tea party, these tarts are guaranteed to impress, much like the sophisticated lemon blueberry cheesecake cookies that will leave everyone wanting more!
Mini Lemon Tart with Lilac Meringue Ingredients
For the Tart Shells
- All-Purpose Flour – Provides structure for the tart shells. Substitution: Use almond flour for a gluten-free option.
- Powdered Sugar – Sweetens and adds a tender texture to the tart shells.
- Butter – Contributes richness and a flaky texture. Ensure it’s cold for best results.
- Egg Yolk – Adds richness to the tart dough.
- Water – Helps bind the ingredients in the tart dough.
For the Lemon Curd
- Lemon Juice – Main flavor for the lemon curd; enhances the tartness. Freshly squeezed is best.
- Lemon Zest – Adds aromatic citrus flavor to the curd.
- Granulated Sugar – Sweetens the lemon curd.
- Eggs – Provides structure and creaminess to the curd.
- Butter (additional for curd) – Creates a smooth texture in the lemon curd.
For the Lilac Meringue
- Egg Whites – Base for meringue; provides airiness when whipped.
- Granulated Sugar (for meringue) – Sweetens and stabilizes the meringue.
- Cream of Tartar – Stabilizes egg whites and helps achieve stiff peaks.
- Vanilla Extract – Adds flavor to the meringue.
- Violet Food Coloring – Provides the distinctive lilac hue for meringue.
By gathering these essential ingredients, you’re set to create a memorable Mini Lemon Tart with Lilac Meringue that will brighten any occasion!
Step‑by‑Step Instructions for Mini Lemon Tart with Lilac Meringue
Step 1: Make the Tart Shells
Begin by preheating your oven to 350°F (175°C). In a mixing bowl, combine all-purpose flour and powdered sugar. Cut in cold butter until the mixture resembles coarse crumbs. Stir in the egg yolk and a tablespoon of cold water, mixing until it forms a dough. Chill the dough for 30 minutes, then roll it out, press into mini tart pans, prick with a fork, and line with parchment. Bake for 10-12 minutes until golden brown, then cool completely.
Step 2: Prepare the Lemon Curd
In a saucepan over medium heat, whisk together freshly squeezed lemon juice, lemon zest, granulated sugar, and eggs. Stir continuously for about 8-10 minutes until the mixture thickens and coats the back of a spoon. Once thickened, remove from heat and whisk in butter until smooth and glossy. Pour the lemon curd into the cooled tart shells, smoothing the tops, and chill in the refrigerator for at least 1 hour to set beautifully.
Step 3: Make the Lilac Meringue
Prepare a heatproof mixing bowl and fill a saucepan with a couple of inches of water, bringing it to a simmer. In the bowl, combine egg whites, granulated sugar, and cream of tartar, whisking gently until the mixture is warm and the sugar has dissolved. Transfer the bowl to your stand mixer and beat on high speed until stiff peaks form, which should take about 5-7 minutes. Carefully mix in the vanilla extract and violet food coloring, creating a beautiful lilac hue.
Step 4: Pipe the Meringue
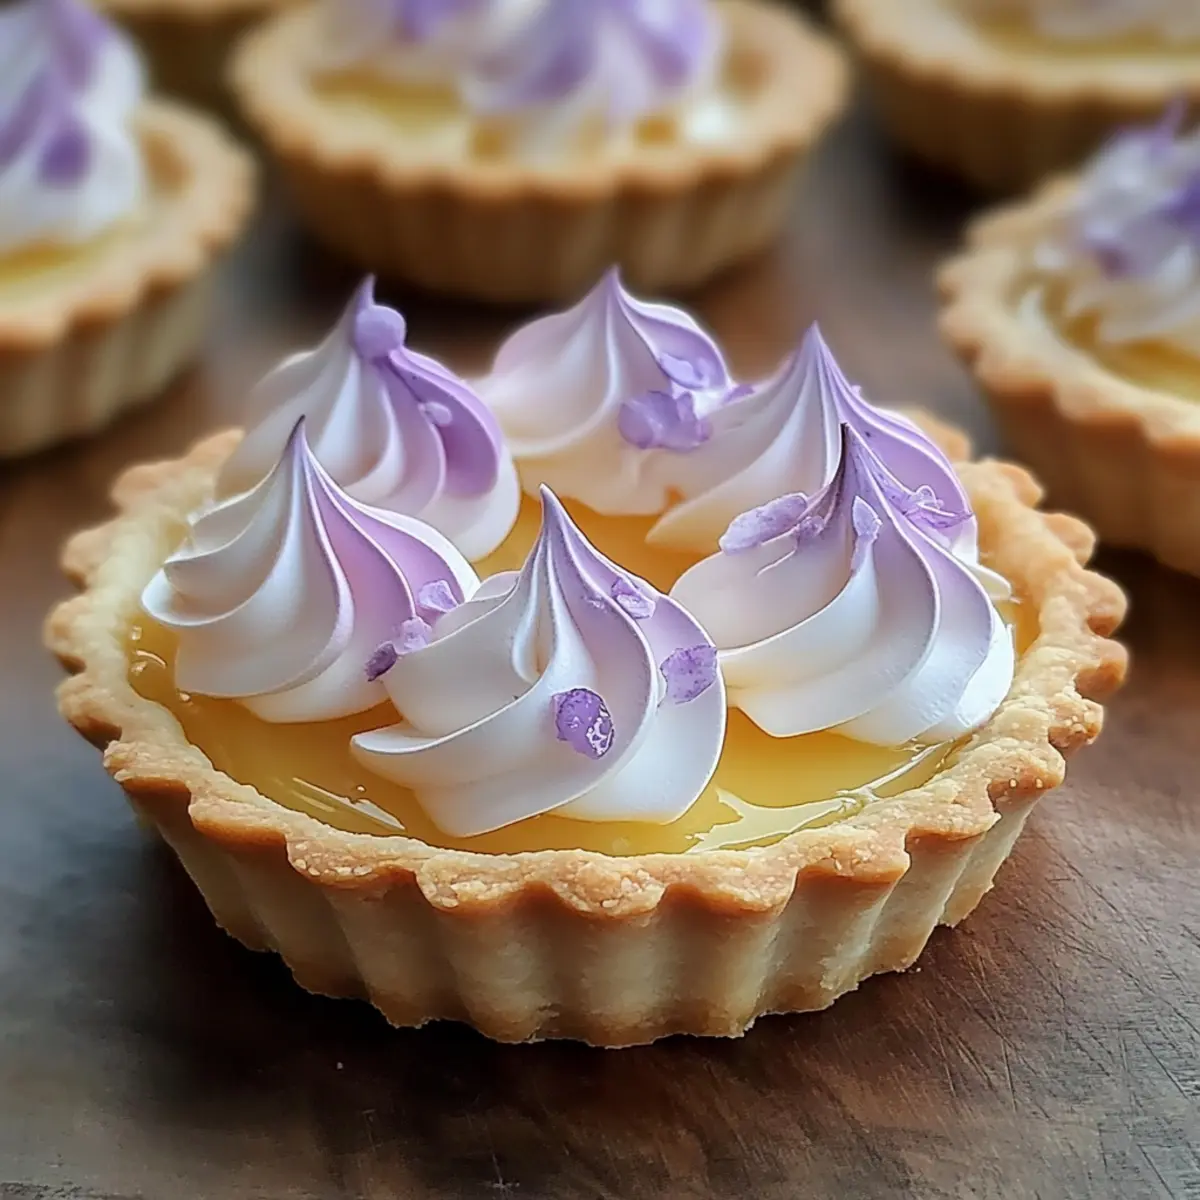
Using a piping bag fitted with your desired tip, fill it with the prepared lilac meringue. Generously pipe the meringue onto each Mini Lemon Tart, creating delightful peaks and swirls. Take your time to make them visually stunning, ensuring an even distribution for an elegant finish.
Step 5: Toast and Garnish
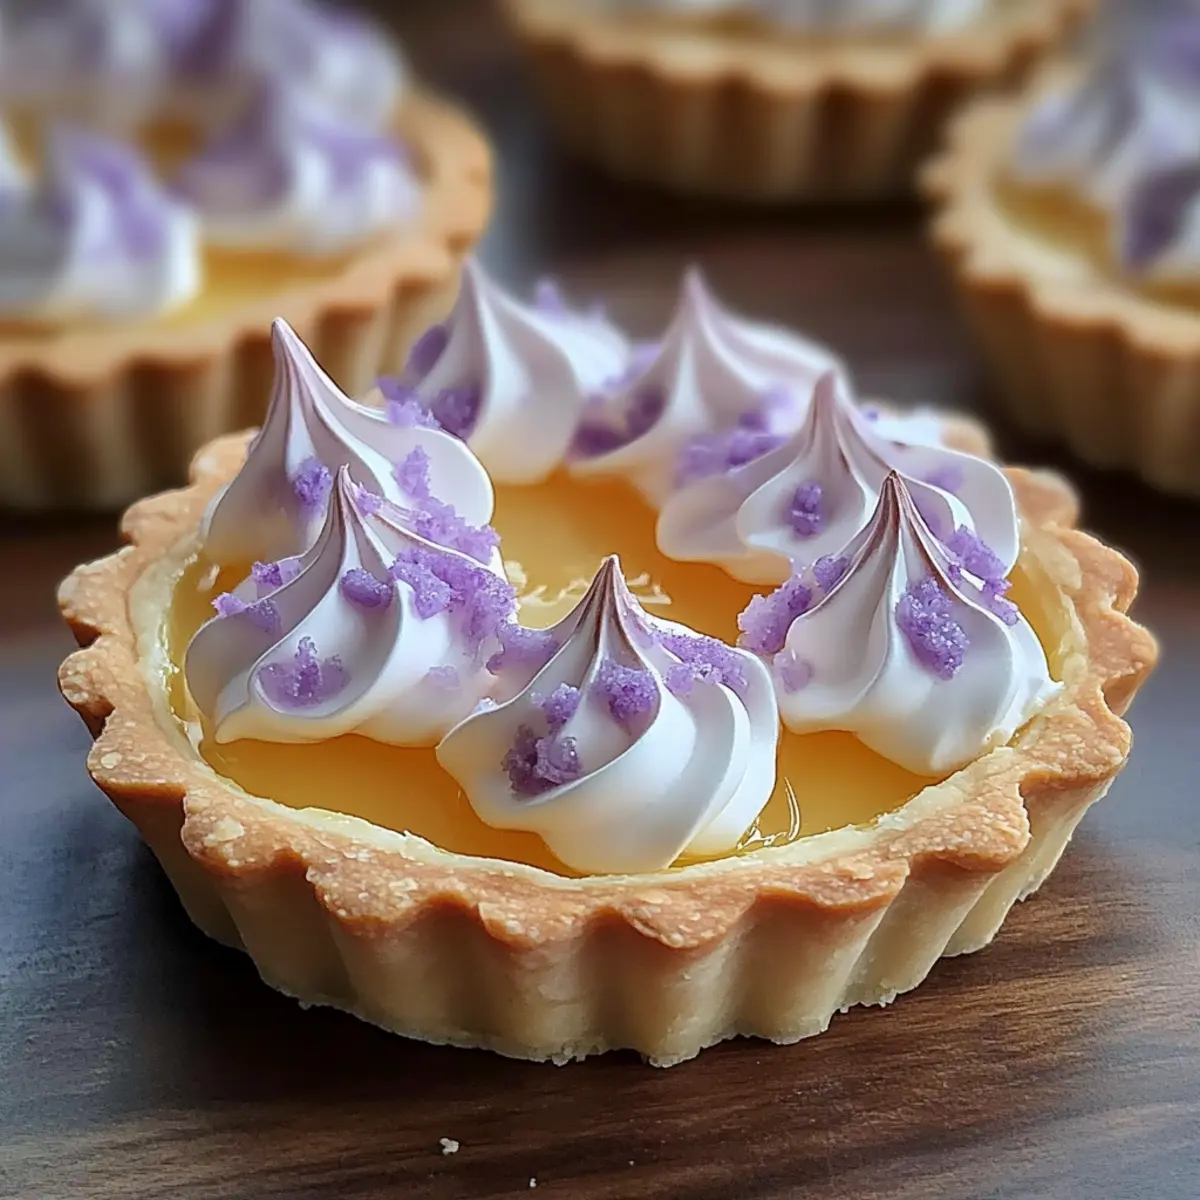
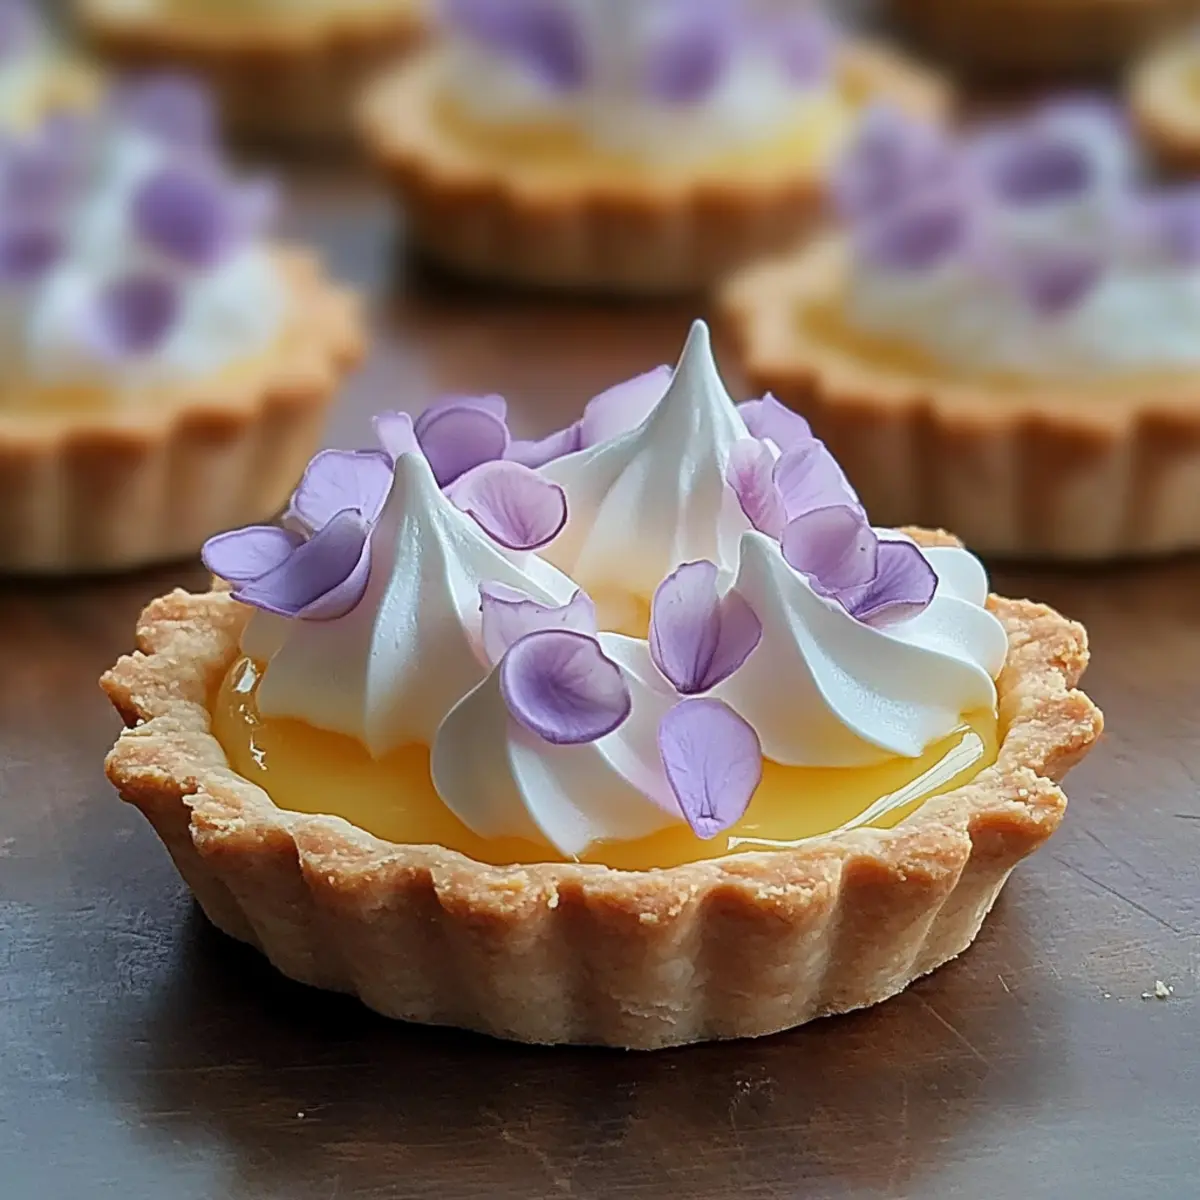
With a kitchen torch, lightly toast the tips of the lilac meringue until they turn a golden hue, taking care not to burn them. For a charming presentation, garnish your Mini Lemon Tarts with edible lilac petals or sprinkles of dried lavender. This final touch adds a beautiful element to your dessert, enhancing both the look and the fragrant experience of spring!
Mini Lemon Tart with Lilac Meringue Variations
Explore the wonderful world of flavors and textures by customizing your Mini Lemon Tarts! Let your creativity bloom as you embrace new combinations.
-
Rose Meringue: Replace vanilla extract with rose water and tint the meringue pink for a lovely floral twist. The aromatic notes of rose can truly elevate your dessert, enticing your guests with its unique flavor.
-
Lime-Lavender Curd: Swap lemon juice for zesty lime juice and introduce a hint of lavender for an exciting floral note. This citrusy variation creates a delightful experience that dances on the palate.
-
Gluten-Free Shell: Use almond flour and a gluten-free baking mix instead of all-purpose flour to cater to gluten-sensitive friends or family. You won’t sacrifice flavor or texture, making everyone happy at the dessert table.
-
Coconut Meringue: Prepare a coconut twist by adding shredded coconut to your meringue for extra texture and flavor. This tropical touch brings an unexpected delight that’ll whisk you away to paradise with every bite.
-
Herbal Infusion: Experiment by infusing your lemon curd with fresh herbs like basil or thyme. This sophisticated twist adds depth to the tartness, making your dessert as intriguing as a sophisticated gathering.
-
Fruit Toppings: Try adding fresh fruit, such as berries or sliced kiwi, on top of the meringue for a pop of color and flavor. It’s like a mini garden atop your tarts, bursting with freshness and charm.
-
Chocolate Drizzle: For an indulgent touch, drizzle melted dark chocolate over the meringue before toasting. This addition not only looks beautiful but also brings a delightful richness that complements lemon perfectly.
-
Zesty Orange Curd: Substitute lemon juice and zest with fresh orange juice and zest for a sunny, citrusy spin. This variation results in a lightly sweet and tangy profile that feels vibrant and refreshing.
Whether you add a bit of zing or experiment with textures, these variations can turn your Mini Lemon Tarts into a personalized masterpiece. Don’t hesitate to pair them with a delightful floral-infused tea for that extra flourish, just like you would with a classic Lemon Pancakes Brighten or a sumptuous Steak with Creamy Garlic Sauce to impress your guests with an unforgettable meal.
How to Store and Freeze Mini Lemon Tart with Lilac Meringue
Fridge: Store the Mini Lemon Tarts in an airtight container for up to 2 days. This helps maintain their freshness while the lemon curd and meringue stay deliciously creamy.
Freezer: If you need to freeze them, separate the tart shells from the lemon curd and meringue. The shells can be stored in a freezer bag for up to 1 month, while the curd can last up to 3 months in a sealed container.
Reheating: To enjoy the tarts after freezing, thaw the shells at room temperature and fill them with freshly made lemon curd and meringue just before serving for the best texture.
Meringue Tip: Avoid freezing with meringue on top, as it’s best enjoyed fresh; it can lose its airy texture after thawing.
Make Ahead Options
These Mini Lemon Tarts with Lilac Meringue are perfect for meal prep, allowing you to savor the delightful flavors without the last-minute rush! You can prepare the tart shells and lemon curd up to 24 hours in advance; just store the tart shells in an airtight container to maintain their crispness, and keep the lemon curd chilled in the fridge. It’s best to whip the lilac meringue just before serving to achieve that light, airy texture. Simply pipe the meringue onto the tarts and toast them for a gorgeous presentation. Planning ahead saves time and lets you enjoy relaxing moments with loved ones while still serving a show-stopping dessert!
What to Serve with Mini Lemon Tart with Lilac Meringue
Treat your guests to a delightful spread alongside these charming tarts, celebrating the flavors of spring.
- Lavender Lemonade: A refreshing drink that complements the tartness of the lemon curd, enhancing the overall floral experience.
- Crisp Salad: A light arugula and citrus salad provides a peppery bite that balances the sweetness of the tarts. The freshness of greens offsets the richness beautifully.
- Sipping Tea: Pairing with floral-infused teas, like chamomile or hibiscus, elevates the elegant atmosphere of your gathering.
- Fruit Parfait: Layer up seasonal berries with yogurt and granola for a vibrant, textural contrast, making each bite a taste of spring.
- Pistachio Biscotti: These nutty cookies add a crunchy element that pairs wonderfully with the soft meringue and tangy lemon curd.
- Sparkling Wine: A glass of bubbly offers a celebratory touch, bringing out the refreshing flavors in the tarts.
- Mini Fruit Tarts: Serve an assortment of mini tarts featuring varied fruits to create an eye-catching dessert table, showcasing seasonal deliciousness.
- Lemon Sorbet: A scoop of tangy lemon sorbet acts as a palate cleanser, enhancing the citrusy notes of the tarts while adding an icy touch.
- Edible Flowers: Garnishing with edible flowers on a separate plate can bring a lovely aesthetic, inviting more spring-inspired celebrations to your table.
Expert Tips for Mini Lemon Tart with Lilac Meringue
-
Egg Whites Matter: Ensure egg whites are completely free from yolks; even a tiny bit can prevent them from whipping up to their full fluffy potential.
-
Cold Butter Is Key: For perfectly flaky pastry, use cold butter when making the tart shell. This helps create that delightful texture we all love.
-
Stay Steady with the Torch: When using a kitchen torch to toast the meringue, keep it moving to prevent burning. Aim for a lovely golden hue, not dark brown.
-
Prep Ahead: You can prepare the tart shells and lemon curd in advance, but add the lilac meringue just before serving for the best texture.
-
Flavor Experiments: Feel free to switch things up! Try adding a hint of lavender to the lemon curd or using different food coloring for the meringue to create variations of your Mini Lemon Tart with Lilac Meringue.
Mini Lemon Tart with Lilac Meringue Recipe FAQs
What kind of lemons should I use for the lemon curd?
Absolutely use fresh, juicy lemons! The zest and juice from fresh lemons will provide the bright, tangy flavor that makes the curd so delightful. Avoid bottled lemon juice, as it can taste dull and overly processed.
How should I store Mini Lemon Tarts?
To maintain their freshness, store the Mini Lemon Tarts in an airtight container in the refrigerator for up to 2 days. This helps keep the lemon curd creamy and the meringue fluffy. If you notice dark spots on the meringue, it’s best to enjoy them sooner rather than later!
Can I freeze Mini Lemon Tarts?
Certainly! To freeze, separate the tart shells, lemon curd, and meringue. Place the tart shells in a freezer bag, ensuring to remove as much air as possible, which will keep them fresh for up to 1 month. The lemon curd can be stored in a sealed container in the freezer for up to 3 months. Just be sure to thaw and fill the shells with fresh meringue just before serving.
What can I do if my meringue isn’t whipping up to stiff peaks?
If your meringue isn’t forming stiff peaks, it might be due to trace amounts of fat or yolks in the egg whites. Make sure your mixing bowl and beaters are squeaky clean and free from any grease. You can also try gradually adding the granulated sugar while beating to help stabilize the meringue. If you’re using a kitchen torch, remember to keep it moving to avoid burning!
Are there any dietary considerations for allergies in this recipe?
Yes! This Mini Lemon Tart with Lilac Meringue contains eggs, dairy, and gluten. For gluten-free alternatives, consider using almond flour for the tart shells. It’s also a good idea to ensure your powdered sugar doesn’t contain any allergens if you have guests with dietary restrictions. Always inform your guests of the ingredients used, especially if they have specific allergies.
Can I make this dessert a day ahead?
Definitely! You can prepare the tart shells and lemon curd in advance, allowing the flavors to meld beautifully. Just be sure to add the lilac meringue right before serving to ensure it maintains its airy texture. Preparing the components ahead of time not only saves you effort but lets you enjoy special moments with loved ones!
Mini Lemon Tart with Lilac Meringue for a Spring Delight
Ingredients
Equipment
Method
- Preheat your oven to 350°F (175°C). In a bowl, combine all-purpose flour and powdered sugar. Cut in cold butter until mixture resembles coarse crumbs. Stir in egg yolk and water to form dough. Chill for 30 minutes, then roll out, press into mini tart pans, prick with a fork, and line with parchment. Bake for 10-12 minutes until golden brown, then cool completely.
- In a saucepan over medium heat, whisk together lemon juice, lemon zest, granulated sugar, and eggs. Stir continuously for about 8-10 minutes until thickened. Remove from heat, whisk in butter until smooth. Pour into cooled tart shells and chill for at least 1 hour.
- In a heatproof mixing bowl, combine egg whites, granulated sugar, and cream of tartar over simmering water. Whisk until warm and sugar dissolves. Transfer to stand mixer and beat on high until stiff peaks form (about 5-7 minutes). Mix in vanilla extract and violet food coloring.
- Using a piping bag, fill with lilac meringue and pipe generously onto each tart, creating peaks and swirls.
- Lightly toast meringue tips with a kitchen torch until golden. Garnish with edible lilac petals or dried lavender sprinkles for an elegant finish.
Leave a Reply