
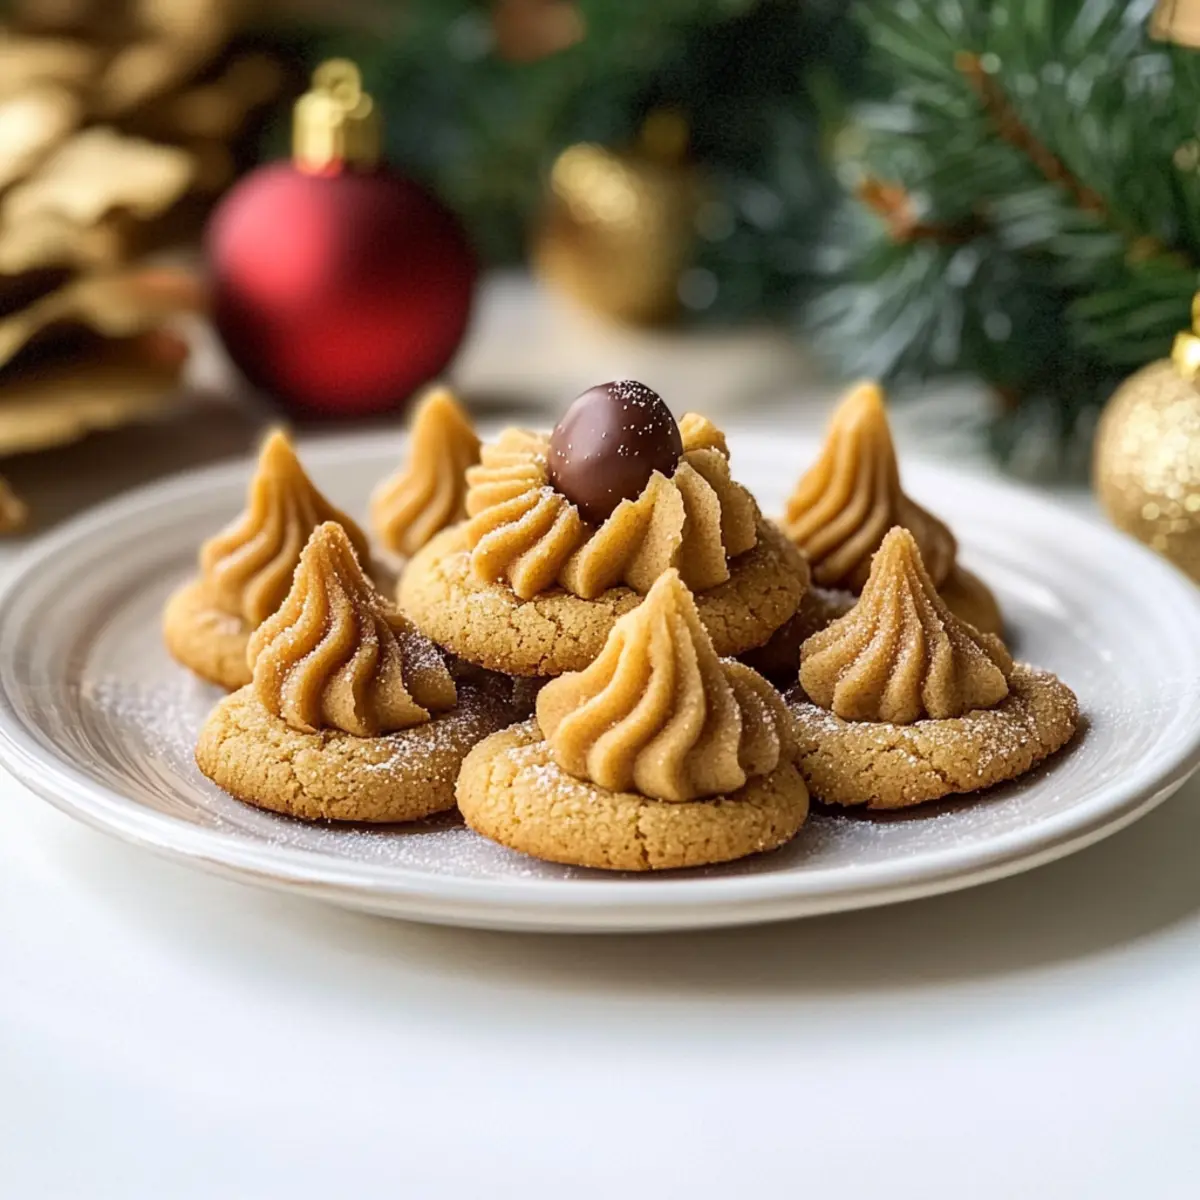
The moment I unwrapped that shiny, festive foil from a Hershey’s Kiss, nostalgia washed over me like the scent of sugar and spice filling the air. It’s the little things, right? The Peanut Butter Blossoms Recipe is a delightful blend of creamy peanut butter and sweet chocolate, and it transforms any cookie plate into something special. These treats are not only extremely easy to whip up but also perfect for holiday gatherings, offering that warm, inviting aroma that signals the start of the festive season. With their soft and chewy texture, they are ideal for bakers of all skill levels looking to create delicious memories. Have you ever wondered how a simple cookie can bring everyone together around the holiday table? Let’s dive in!
Why Are Peanut Butter Blossoms Irresistible?
Nostalgic, warm flavors: The mix of creamy peanut butter and melting chocolate Kisses makes these cookies a holiday must-have that everyone craves.
Quick and easy: With just a few simple ingredients, you can whip them up in no time, making them perfect for those busy baking days.
Customizable: Try dark chocolate or peppermint-flavored Kisses for a fun twist, allowing you to tailor each batch to your holiday theme.
Perfect for sharing: These treats are a hit at any gathering, bringing smiles and sweet memories to friends and family alike. So, if you’re looking to elevate your cookie game this season, check out our Chicken Stroganoff for a delightful meal to pair with your baking!
Peanut Butter Blossoms Recipe Ingredients
-
For the Batter
• All-Purpose Flour – Provides structure; for a gluten-free option, use a gluten-free all-purpose flour blend.
• Granulated Sugar – Adds sweetness and a slightly crisp exterior.
• Light Brown Sugar – Contributes moisture and a hint of molasses flavor.
• Unsalted Butter – Adds richness and flavor; can be replaced with vegan butter or coconut oil for a dairy-free version.
• Creamy Peanut Butter – The star of the recipe, offering both sweetness and a creamy texture; ensure natural peanut butter is well-stirred.
• Large Egg – Binds the ingredients together and adds moisture; for a vegan option, swap in a flax egg (1 tbsp ground flaxseed mixed with 3 tbsp water).
• Vanilla Extract – Enhances the overall flavor profile.
• Baking Soda – Provides leavening to help the cookies rise.
• Salt – Balances sweetness and elevates flavor. -
For the Topping
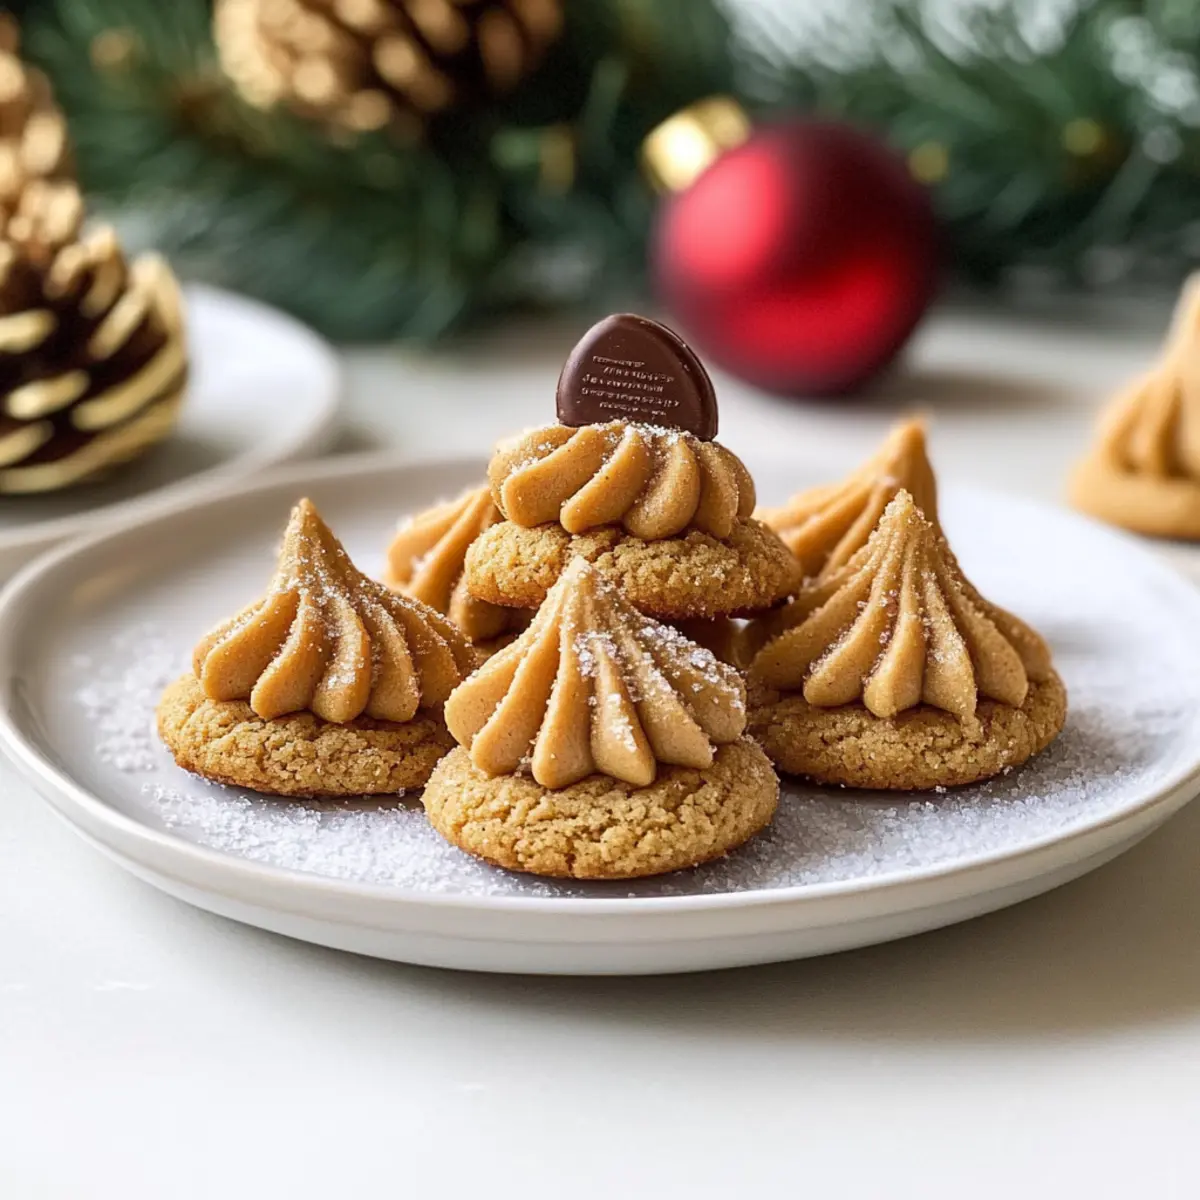
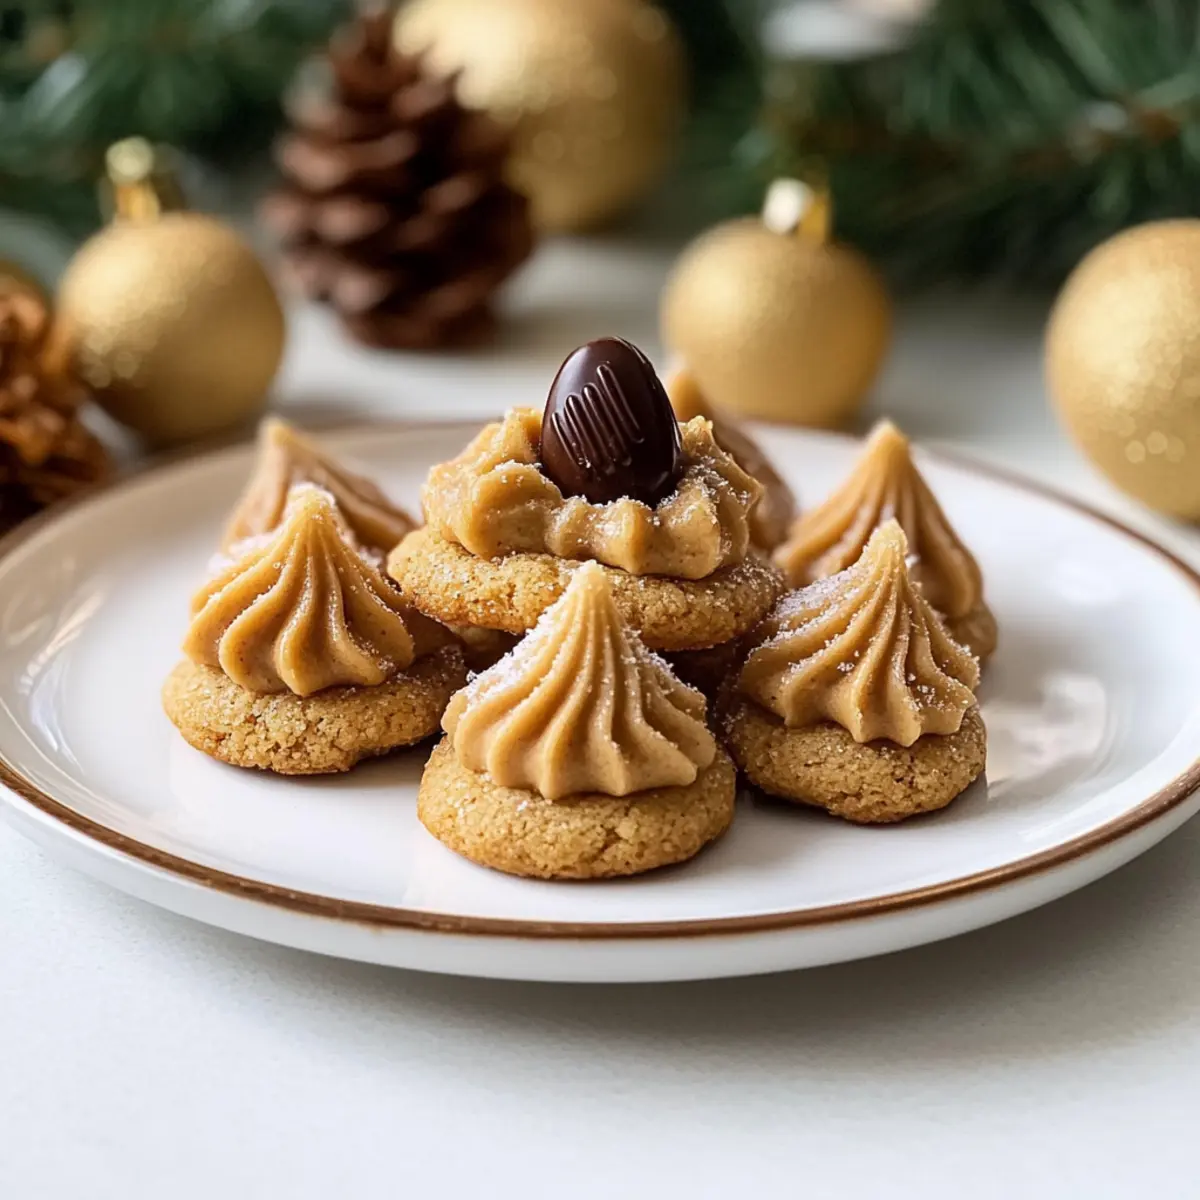
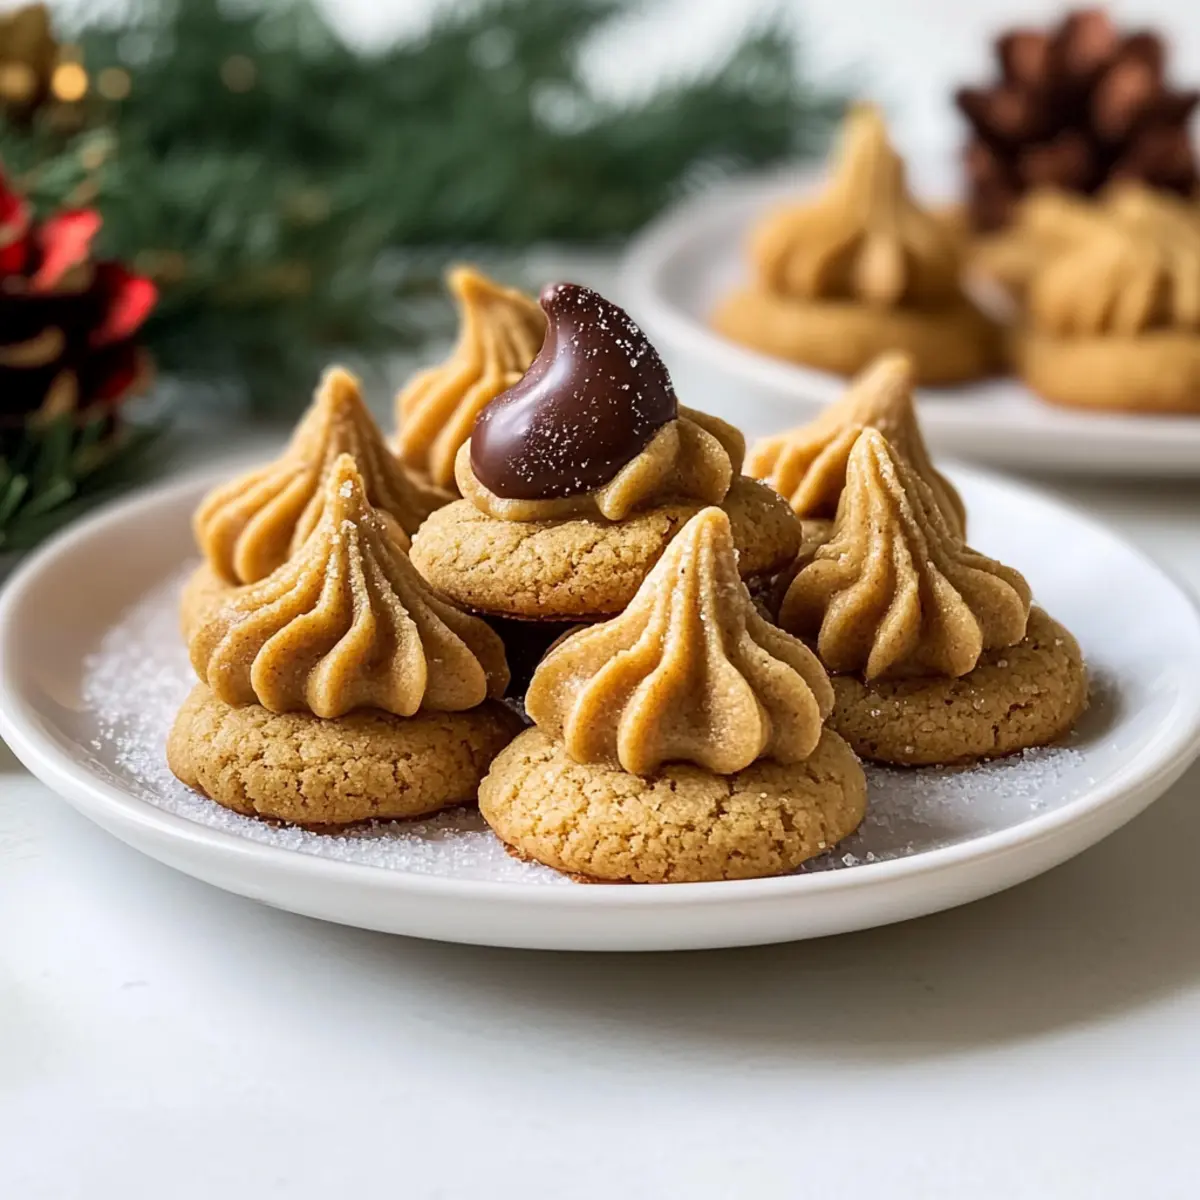
• Milk Chocolate Hershey’s Kisses – The signature chocolate center that adds a sweet and melty bite; for a variation, use dark chocolate or peppermint-flavored Kisses.
These ingredients come together beautifully in your Peanut Butter Blossoms Recipe, promising a batch of cookies that are not just delightful but ready to spread joy this holiday season!
Step‑by‑Step Instructions for Peanut Butter Blossoms Recipe
Step 1: Preheat your Oven
Start by preheating your oven to 375°F (190°C). While the oven heats up, prepare your baking sheets by lining them with parchment paper or silicone mats. This will help your Peanut Butter Blossoms bake evenly and prevent sticking, ensuring that your delicious cookies come out perfectly golden and ready for the Hershey’s Kisses.
Step 2: Cream the Butter and Sugars
In a large mixing bowl, combine softened unsalted butter, granulated sugar, and light brown sugar. Using an electric mixer, beat these ingredients on medium speed until the mixture becomes light and fluffy, which should take about 2-3 minutes. Then, add in the creamy peanut butter along with the egg and vanilla extract, mixing until everything is well incorporated and smooth.
Step 3: Mix Dry Ingredients
In a separate bowl, whisk together the all-purpose flour, baking soda, and salt. Gradually add this dry mixture into the wet ingredients, stirring gently until just combined. Be careful not to overmix, as you want to maintain the texture necessary for soft and chewy Peanut Butter Blossoms. The dough should come together nicely, forming a cohesive ball.
Step 4: Shape the Dough
Using a small cookie scoop or your hands, take about 1-inch portions of the dough and roll them into smooth balls. Once shaped, roll each dough ball in granulated sugar to coat evenly before placing them on your prepared baking sheets. Arrange the balls about two inches apart to allow for spreading during baking, giving your Peanut Butter Blossoms space to grow.
Step 5: Bake the Cookies
Place the baking sheets in the preheated oven and bake for 10-12 minutes. Keep a close eye on the cookies; they should be lightly golden at the edges and still soft in the center. When done, remove the baking sheet and immediately press a Hershey’s Kiss into the center of each cookie to create that signature topping, which will cause the cookie to crack slightly around the edges.
Step 6: Cool and Transfer
Allow your freshly baked Peanut Butter Blossoms to cool on the baking sheet for about 5 minutes. This resting period helps set their shape. Afterward, gently transfer the cookies to a wire rack to cool entirely. Once cool, they’ll be ready to enjoy, bringing a sweet and nostalgic aroma to your festive gatherings!
Expert Tips for Peanut Butter Blossoms
-
Chill the Dough: Consider chilling the dough for 20-30 minutes to prevent spreading and maintain their lovely shape while baking.
-
Baking Time: Keep an eye on your cookies! They should be puffed and lightly golden around the edges. Overbaking can lead to dryness.
-
Rolling in Sugar: Ensure each dough ball is evenly coated in granulated sugar before baking. This gives your Peanut Butter Blossoms a delightful crispness on the outside.
-
Pressing Kisses: Gently press the Hershey’s Kisses into each cookie right after taking them out of the oven for that perfect melty center without losing cookie shape.
-
Storage Tips: Keep your cookies in an airtight container at room temperature for up to 5 days, or freeze them for up to 3 months to preserve freshness.
-
Variations: Experiment with different chocolate Kisses like dark chocolate or peppermint for a fun twist on the classic Peanut Butter Blossoms!
How to Store and Freeze Peanut Butter Blossoms
Room Temperature: Store your Peanut Butter Blossoms in an airtight container at room temperature for up to 5 days to keep them fresh and chewy.
Fridge: If you prefer a firmer cookie, you can keep them in the fridge for up to 1 week, just remember to bring them back to room temperature for the best flavor and texture.
Freezer: For longer storage, freeze your cookies in a single layer on a baking sheet before transferring them to a freezer-safe bag. They can be frozen for up to 3 months.
Reheating: When you’re ready to enjoy them, simply thaw at room temperature or pop them in the microwave for 10-15 seconds to restore that mouthwatering softness.
What to Serve with Classic Peanut Butter Blossoms?
Dive into the delightful world of flavors that complement these charming cookies, creating memorable moments at your holiday gatherings.
- Creamy Hot Cocoa: Its rich, velvety texture pairs beautifully with the chewy cookies, wrapping you in warm familiarity with every sip.
- Festive Spiced Chai: The fragrant spices of chai enhance the nostalgic flavors, offering a cozy, aromatic experience that feels like a warm embrace during chilly nights.
- Vanilla Ice Cream: A scoop of cold vanilla ice cream contrasts perfectly with the warm cookies, creating a delightful melting moment that’s pure bliss.
- Pumpkin Pie: The spiced sweetness of pumpkin pie echoes the holiday spirit and adds a seasonal touch, making your dessert spread extra special.
- Peppermint White Chocolate Mocha: Lift the holiday vibes with this invigorating drink, where the festive flavors of peppermint and rich cocoa create a joyful pairing.
- Chewy Gingerbread Cookies: For an added layer of nostalgia, serving these spiced delights alongside your Peanut Butter Blossoms creates a comforting crowd-pleaser.
- Milk: A classic pairing, the creamy richness of cold milk perfectly balances the sweet, salty flavors of the cookies, rekindling fond childhood memories.
- Cranberry Spritzer: This refreshing drink adds a crisp, fruity contrast, awakening your taste buds and balancing the sweetness of your desserts.
- Holiday Fruit Salad: A vibrant mix of seasonal fruits brings freshness, offering a delightful contrast to the rich, sweet cookies while keeping the spirit light.
- Chocolate-Dipped Berries: Juicy berries coated in chocolate add a decadent touch, enhancing the sweet and nutty flavors of the cookies on your festive table.
Make Ahead Options
These Peanut Butter Blossoms are perfect for busy home cooks looking to save time during the holiday rush! You can prepare the cookie dough up to 2 days in advance and store it in the refrigerator, tightly wrapped in plastic wrap to maintain its freshness. This not only allows for easier baking sessions but also enhances the flavors as they meld together. When you’re ready to bake, simply scoop and roll the dough into balls, coat in sugar, and bake as instructed. For an even longer option, freeze the dough balls for up to 3 months; just remember to let them thaw in the refrigerator for a few hours before baking. With these make-ahead tips, you’ll enjoy delightful, fresh Peanut Butter Blossoms with very little effort!
Peanut Butter Blossoms Recipe Variations
Feel free to let your creativity shine while making these cookies by exploring exciting variations that add your personal touch!
-
Chocolate Twist: Replace milk chocolate Kisses with dark chocolate or white chocolate for a different flavor profile.
-
Seasonal Flavors: Use peppermint-flavored Kisses to bring a festive holiday spirit to your cookie tray. Think of them as a peppermint hug!
-
Nut-Free Option: Swap creamy peanut butter for sunflower seed butter, perfect for anyone with nut allergies. You won’t sacrifice any of the yumminess!
-
Add Texture: Stir in some chopped nuts, like walnuts or pecans, to the batter for a delightful crunch in every bite.
-
Spiced Up: Add a teaspoon of cinnamon or nutmeg to the dry ingredients for a warm and aromatic twist that complements the peanut butter.
-
Coconut Bliss: Mix in some shredded coconut for a tropical flair; this variation pairs beautifully with the sweet chocolate center.
-
Mini Cookies: Make smaller bite-sized cookies by rolling dough balls that are ½ inch in diameter — they’ll disappear in no time!
-
Flavor Boost: Drizzle melted chocolate over cooled cookies for a decorative touch and an extra layer of chocolatey goodness.
Every variation you choose can create a unique moment around the holiday table, making the season even more memorable. And speaking of delightful treats, don’t forget to try our comforting Irish Vegetarian Stew next time for a wholesome meal option!
Peanut Butter Blossoms Recipe FAQs
What type of peanut butter should I use?
I recommend using creamy peanut butter for this Peanut Butter Blossoms Recipe to achieve the best flavor and texture. Natural peanut butter is a great option too, but make sure it’s well-stirred and not too oily. For a nut-free alternative, you can substitute with sunflower seed butter, which works surprisingly well!
How should I store my cookies?
To keep your Peanut Butter Blossoms fresh and chewy, store them in an airtight container at room temperature for up to 5 days. If you prefer them a little firmer, you can also refrigerate them, and they’ll last about one week there. Just make sure to let them come to room temperature before enjoying!
Can I freeze Peanut Butter Blossoms?
Absolutely! To freeze your cookies, first let them cool completely. Arrange them in a single layer on a baking sheet and place them in the freezer for about 1-2 hours until frozen solid. Then, transfer the cookies to a freezer-safe bag or container. They can be stored this way for up to 3 months. When you’re ready to eat, thaw at room temperature or microwave them for 10-15 seconds to enjoy that freshly-baked softness!
How can I avoid my cookies spreading too much?
If you find that your Peanut Butter Blossoms tend to spread too much while baking, I recommend chilling the dough for 20-30 minutes before rolling and baking. This helps the fats solidify, leading to a cookie that holds its shape better during the baking process. Additionally, make sure not to overmix the dough, as this can also affect texture and spreading.
What should I do if my cookies turn out too dry?
Dry cookies can be a bit of a letdown, but don’t worry—there are steps you can take! Ensure that you’re measuring your flour correctly; it’s best to scoop it lightly into your measuring cup without packing it down. Also, pay attention to the baking time; cookies should be only lightly golden on the edges and soft in the center when you remove them from the oven. If your cookies are still too dry after baking, you can try adding a touch more peanut butter in the next batch for added moisture.
Are these cookies safe for people with nut allergies?
Unfortunately, Peanut Butter Blossoms do contain peanut butter, making them unsuitable for individuals with nut allergies. However, you can make a nut-free version by substituting with sunflower seed butter or other nut-free alternatives that offer a similar texture and taste. Just be sure to check labels for any hidden allergens.
Peanut Butter Blossoms Recipe: Sweet Holiday Nostalgia
Ingredients
Equipment
Method
- Preheat your oven to 375°F (190°C) and line baking sheets with parchment paper or silicone mats.
- In a large bowl, cream together softened unsalted butter, granulated sugar, and light brown sugar until light and fluffy, about 2-3 minutes.
- Add creamy peanut butter, egg, and vanilla extract, mixing until smooth.
- In a separate bowl, whisk together all-purpose flour, baking soda, and salt; gradually add to the wet mixture, stirring until just combined.
- Shape 1-inch portions of dough into balls and roll in granulated sugar before placing on prepared sheets.
- Bake for 10-12 minutes until lightly golden at the edges; press a Hershey’s Kiss into the center while still warm.
- Cool on the baking sheet for 5 minutes, then transfer to a wire rack to cool completely.
Leave a Reply