
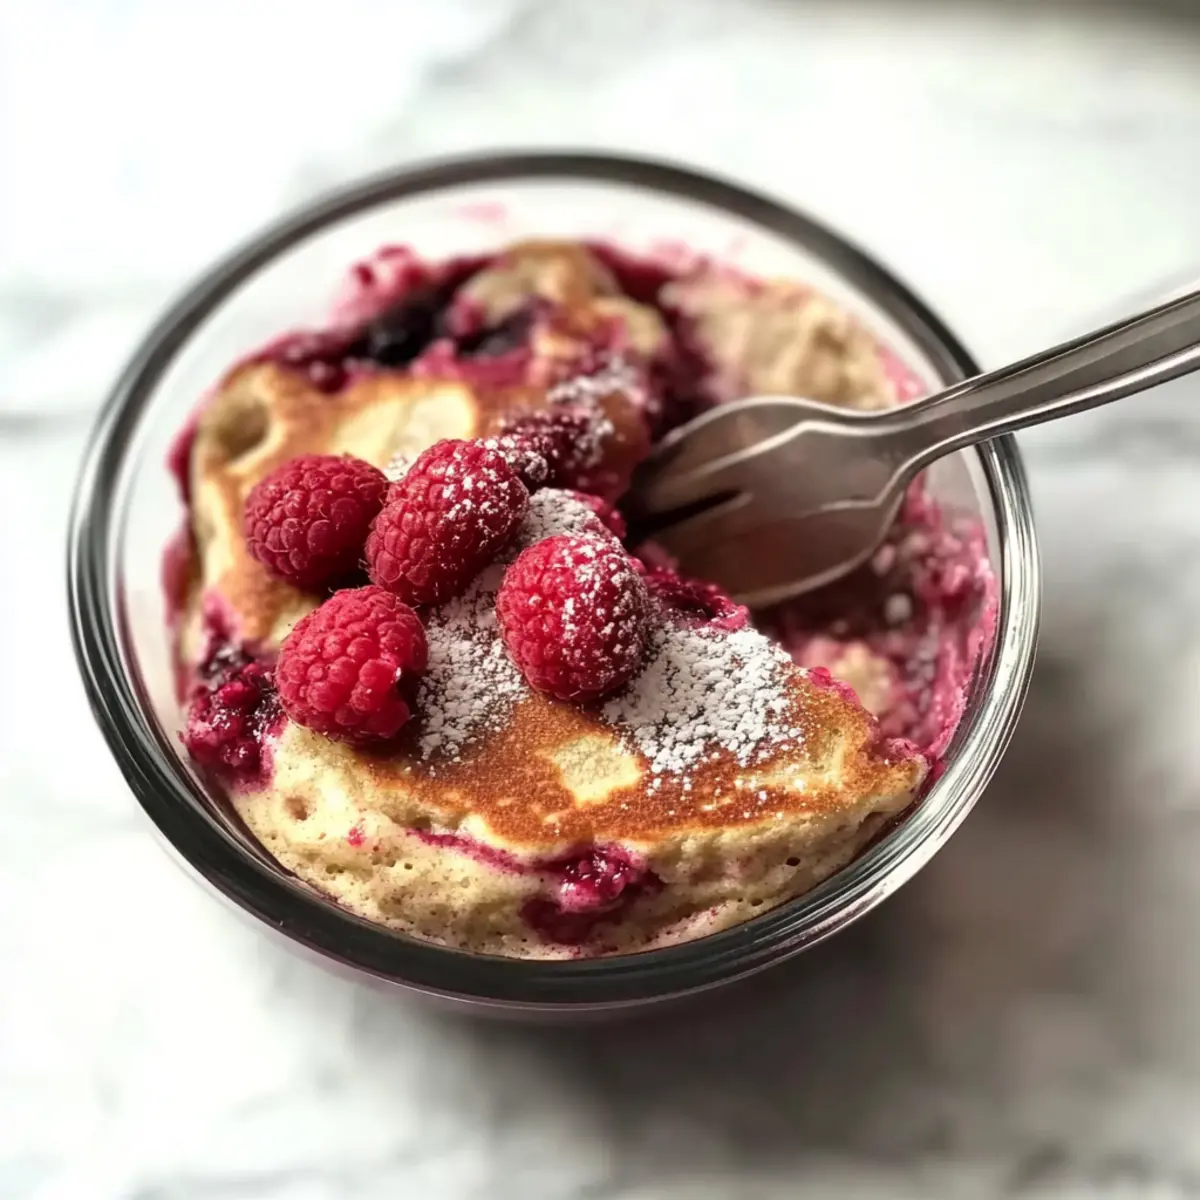
As I stood in the kitchen one busy morning, I found myself yearning for something more than the usual breakfast fare. That’s when the idea of a Power Pancake Bowl came to life—a deliciously satisfying way to kick off my day! Packed with an impressive 50g of protein and a boost of fiber, this high-protein, gluten-free dish doesn’t just fuel the body; it delights the senses too. Whether you enjoy it warm and fresh from the oven or as a quick, nourishing meal prepped in advance, it brings both convenience and taste right to your table. Trust me, your mornings will never be the same once you dive into this fluffy, delightful bowl of goodness! What toppings will you choose to make it your own?

Why Will You Love This Power Pancake Bowl?
Delicious, Nutritious Start: Each bite of this Power Pancake Bowl is not only fluffy but packed with 50g of protein that keeps you energized throughout the day.
Gluten-Free Option: Perfect for gluten sensitivities, using gluten-free oats and almond flour makes this dish accessible for anyone looking to savor a wholesome breakfast.
Easy to Prepare: Whip it together in just a few minutes with simple ingredients from your pantry—making it a time-saving hero for your busy mornings.
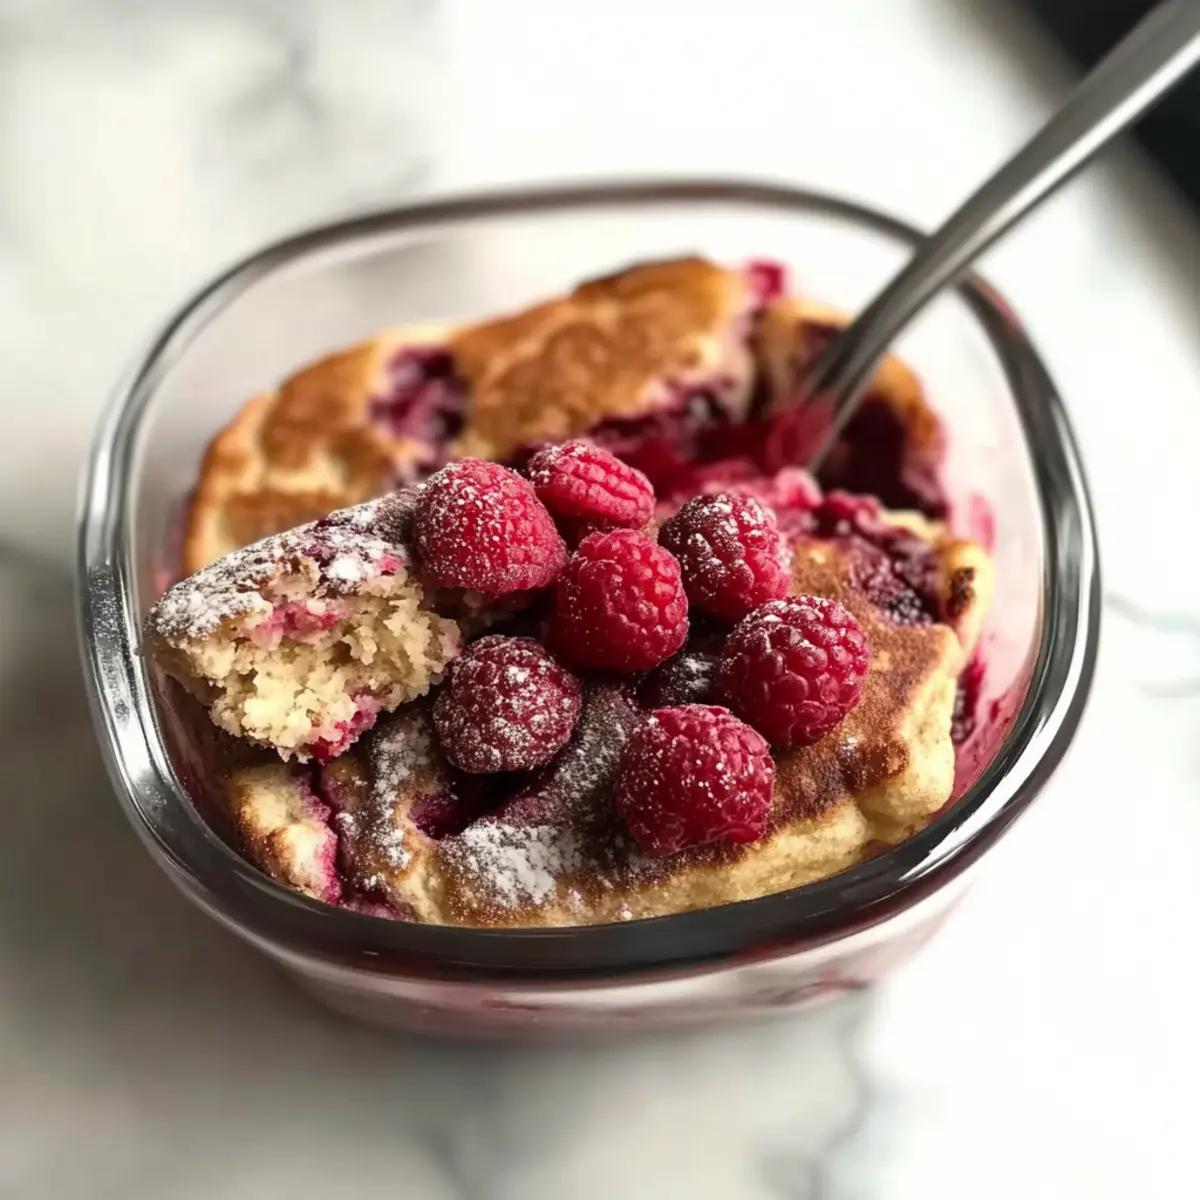
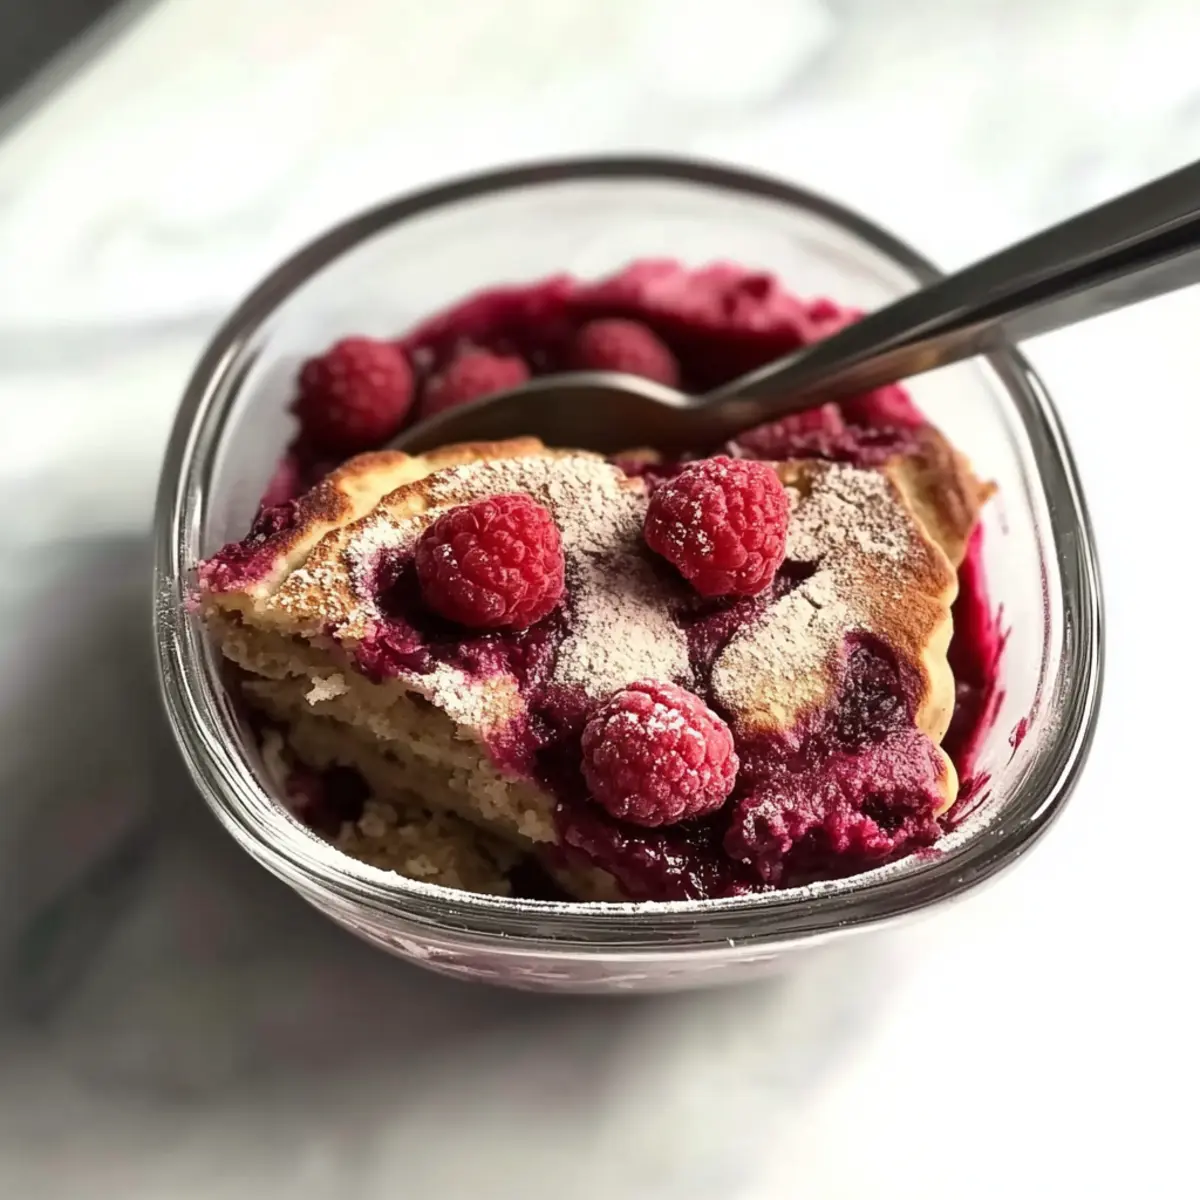
Versatile Flavor Profile: Enjoy it with juicy raspberries, or mix in blueberries or strawberries, allowing you to personalize it to suit your taste preferences.
Meal Prep Friendly: Make it ahead, store in the fridge, and enjoy this tasty, satisfying bowl throughout the week—because who wouldn’t want a tasty breakfast ready to go? Dive into this high-protein delight and experience the transformation it brings to your mornings, just like with the Coconut Cream Pancakes for a different breakfast twist!
Power Pancake Bowl Ingredients
For the Base
- Oats – Adds texture and mild sweetness; use gluten-free oats if required.
- Almond Flour – Provides a nutty flavor and acts as a gluten-free base; can substitute with coconut flour but adjust liquid.
- Ground Flaxseed – Introduces fiber and healthy fats; chia seeds can be used in equal measure.
- Ground Chia Seeds – Similar to flax, adding fiber and omega-3s; no direct substitution needed.
- Egg – Binds ingredients and contributes protein; aquafaba or flax egg for vegan option.
- Egg Whites – Increases protein content while maintaining fluffiness; may substitute with additional whole eggs but adjust moisture.
- Low-Fat Cottage Cheese – Adds moisture and creaminess with extra protein; for lactose intolerance, use dairy-free cottage cheese.
- Vanilla Whey Isolate Protein Powder – Boosts protein content; replace with plant-based protein for a vegan option.
- Baking Powder – Provides leavening for a light texture; ensure it’s fresh for best results.
- Cinnamon – Enhances flavor; nutmeg can be substituted for a different spice profile.
- Salt – Balances flavors; optional for low-sodium diets.
- Vanilla Extract – Adds aromatic sweetness; almond extract can be used for an alternative flavor.
For Topping
- Raspberries – Adds natural sweetness, fiber, and a pop of color; blueberries or diced strawberries can be swapped depending on availability.
Step‑by‑Step Instructions for Power Pancake Bowl
Step 1: Preheat the Oven
Start by preheating your oven to 400°F (200°C). While the oven is warming up, grab a 6.5×6.5-inch oven-safe dish and lightly grease it with cooking spray or a touch of olive oil. This step ensures that your Power Pancake Bowl releases easily after baking, creating a perfect presentation for your delightful breakfast.
Step 2: Blend Ingredients
In a blender, combine the oats, almond flour, ground flaxseed, ground chia seeds, egg, egg whites, low-fat cottage cheese, vanilla whey isolate protein powder, baking powder, cinnamon, salt, and vanilla extract. Blend on high for about 1-2 minutes until the mixture is completely smooth and creamy. This thorough blending is key for achieving the fluffy texture of your Power Pancake Bowl.
Step 3: Pour and Top
Once blended, carefully pour the pancake batter into the greased dish, using a spatula to scrape out every last bit. Scatter the fresh raspberries over the top, gently pressing them into the batter for added flavor and vibrant color. Make sure they’re evenly distributed to enhance every bite of your Power Pancake Bowl.
Step 4: Bake to Perfection
Place the filled dish in the preheated oven and bake for 20-25 minutes. Keep an eye on the bowl; it’s ready when it is set, and a toothpick inserted into the center comes out clean. If you’re in a hurry, you can also microwave it at medium-high for 2-3 minutes until firm, but the baked version offers a fluffier end result.
Step 5: Serve and Store
Remove the Power Pancake Bowl from the oven and let it cool for a few minutes. Enjoy it warm or let it cool completely for a convenient breakfast option later. Store any leftovers in an airtight container in the refrigerator for up to 5 days or freeze portions for up to 2 months, so you can savor this delicious bowl whenever you need a quick, nutritious meal.
Power Pancake Bowl Variations
Feel free to get creative and make this Power Pancake Bowl your own with these delightful twists and substitutions!
- Berry Burst: Swap raspberries for fresh blueberries or strawberries for a vibrant pop of flavor and color.
- Nutty Goodness: Top with a sprinkle of chopped nuts or a drizzle of almond butter for an extra crunch and creamy richness.
- Vegan Delight: Substitute the egg and egg whites with a flax egg or aquafaba to keep it plant-based without sacrificing texture.
- Sweet Spice: Add a teaspoon of maple syrup or cinnamon to the batter for a touch of natural sweetness that elevates every bite.
- Coconut Twist: Mix in shredded coconut or replace some almond flour with coconut flour for a tropical flair that’s sure to please.
- Creamy Finish: Top your bowl with Greek yogurt or a dollop of cottage cheese for added creaminess and a protein boost.
- Chocolate Lover: Stir in a tablespoon of cocoa powder or use chocolate protein powder for a rich chocolate experience.
- Flavor Variety: Experiment with different spices like nutmeg or cardamom for a new flavor profile to surprise your taste buds.
Remember, whether you’re jazzing it up with toppings or making swaps, the journey of creating your own variation brings a little excitement back to breakfast! And if you’re feeling adventurous, check out my Coconut Cream Pancakes for a fun twist, too!
What to Serve with Power Pancake Bowl?
Elevate your breakfast experience with delightful sides that complement this protein-packed dish.
-
Fresh Fruit Medley: A colorful array of sliced bananas, strawberries, and blueberries brightens the meal and adds natural sweetness that contrasts beautifully with the pancake bowl.
-
Greek Yogurt Parfait: Creamy and rich, Greek yogurt not only adds tanginess but also enhances the protein content, making your breakfast even more satisfying. Layer with granola for a crunchy texture.
-
Nut Butter Drizzle: A swirl of almond or peanut butter brings a lovely creaminess and nutty flavor, enhancing the wholesome profile while staying true to your healthy goals. It’s like a hug in every bite!
-
Coconut Flakes: Adding toasted coconut flakes introduces a tropical flair and delightful crunch, balancing the fluffiness of the Power Pancake Bowl with a touch of chewiness.
-
Chai Tea Latte: A warming cup of chai tea complements the cinnamon in your pancake bowl, creating a cozy atmosphere that’s perfect for starting your day on a cheerful note.
-
Maple Syrup Drizzle: For those who enjoy a hint of sweetness, a light drizzle of pure maple syrup can elevate each bite, making your breakfast feel like a special treat while still maintaining a healthier edge.
Expert Tips for the Best Power Pancake Bowl
- Choose Fresh Ingredients: Using fresh eggs and dairy will enhance flavor. Old ingredients can lead to a flat texture in your Power Pancake Bowl.
- Blend Thoroughly: A smooth batter is crucial for fluffiness. Take the time to blend until completely creamy for the best result.
- Monitor Baking Time: Ovens vary, so check your Power Pancake Bowl a couple of minutes early to avoid overbaking. It should be set but still moist.
- Custom Toppings: Feel free to experiment with toppings! While raspberries are delicious, trying diced apples or tropical fruits can change up your flavor experience.
- Store Wisely: For optimal freshness, allow the bowl to cool completely before refrigerating. It can last up to 5 days when stored properly in an airtight container.
Make Ahead Options
These Power Pancake Bowls are perfect for meal prep enthusiasts! You can blend the batter and pour it into your greased dish up to 24 hours in advance, then simply cover and refrigerate it before baking. This allows the flavors to meld beautifully. For toppings, you can also prep the raspberries (or any choice of berries) ahead by washing and slicing them; store them in an airtight container in the fridge for up to 3 days. When you’re ready to enjoy, just bake the Power Pancake Bowl as instructed, and you’ll have a delicious, nutritious breakfast ready with minimal morning fuss!
How to Store and Freeze Power Pancake Bowl
Refrigeration: Store your Power Pancake Bowl in an airtight container in the fridge for up to 5 days. This keeps it fresh and ready for an easy breakfast on busy mornings.
Freezing: For longer storage, freeze portions of the Power Pancake Bowl for up to 2 months. Make sure to wrap it tightly in plastic wrap or foil before placing it in a freezer-safe bag.
Reheating: When you’re ready to enjoy, thaw in the fridge overnight if frozen, and reheat in the microwave for 1-2 minutes until warmed throughout. You can also bake it in the oven at 350°F (175°C) for about 10-15 minutes.
Serving Suggestions: Add a splash of fresh fruit or a drizzle of almond butter after reheating to enhance flavor and nutrition before serving.
Power Pancake Bowl Recipe FAQs
How do I select ripe ingredients for my Power Pancake Bowl?
Absolutely! When choosing your fruits, like raspberries or other berries, look for vibrant colors and avoid any with dark spots or mushy textures. Fresh berries taste sweeter and provide the best nutritional benefits. For oats, make sure they are whole and free from any off odor, and for almond flour, choose finely ground for a smoother texture.
How do I store leftovers of the Power Pancake Bowl?
Very simply! Store any leftover Power Pancake Bowl in an airtight container in the refrigerator for up to 5 days. Be sure to allow it to cool completely before sealing the container to prevent moisture build-up, which can cause sogginess.
Can I freeze my Power Pancake Bowl?
Definitely! You can freeze portions of the Power Pancake Bowl for up to 2 months. Wrap slices tightly in plastic wrap or aluminum foil, then place them in a freezer-safe bag. When you’re ready to enjoy, simply thaw overnight in the fridge and reheat in the microwave or bake until warmed through.
What should I do if my Power Pancake Bowl comes out too dry or too moist?
No worries! If your Power Pancake Bowl is dry, check that you’re not overbaking it next time. Keep a close eye and take it out as soon as it’s set. If it’s too moist, let it cool a bit longer before serving, or bake it for another 2-3 minutes to firm it up. Consistency can also depend on the freshness of your eggs and other ingredients, so using fresh items is key!
Are there any dietary considerations for making the Power Pancake Bowl?
Yes! For those with lactose intolerance, you can substitute low-fat cottage cheese with a dairy-free option. Also, if you’re following a vegan diet, you can replace eggs with aquafaba or a flax egg (1 tablespoon ground flaxseed mixed with 2.5 tablespoons water, let sit for 5 minutes). Always check labels on protein powder if you’re sensitive to allergens.
Power Pancake Bowl: A High-Protein Breakfast Delight
Ingredients
Equipment
Method
- Preheat your oven to 400°F (200°C) and lightly grease a 6.5x6.5-inch oven-safe dish.
- Blend together oats, almond flour, ground flaxseed, ground chia seeds, egg, egg whites, cottage cheese, protein powder, baking powder, cinnamon, salt, and vanilla extract until smooth.
- Pour the pancake batter into the greased dish and scatter raspberries on top, pressing them into the batter.
- Bake for 20-25 minutes until set; alternatively, microwave at medium-high for 2-3 minutes.
- Let cool for a few minutes before serving, or refrigerate for later.
Leave a Reply